Intro
Dr. Robert Washington-Allen and Dr. Philip Li initially wrote a grant to build a prototype of the very popular AR Sandbox to use in their remote sensing and terrain analysis classes. We immediately saw the potential for this hardware as an outreach and recruitment tool so we wrote some additional grants and updated both the hardware and physical sandbox. This page is designed to show you how and why we built our sandbox the way we did. It also highlights some serious design errors on my part that you should avoid.
Planning Your AR Sandbox
You have so much flexibility to build and design the physical sandbox that it pays to spend some time at the beginning thinking through a few key questions. Some specific things to consider include
- Who is your audience? K-12, college, guests at a museum? This is important for determining the height of the sandbox. For elementary school students, we set our sandbox on the floor but for everyone else it stays on the cart.
- Where will the sandbox be set up? Is it going to be stationary in a museum? Then you don’t need to worry as much about fitting through doorways but you may need to check your local fire code to make sure it isn’t too close to the ceiling, especially if it is made of something flammable like wood. Are you going to take it around to schools like we do? Then you need to make sure everything fits through ADA compliant doorways (both width and height) and that it will physically fit in your vehicle. Also, door handles are mounted at different heights than push bars on doors. Our sandbox won’t fit through a doorway that has a push bar 🙁
- Who is going to do the construction and what is your budget? Aluminum 80/20 is light but expensive. Wood is cheap but heavy. Do you live near a college with an engineering program? Maybe the mechanical engineering students have a design class that needs a project.
The UTK Geography AR Sandbox
We decided to build our sandbox out of wood since I had a limited budget. After seeing how excited kids get near the sandbox, I also wanted it over-engineered. Plus it was going to get lots of wear and tear being loaded, unloaded and drug all over East Tennessee. I also needed the sandbox to be height adjustable so that anyone could use it from Pre-K students all the way through adults. With that in mind, we settled on a sandbox and separate cart. The cart needed to be collapsible so it could all fit in my SUV.
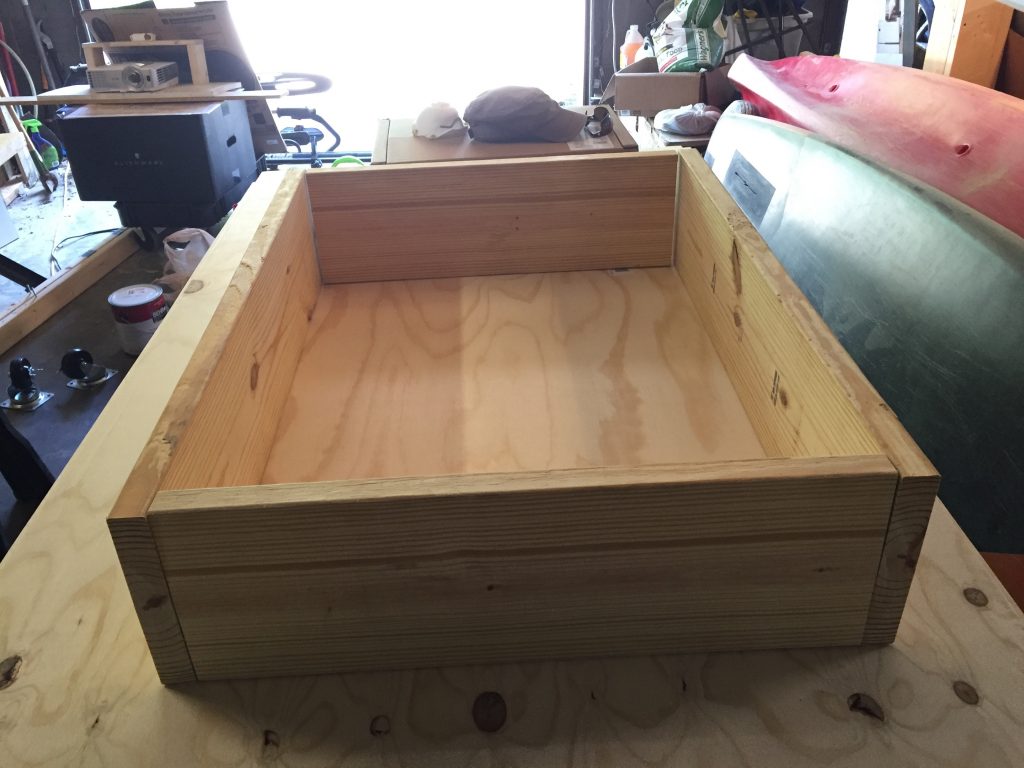
More or less finished product first. It never looked this good again.

Sandbox
The sandbox is built from 2×10’s, 2×4’s, and 3/4 plywood. It was assembled with wood glue and pocket holes.
Make sure that the finished sandbox is narrow enough to fit through ADA compliant doorways (32″). Not all doors are able to open entirely so I opted for 31.5″. HOWEVER, I totally forgot about the additional width that the upright post adds when assembled. This oversight means I have to disassemble the sandbox anytime I move it through a doorway. DON’T MAKE THIS SAME MISTAKE.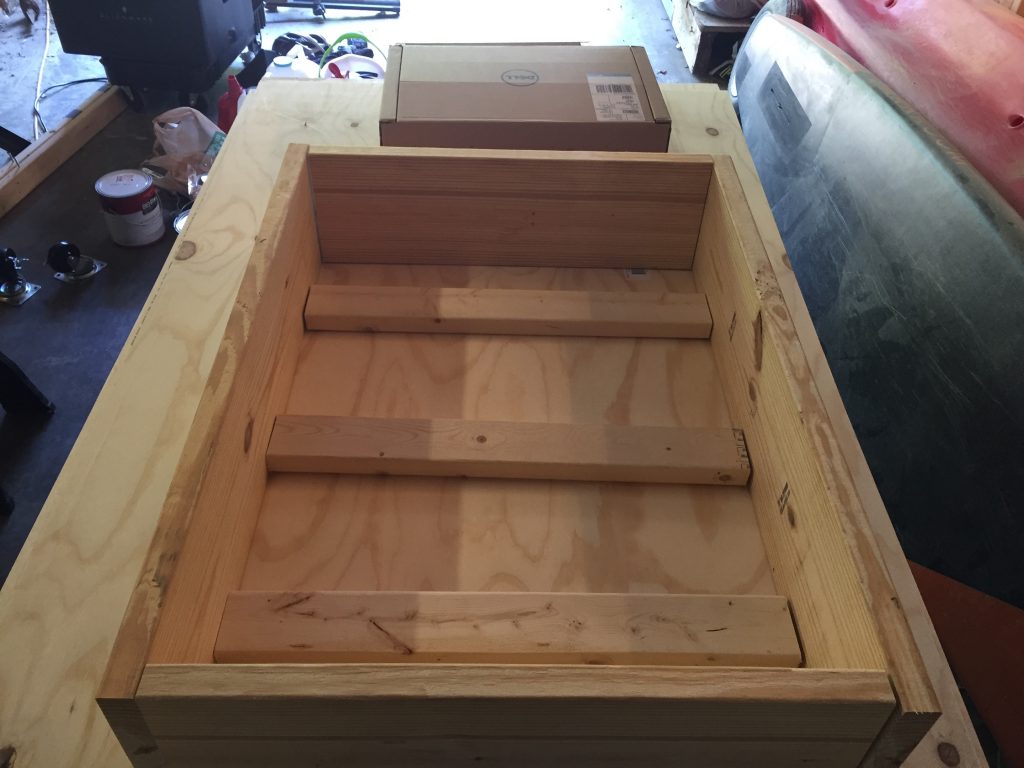
The prototype sandbox bottom bowed under the weight of all the sand (about 200 lbs) so i added 2×4 supports under the plywood. 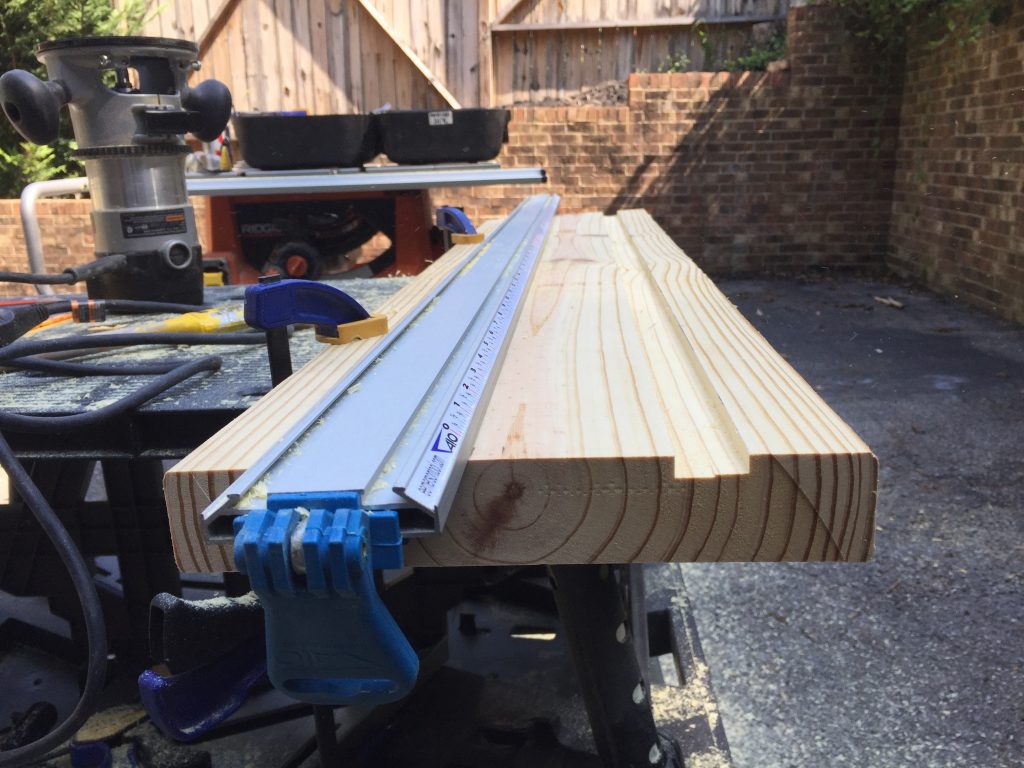
I didn’t want the sand leaking out along the bottom so I used a router to cut a groove in the 2×10’s for the plywood to rest in. 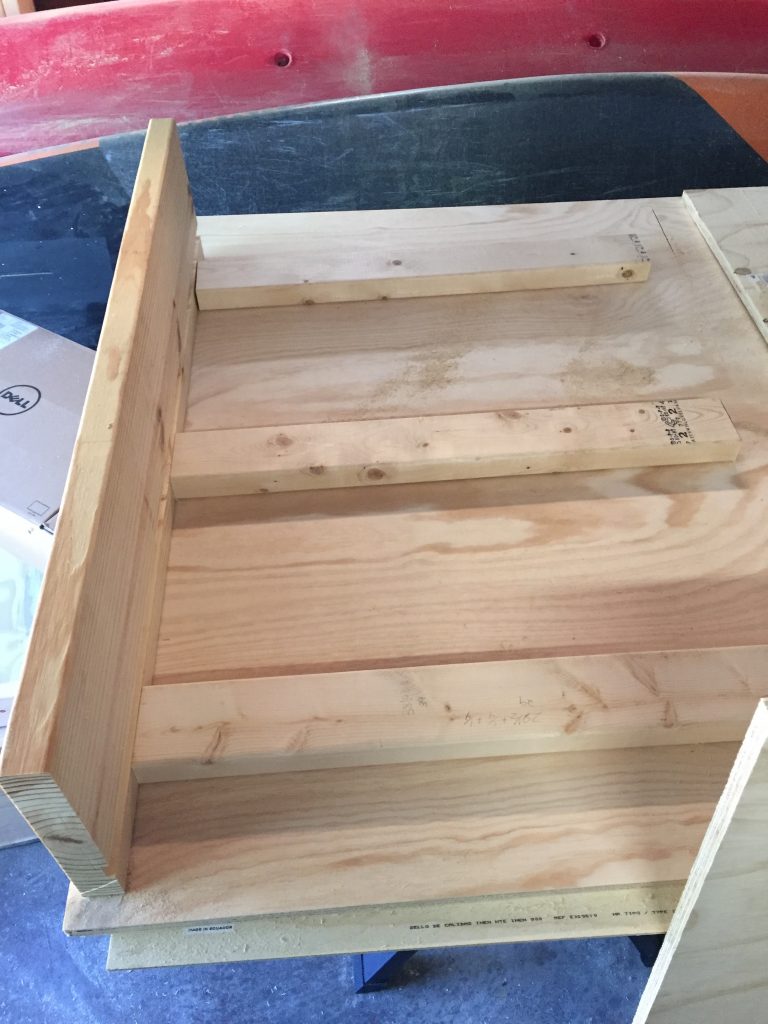
The bottom of the groove sits at the top of the 2×4 supports. 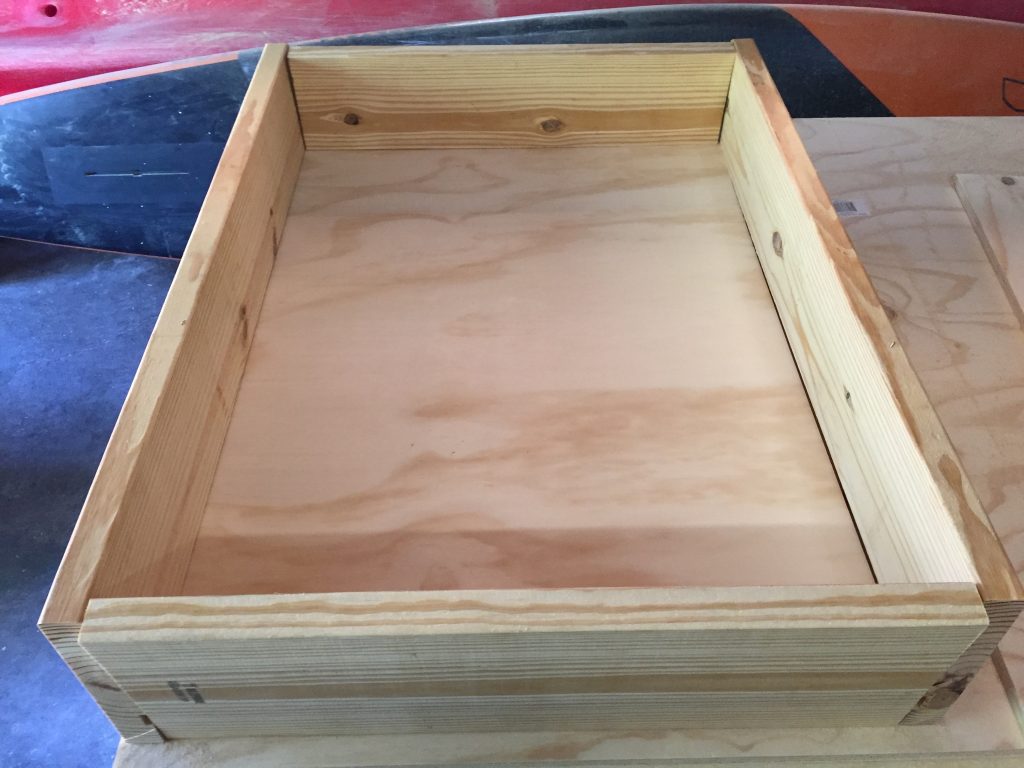
Dry fitting.
Dry fitting. 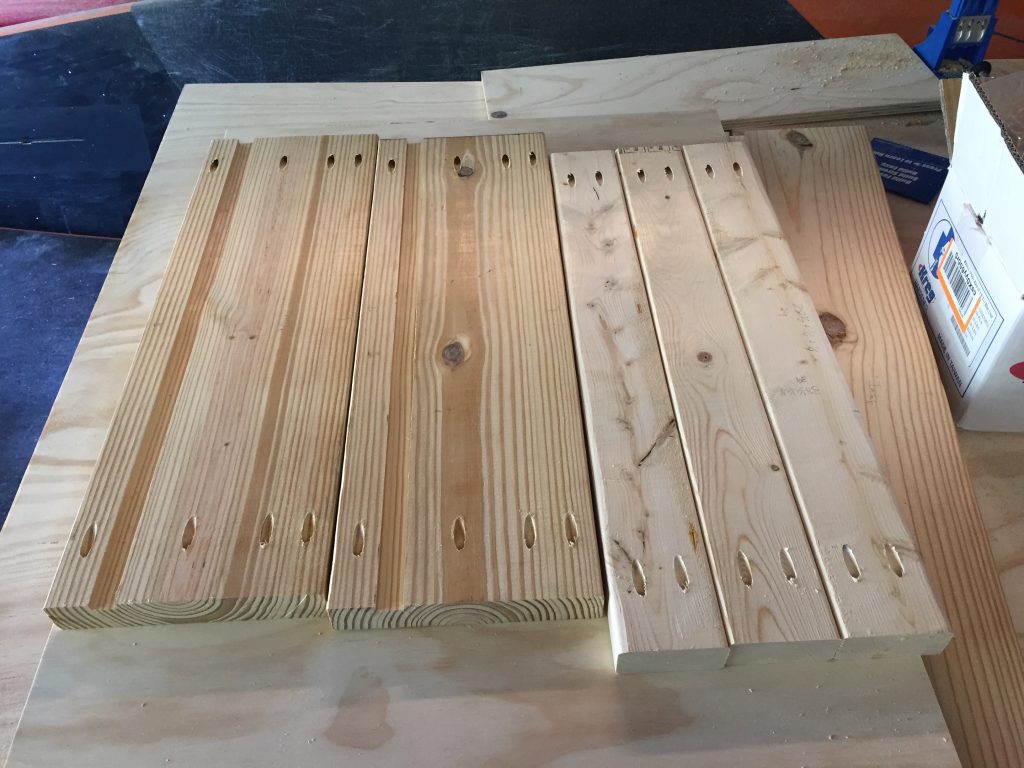
I cut pocket holes in everything. 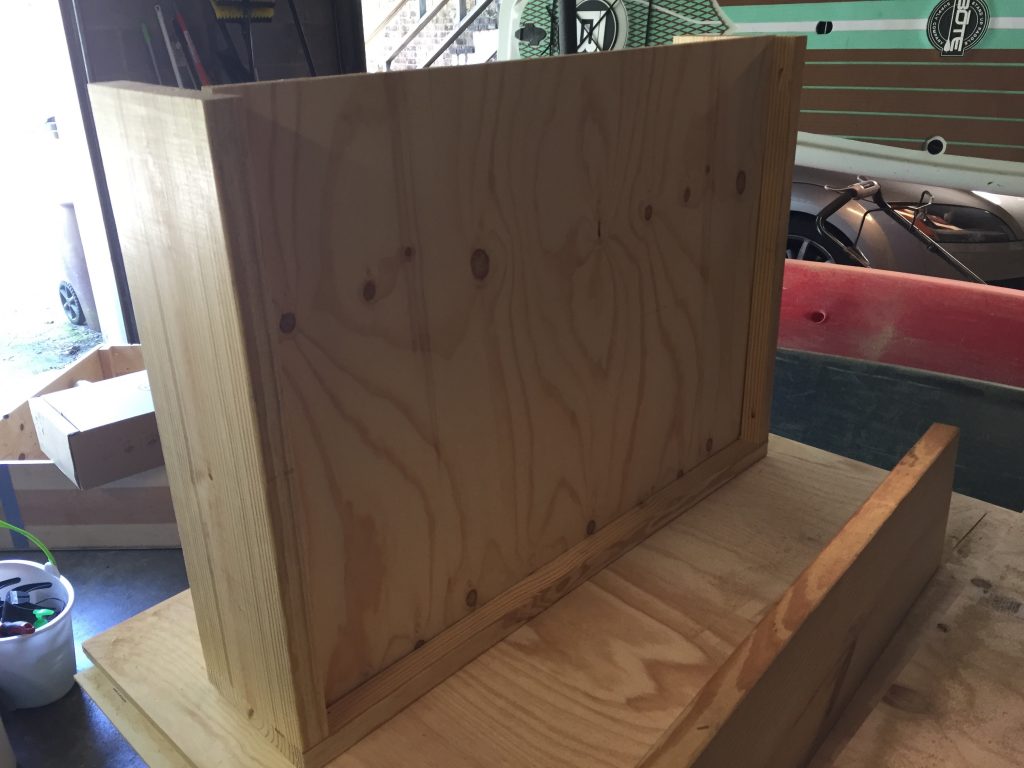
And we used wood glue along all the joints and in the groove with the plywood.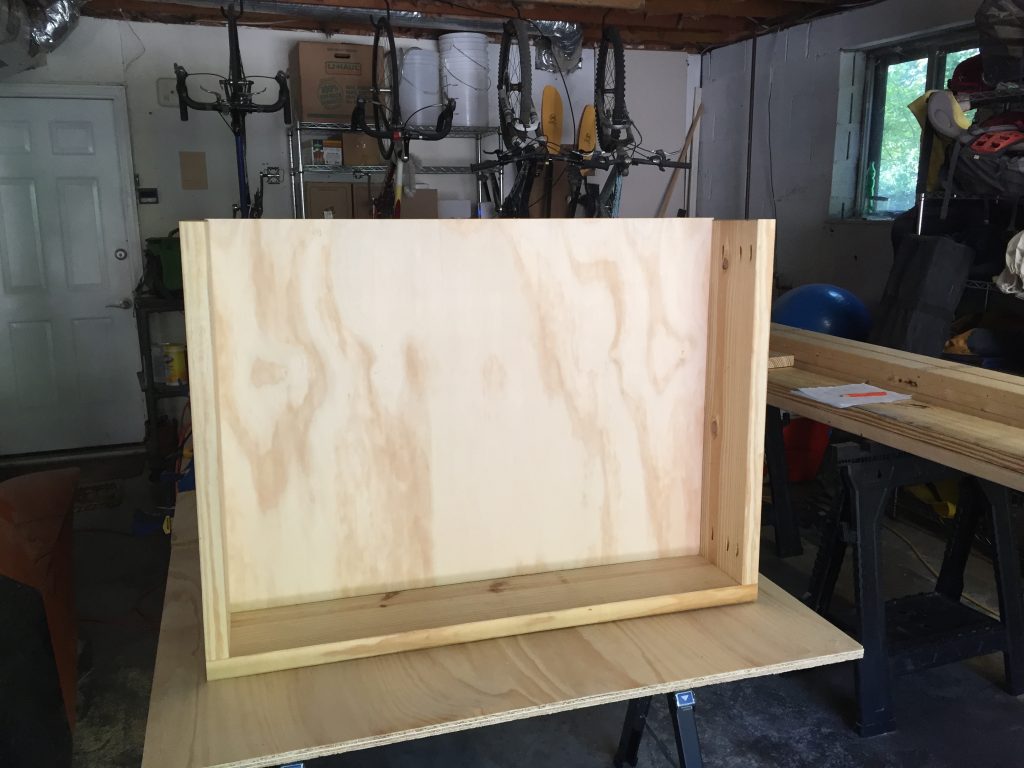
Assembly.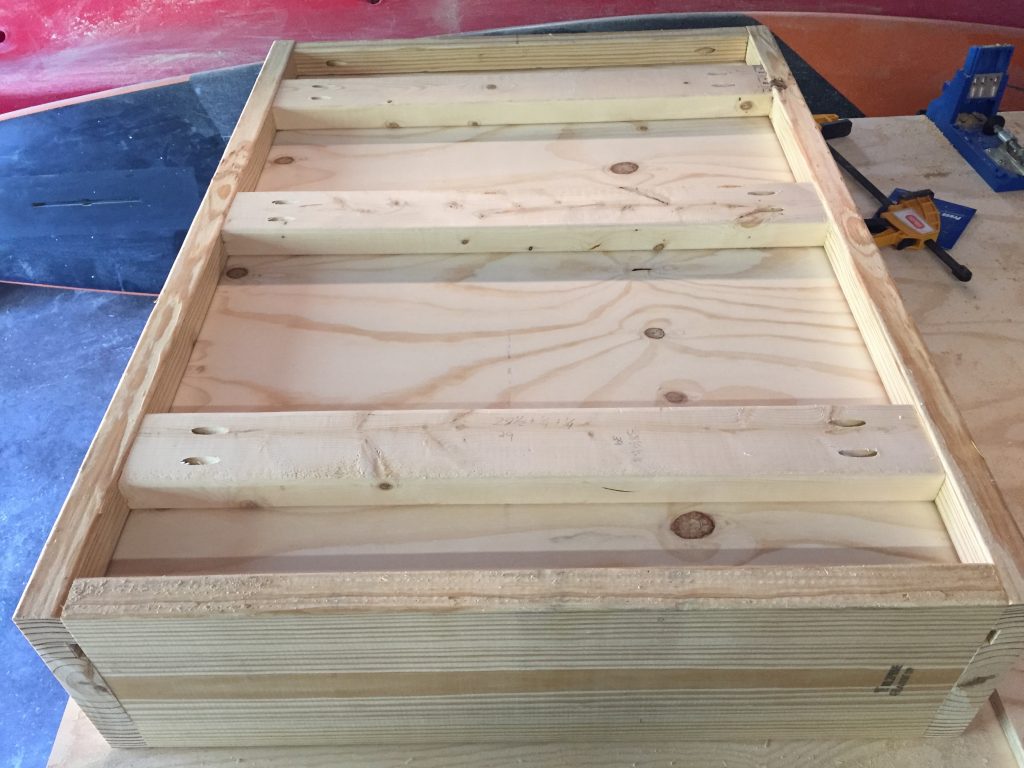
Upside down view of the box. Notice the groove visible on the edge. That will come back to bite me later.
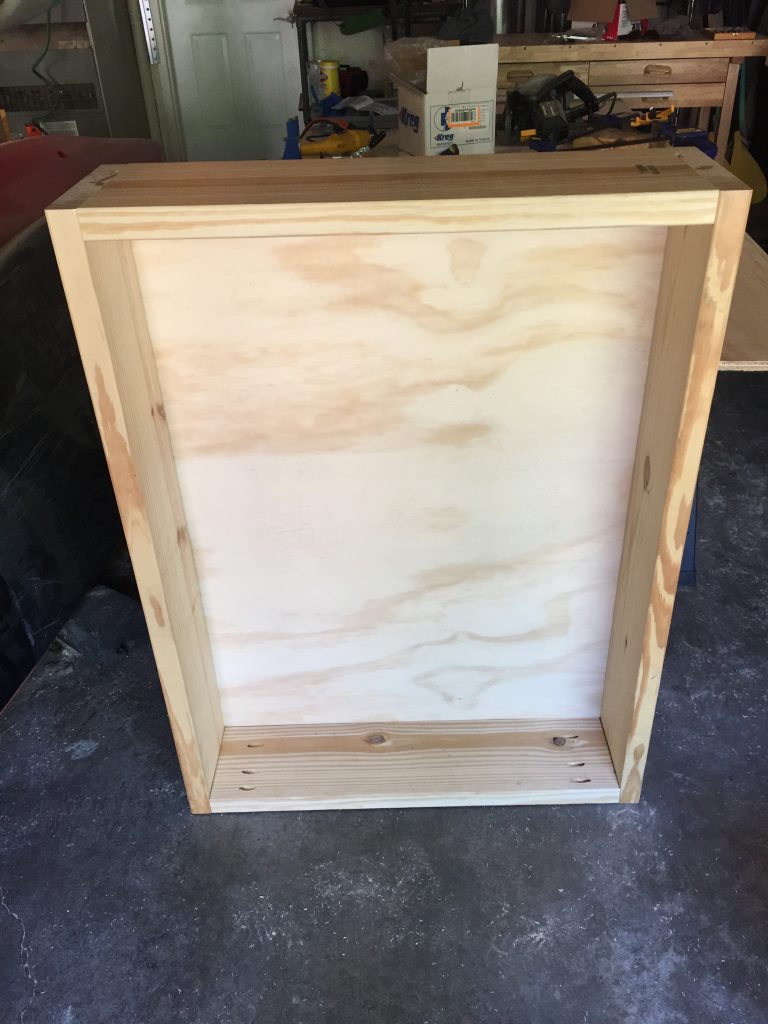
Box is assembled.
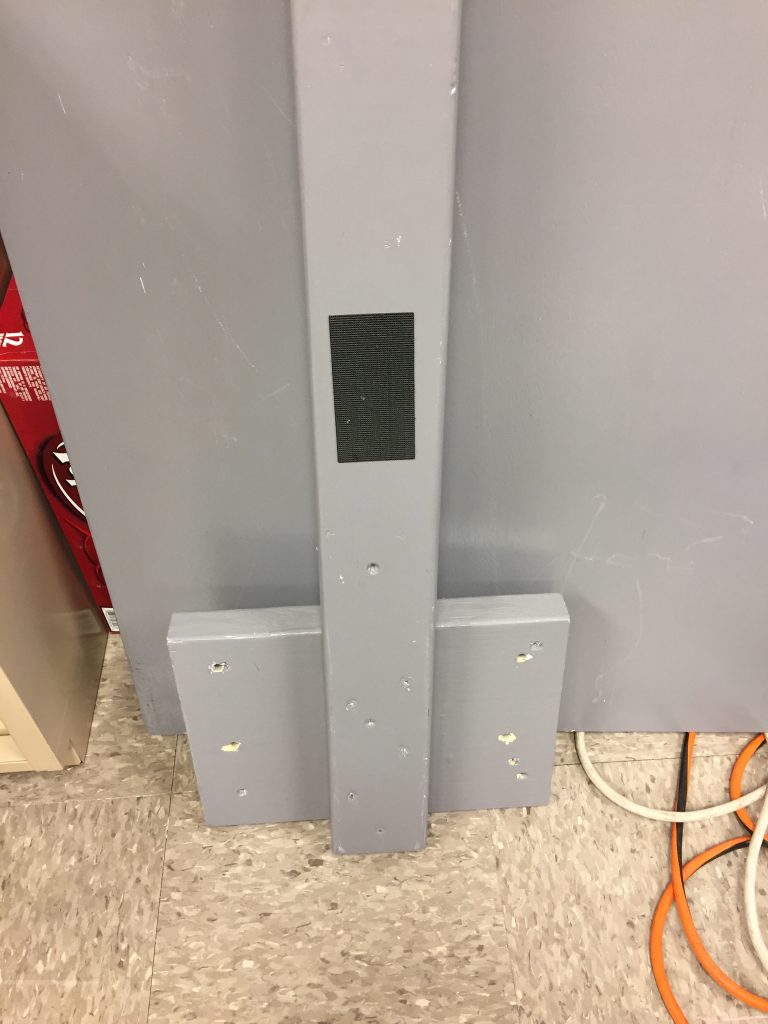
Post
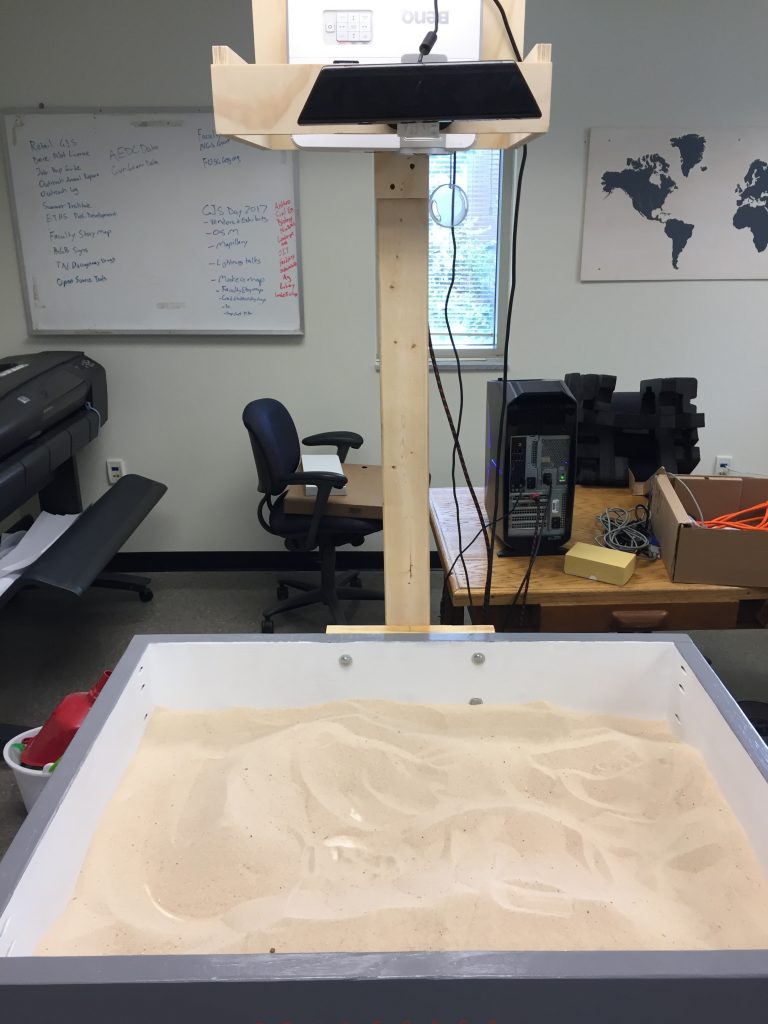
The post is a 2×4 upright attached to a 2×10 base for support. The upright also has a small lip that supports the projector. The top is a 3/4″ plywood partial box that holds the Kinect and projector.
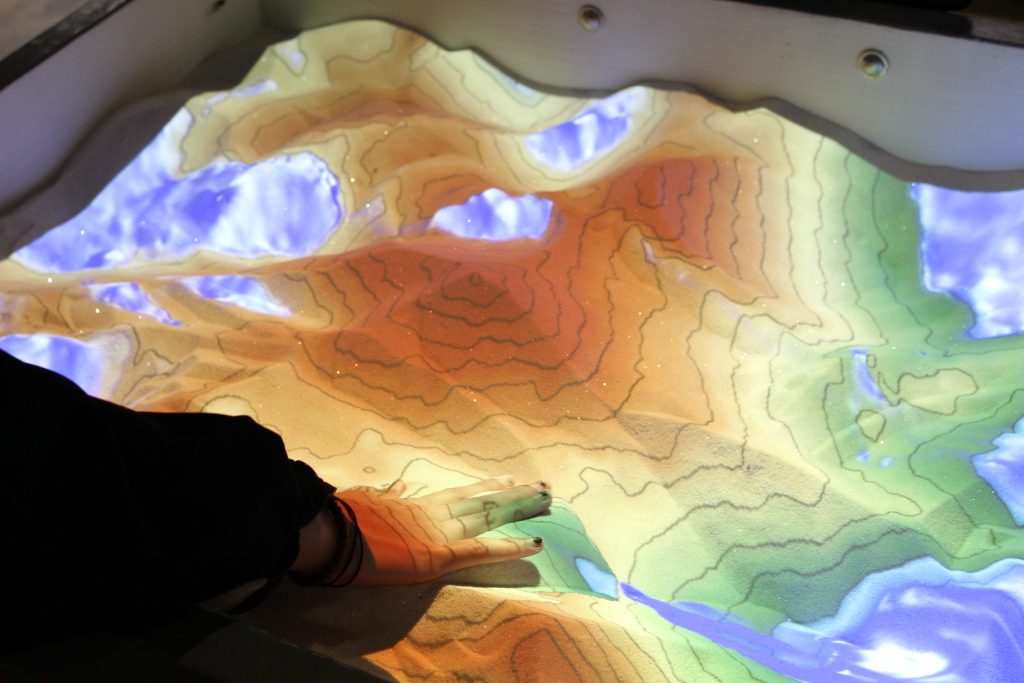
Obligatory cat tax. That is the cover I use to calibrate the sandbox in the background. I had no idea how useful this was for teaching.
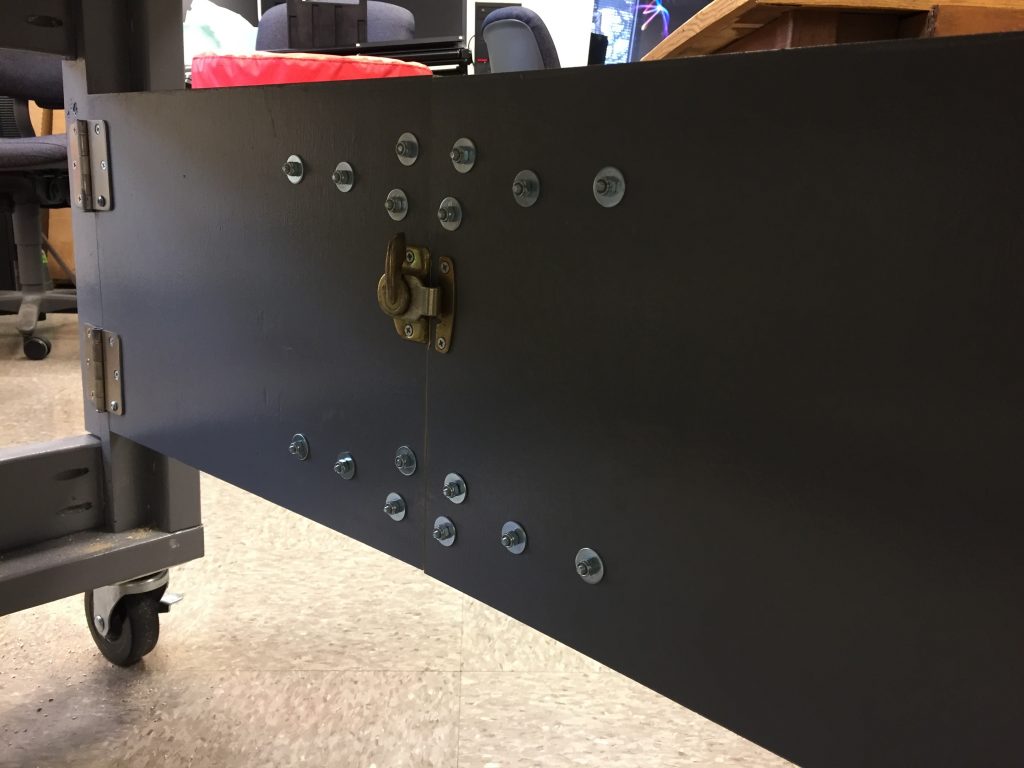
You can see the carriage bolts that are used to hold the 2×10 base to the back of the sandbox. I use washers and wing nuts so no tools are required.
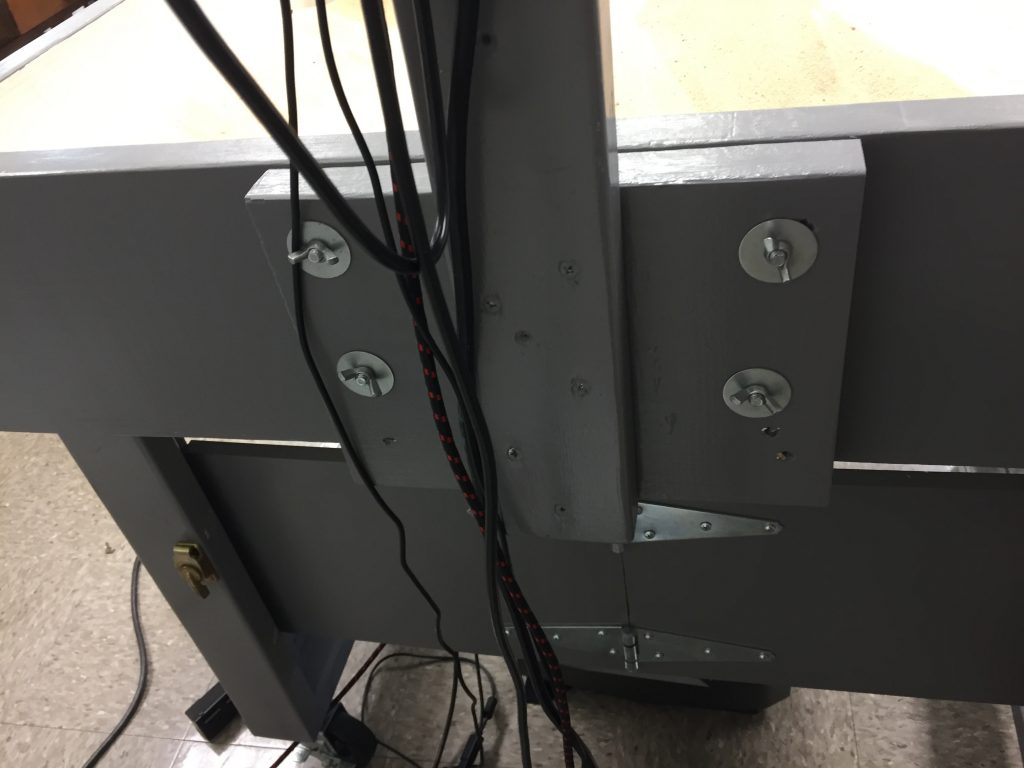
View from the back with washers and wing nuts visible. Note that when I added the upright it made the total width greater than 32″ so it won’t fit through a doorway. This was a bonehead move. 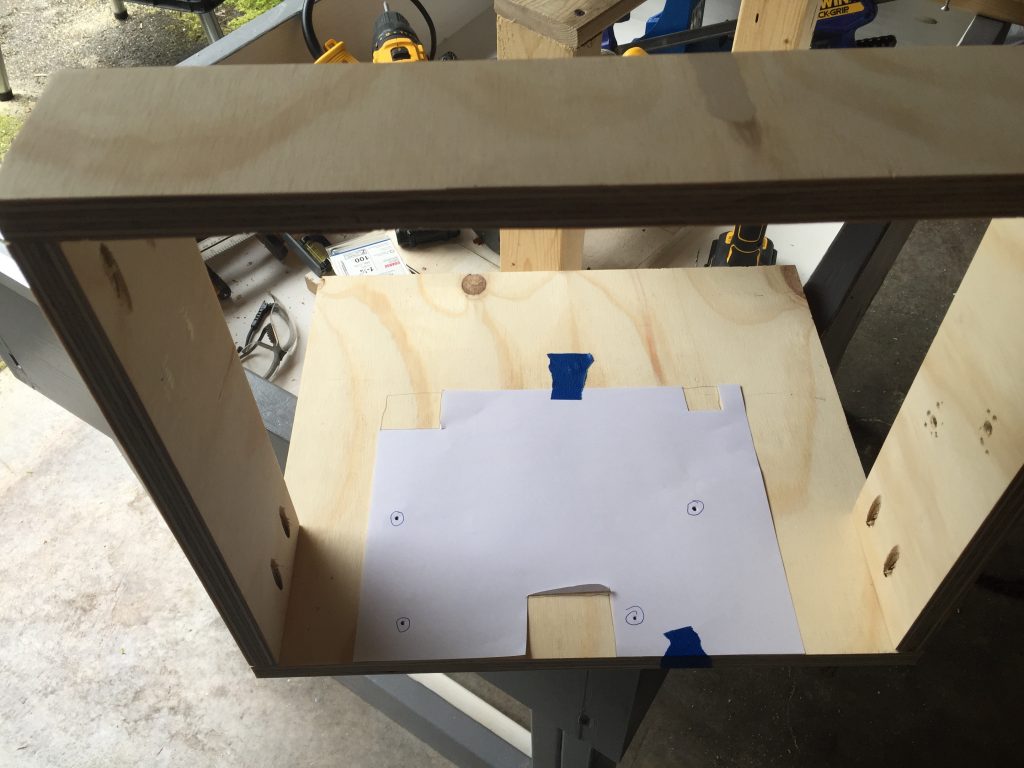
Using precision engineering skills I made a template for the mounting holes for the projector and for the projector feet. 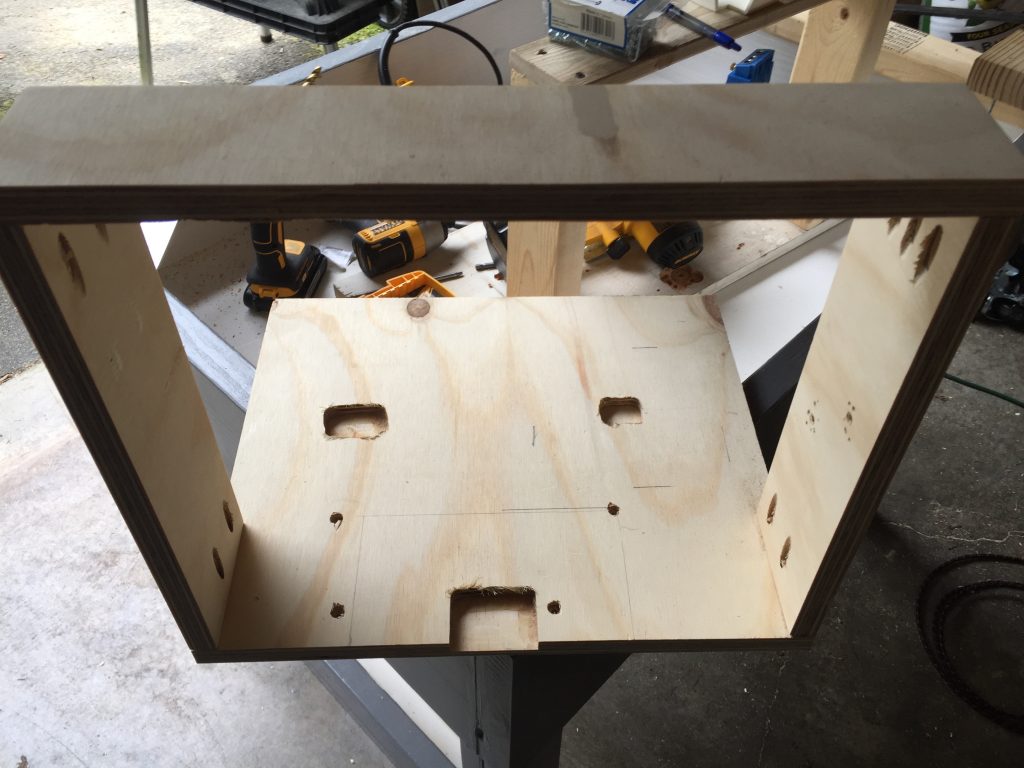
I used a drill and router to cut out the necessary sections. 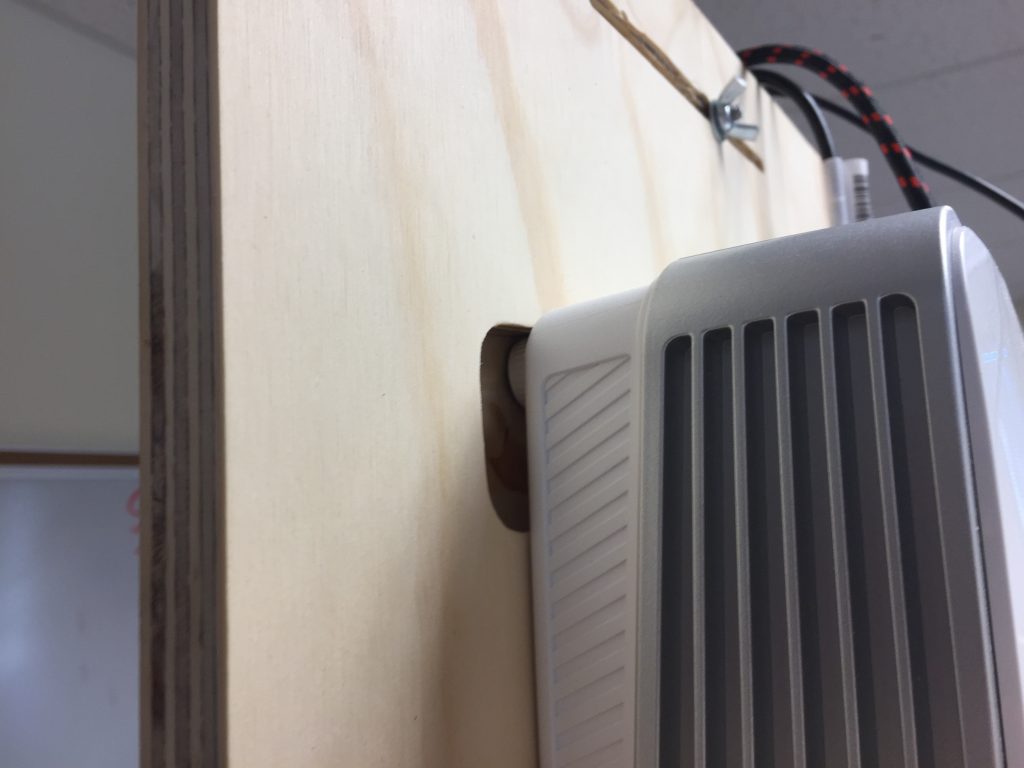
Now the feet rest in the holes. I did this so I could use shorter screws for mounting the projector. 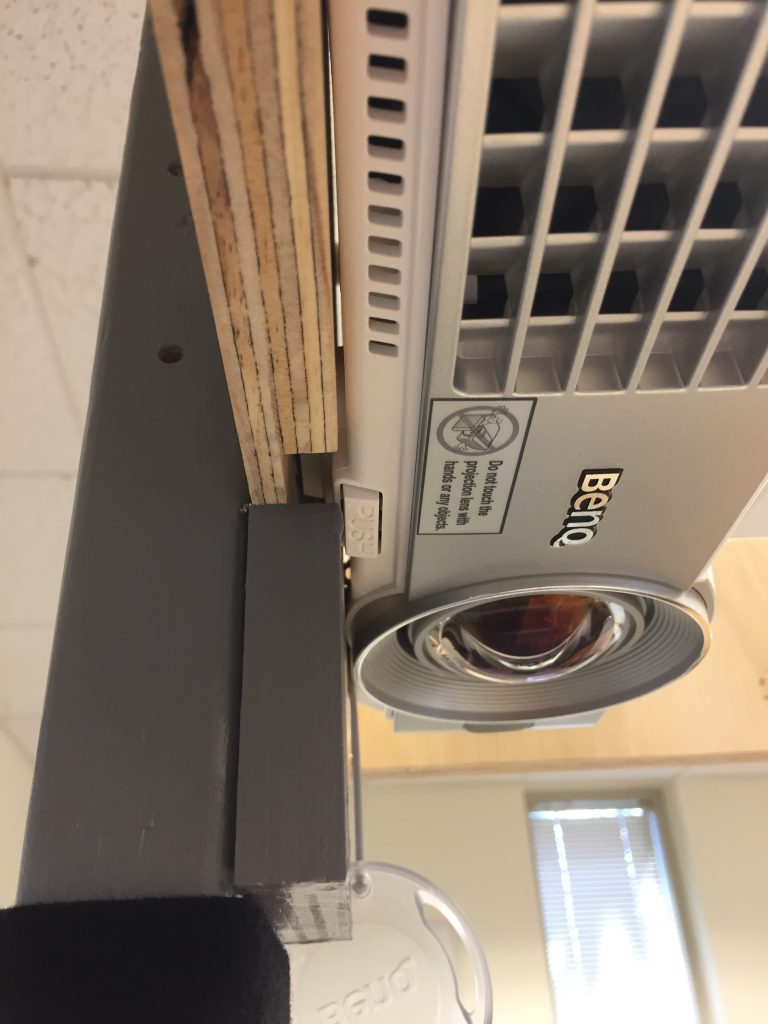
Here you can see the lip that supports the weight of the projector. 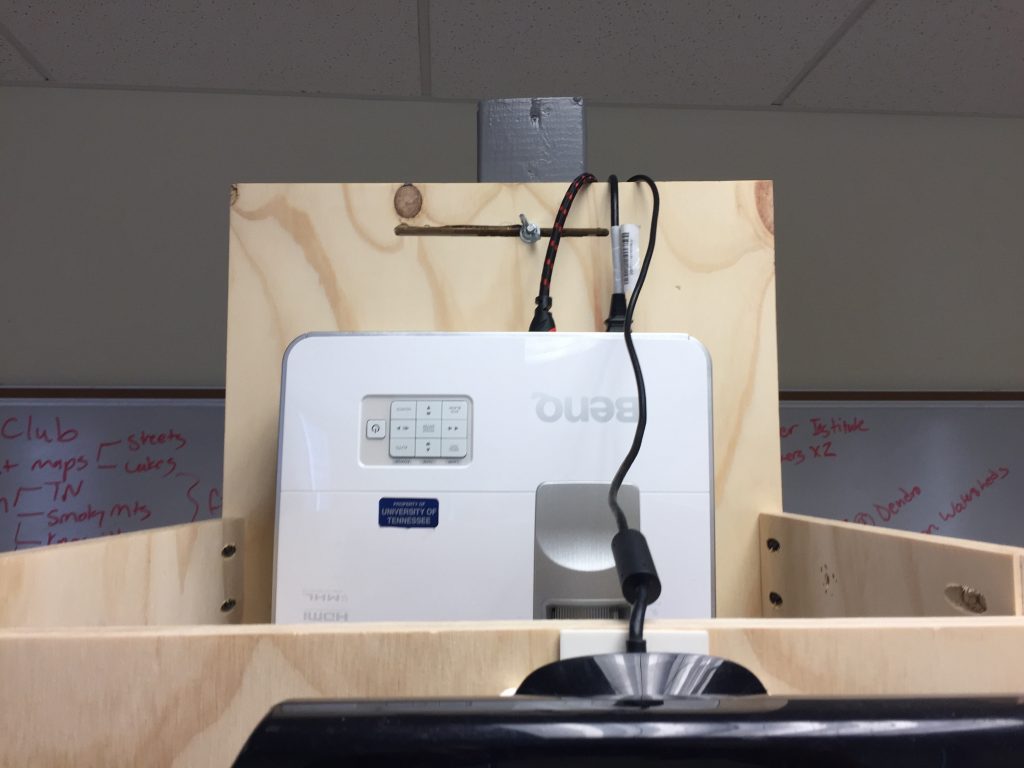
I added a groove to the top of the projector mount so that I could fine tune the alignment. I used a hanger bolt, washer, and wing nut to mount the projector/Kinect holder to the upright.
Cart
I used these plans from Popular Woodworking as the inspiration for my cart for the sandbox. Again, it needed to support the weight of the sandbox but also needed to collapse to fit in the back of my SUV. I had to adjust the cart dimensions to fit the sandbox. I was very concerned about someone being able to push the full sandbox off the cart so I developed a strategy for keeping the components together. I’ve also had a hard time getting wood screws to stay tight in the 3/4″ plywood. I eventually upgraded to machine screws with washers and lock nuts.
Cut everything to size.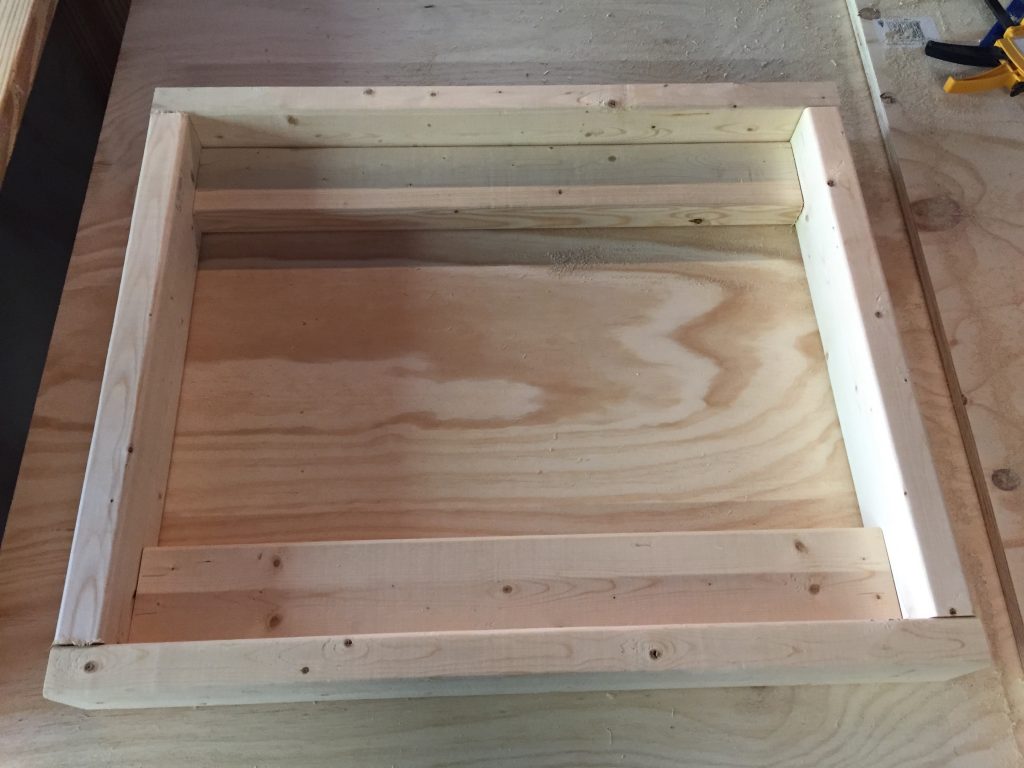
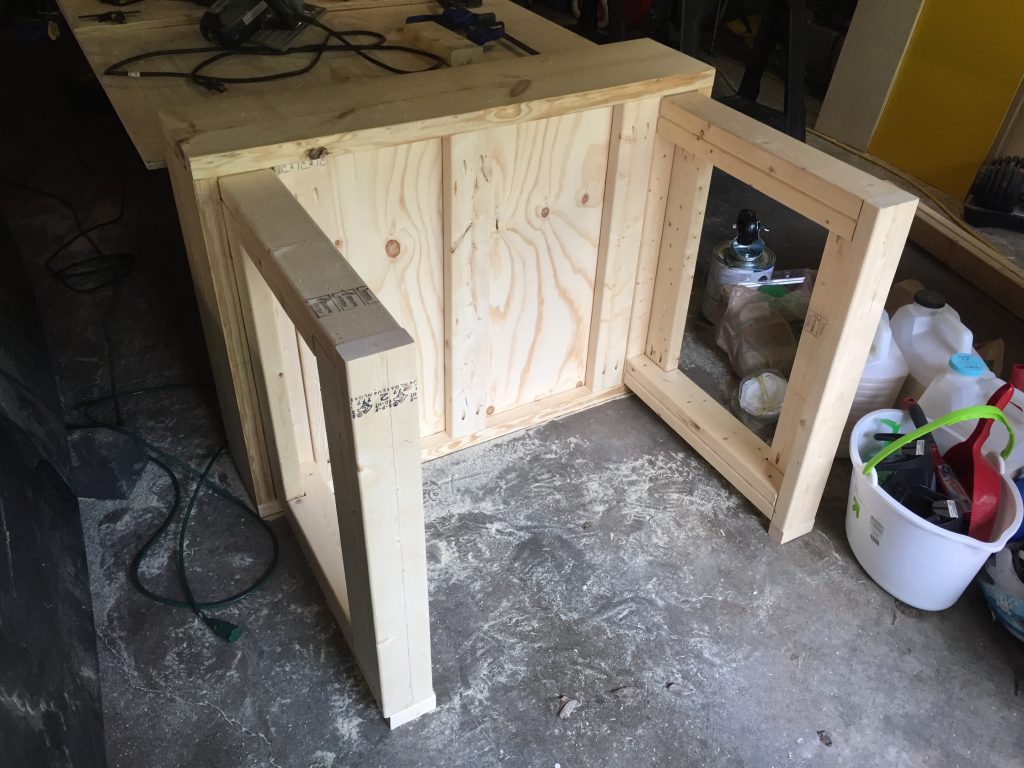
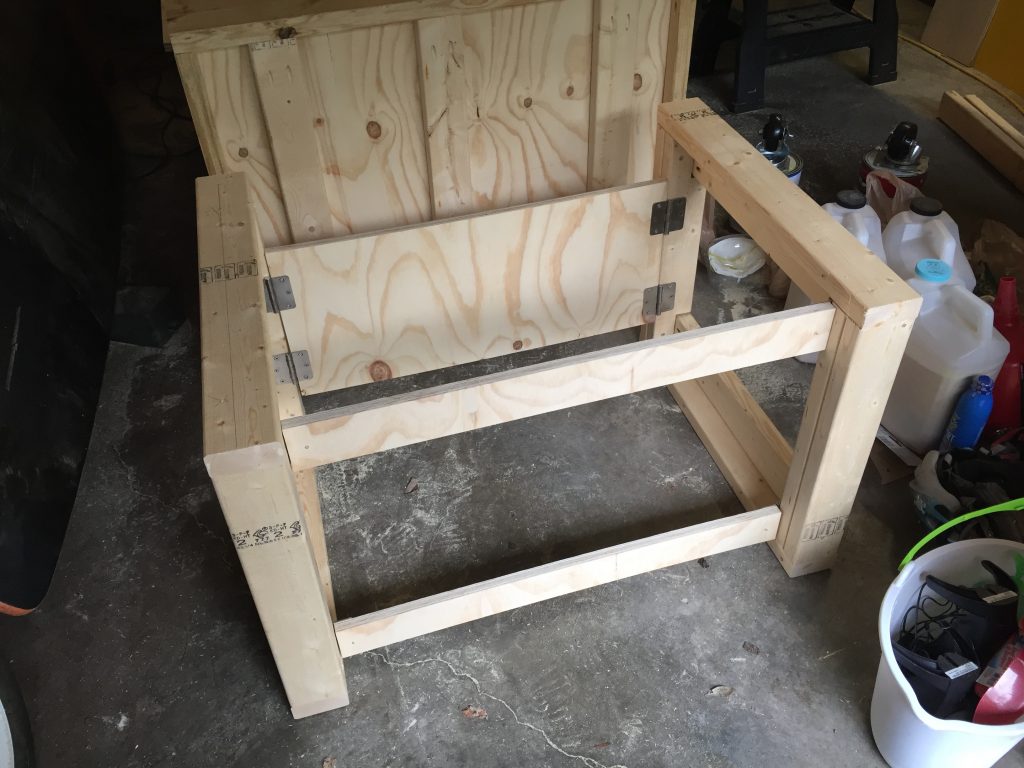
Test fit and assemble each leg. 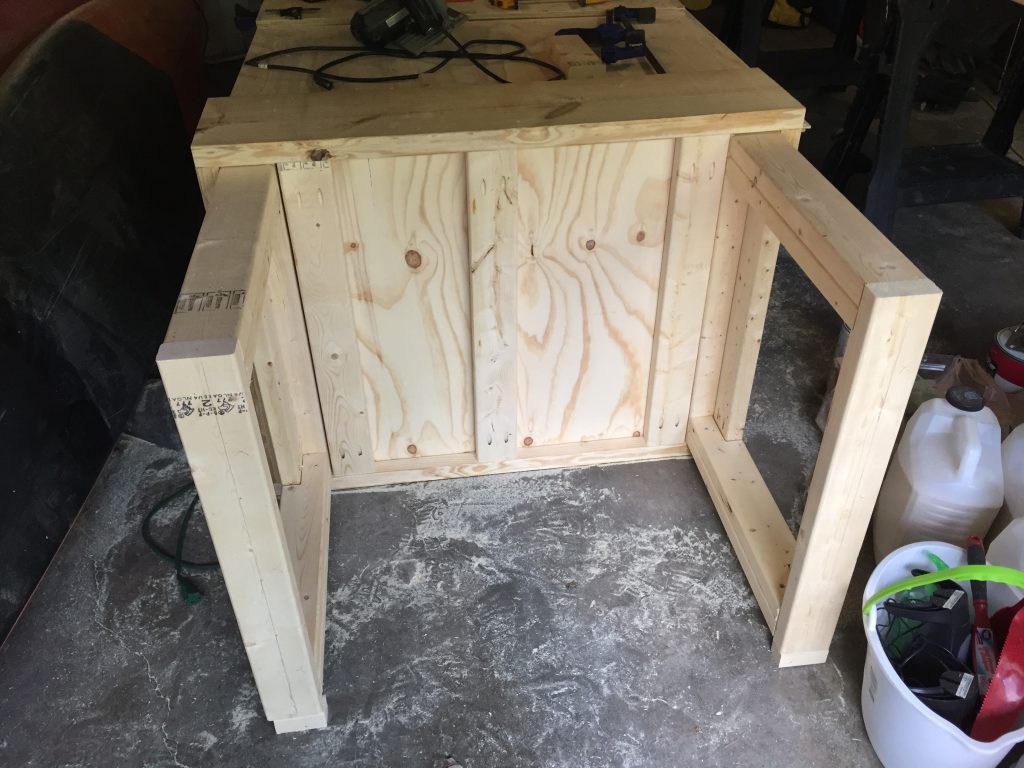
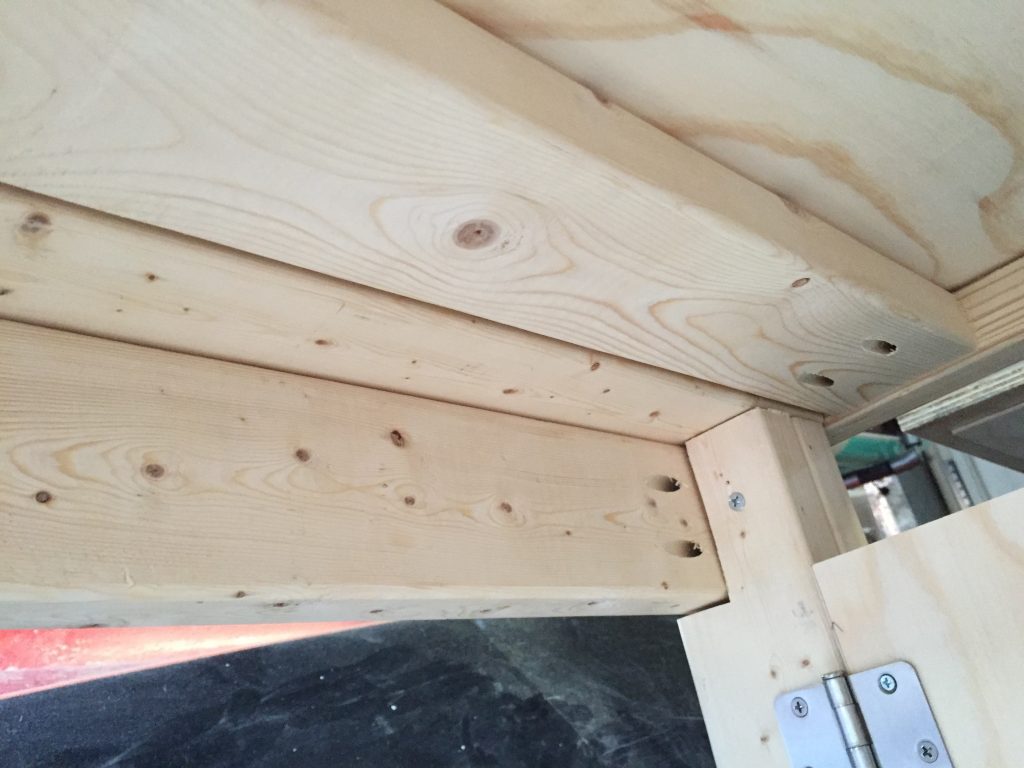
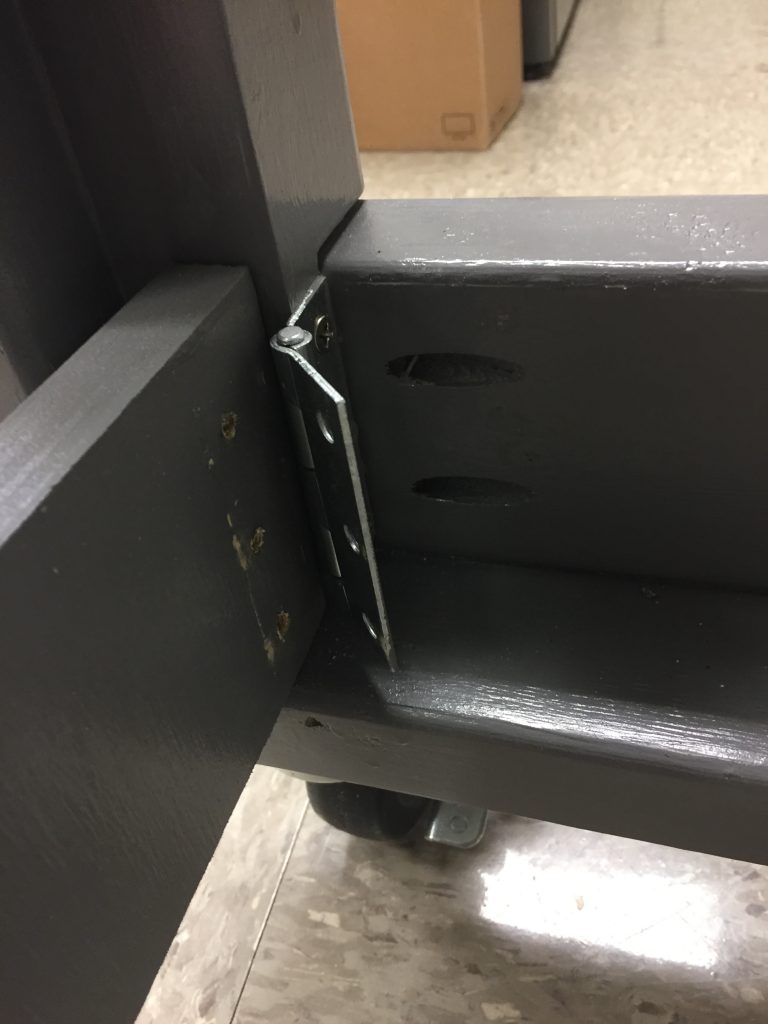
I flipped the box on its side and made sure that the tops of each leg nested properly in the gaps between the edge of the sandbox and the 2×4 supports. This keeps the sandbox from being pushed off the cart, especially when filled with 200 lbs of sand.
Another picture from the bottom of the sandbox.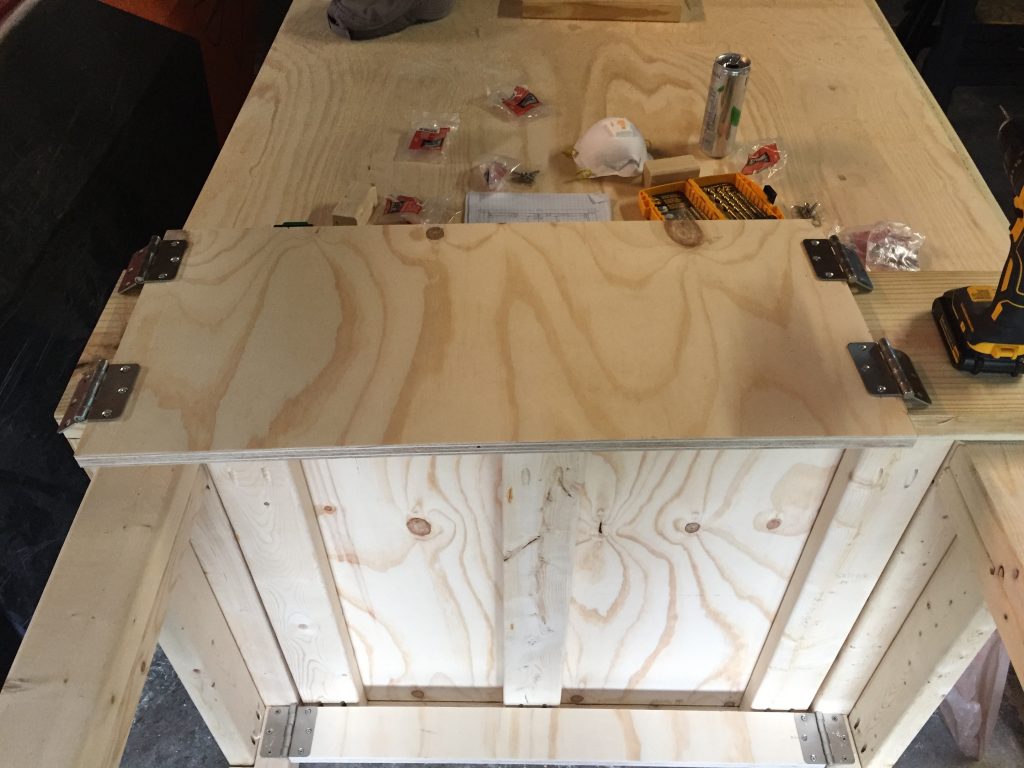
Cutting out and test fitting the front and back cross pieces. 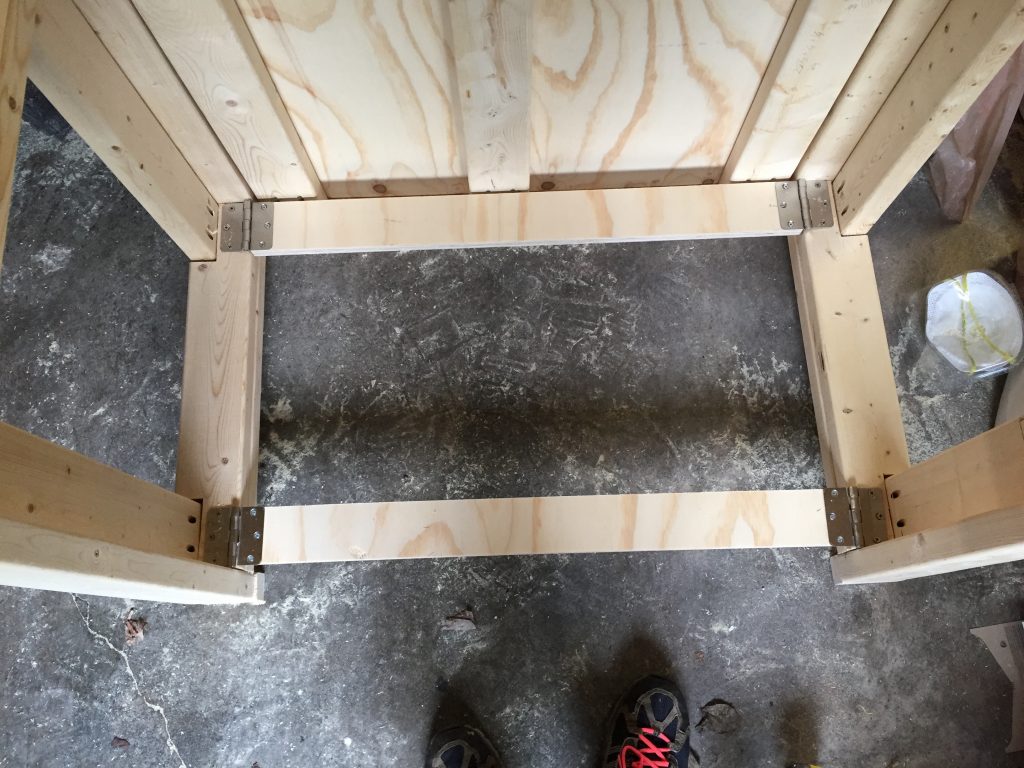
More testing.
Attached but not cut in half yet.

View from the other side. 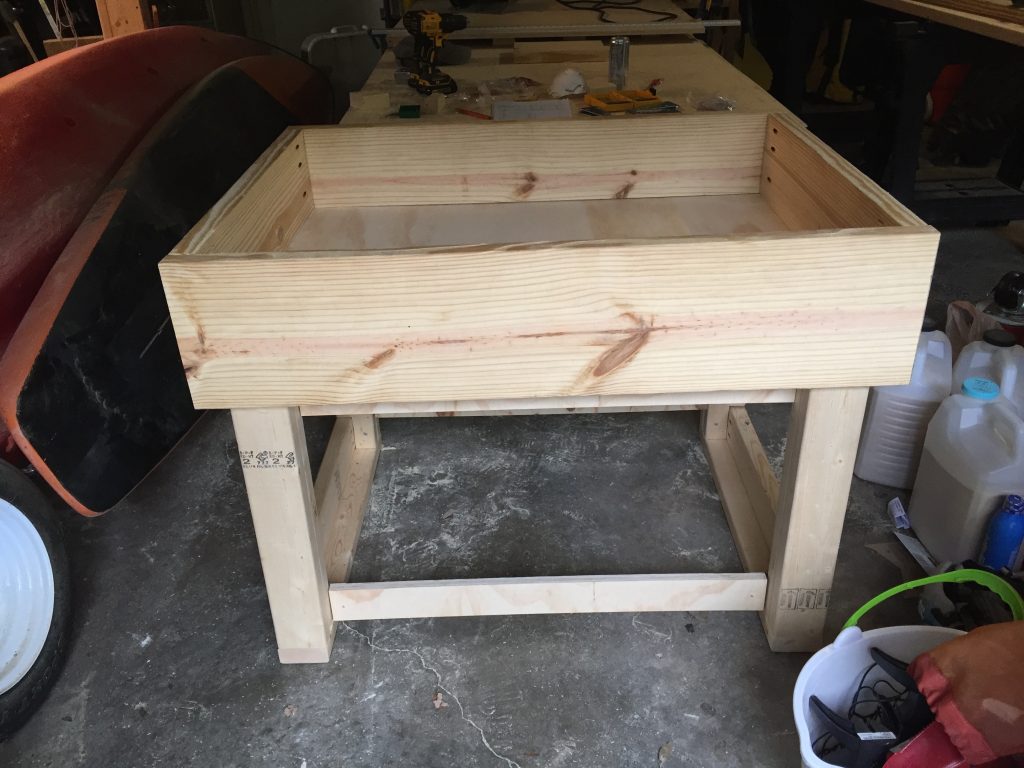
With sandbox nested on top.
View from the bottom with the cart and sandbox nested together. 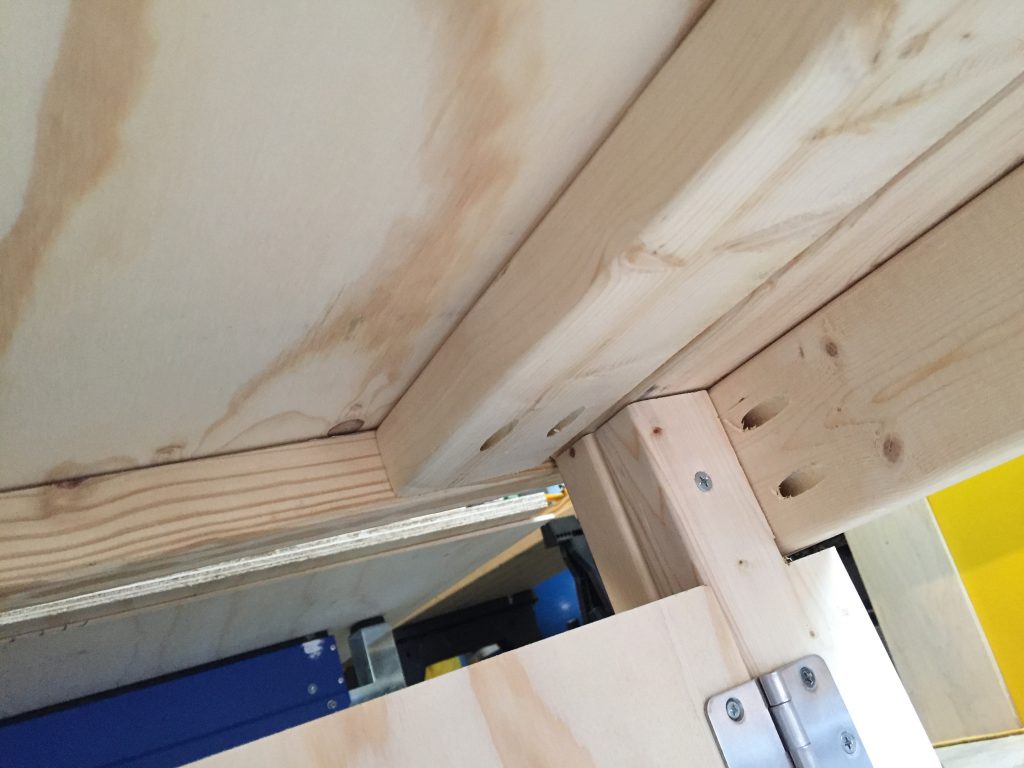
Same thing but from other side.
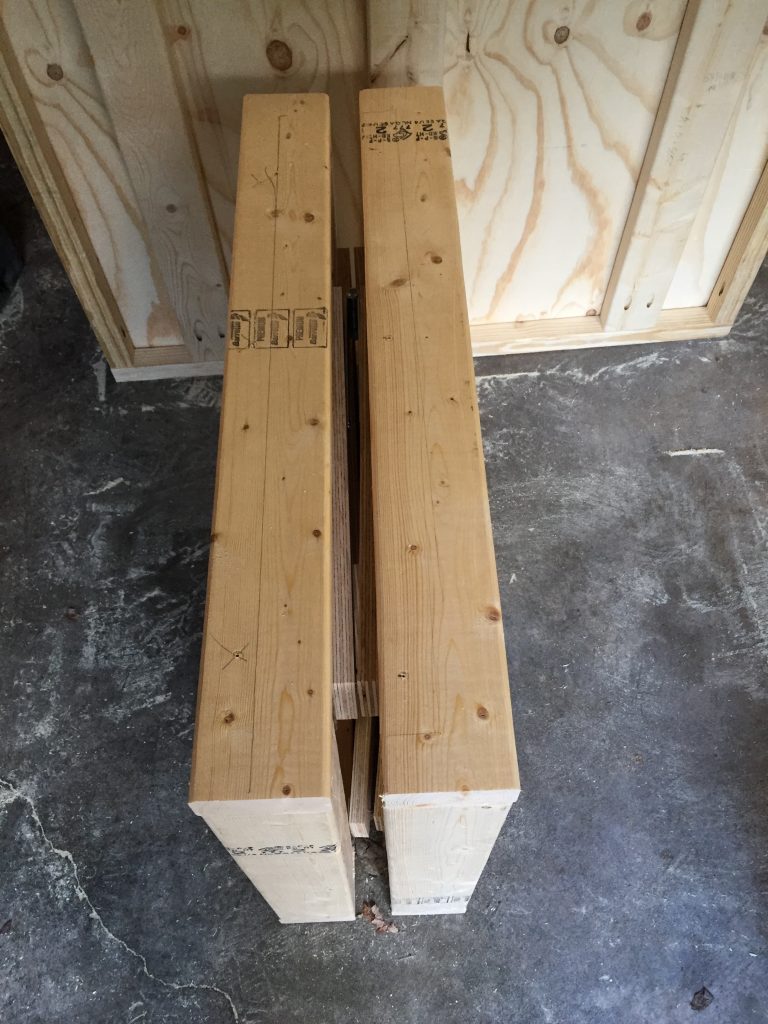
It turns out you really have to follow the plans exactly, because if you don’t, the cart won’t quite collapse all the way. 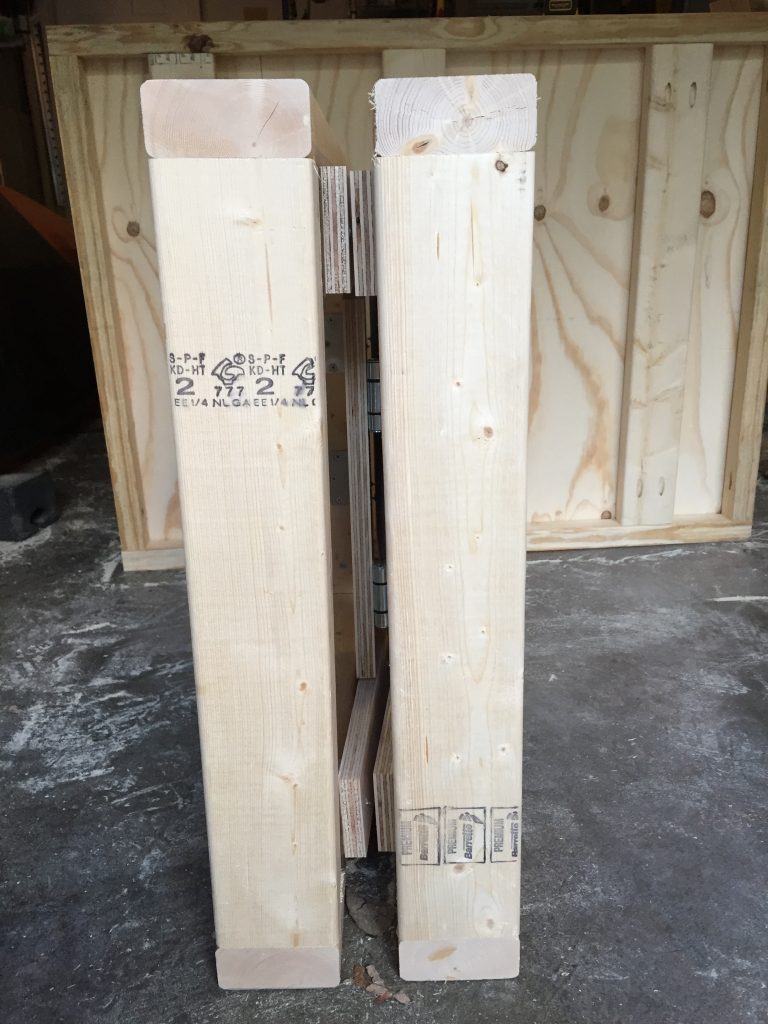
Oops.
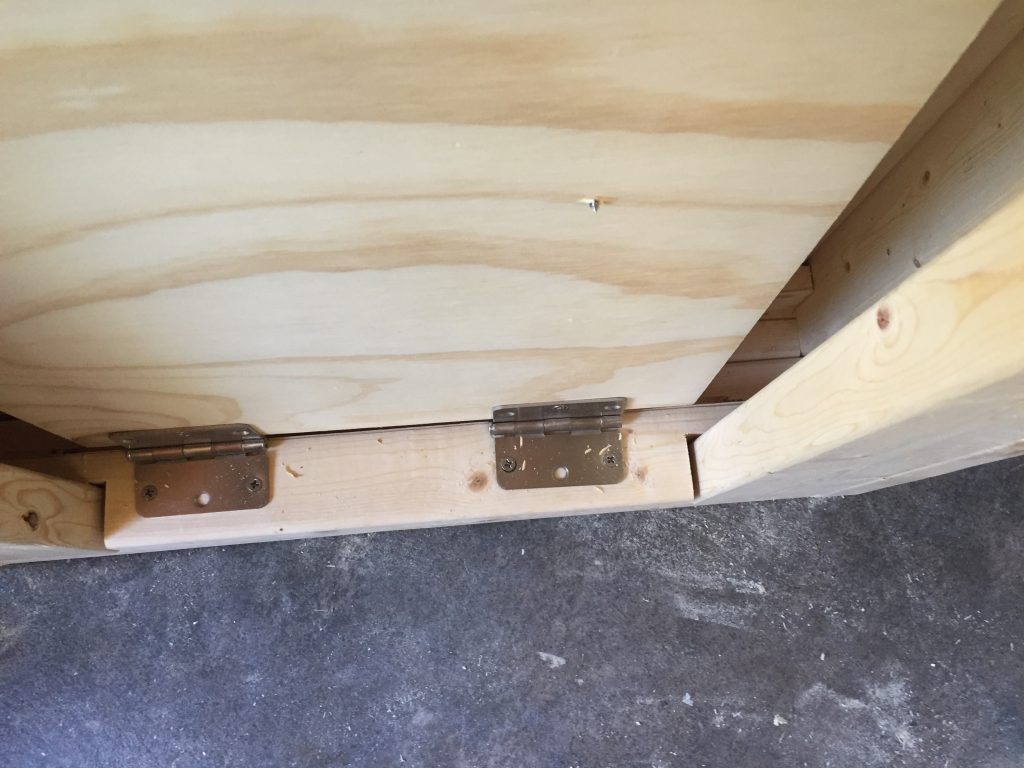
You can clearly see from here how the hinges stick out too far. 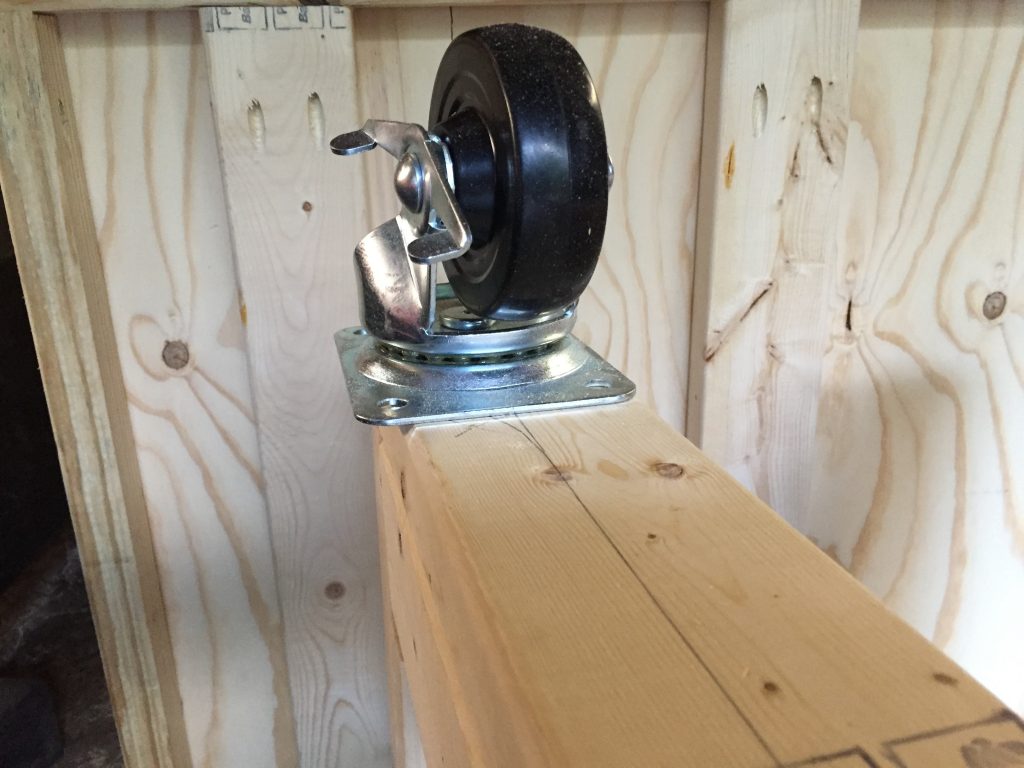
Speaking of oops, make sure your caster base will fit on the cart. 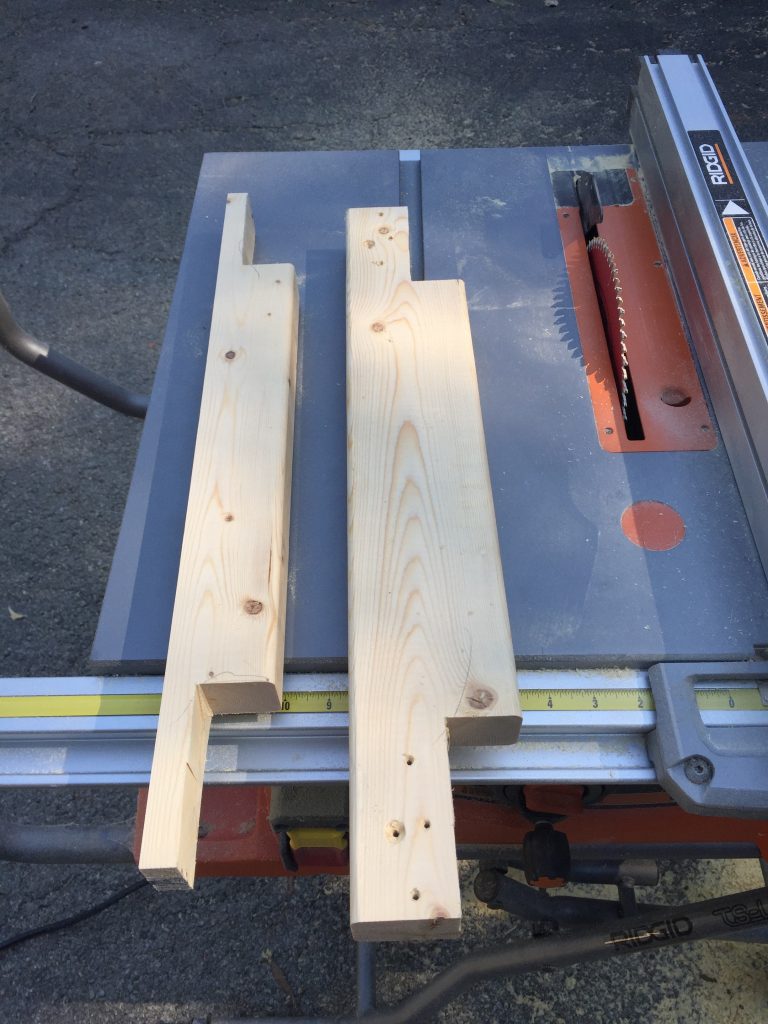
So I had to unscrew the cart legs and trim the piece that holds the hinges. This made me really nervous because of how skinny the top and bottom are now. 
You can see how skinny the 2×4 is at the top and bottom. I used a lot of wood glue when assembling this and pre-drilled all my holes because I didn’t want it to split.
No issues with the screws for the back panel since there was plenty of 2×4 left. 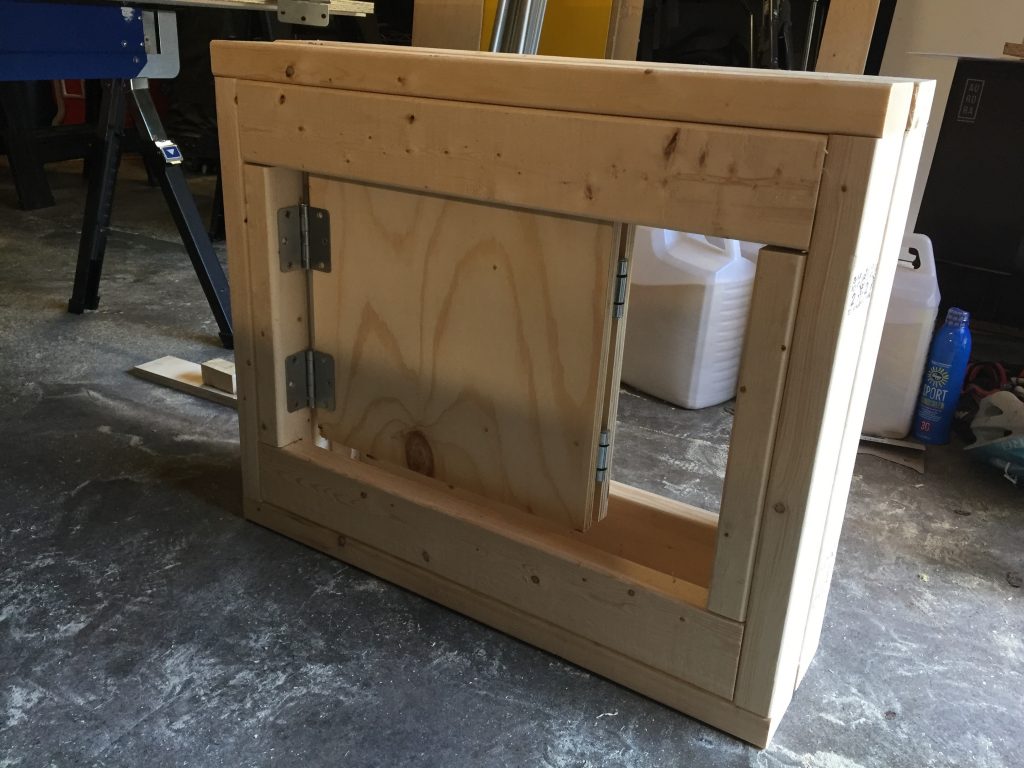
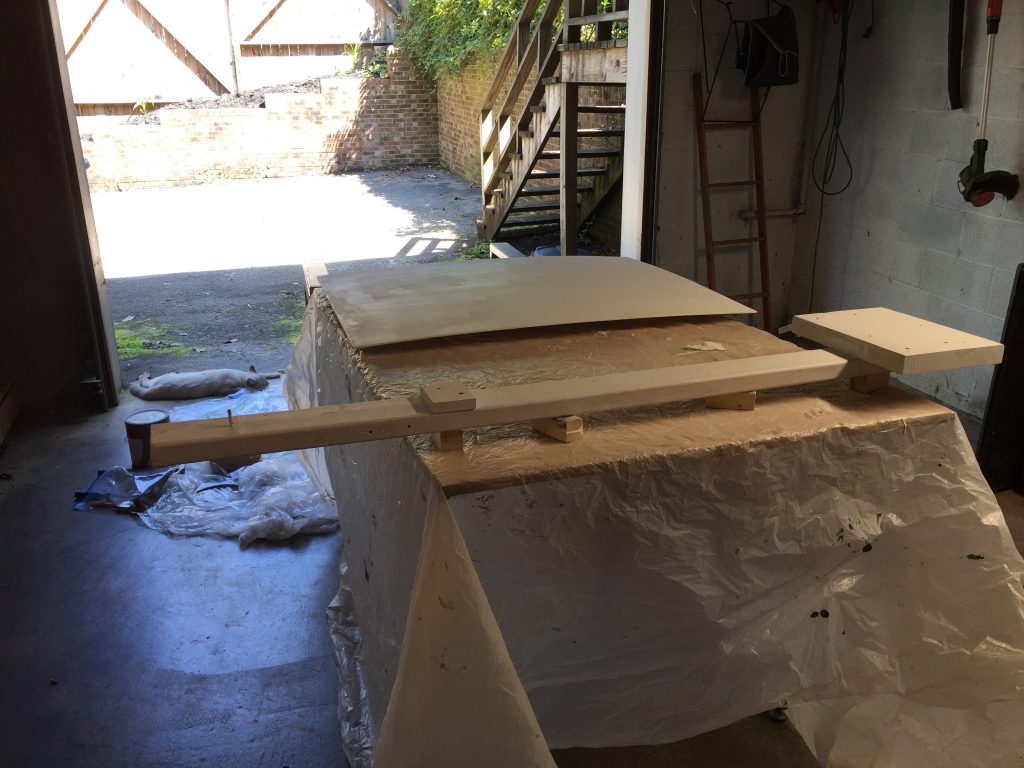
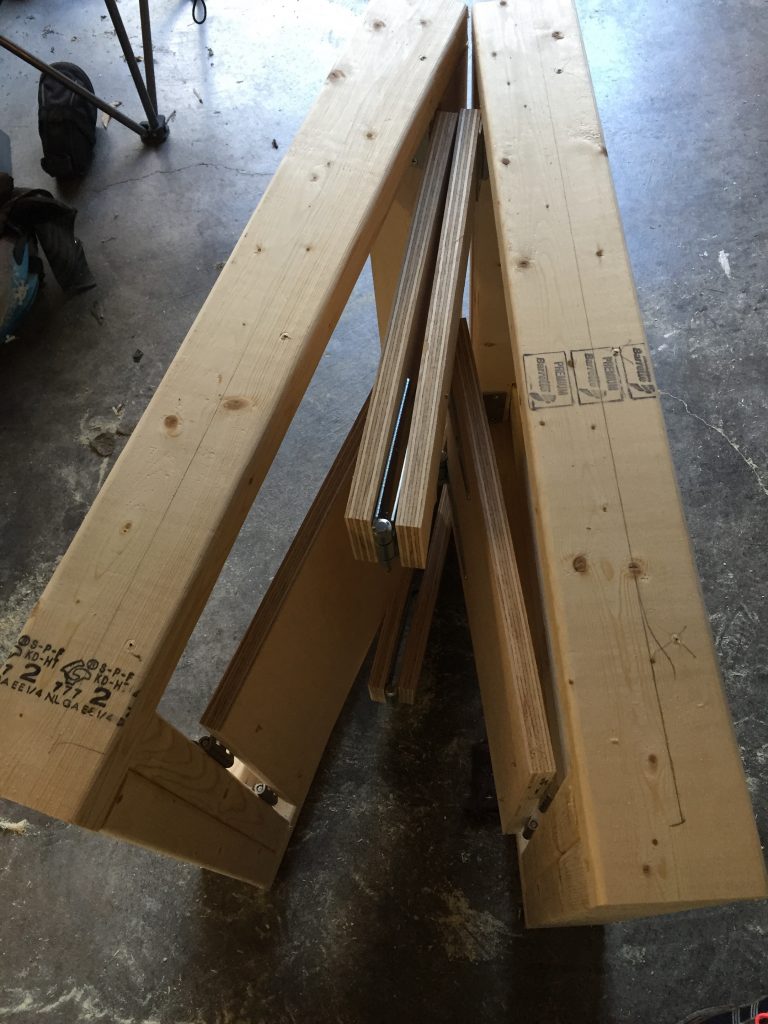
Folds flat.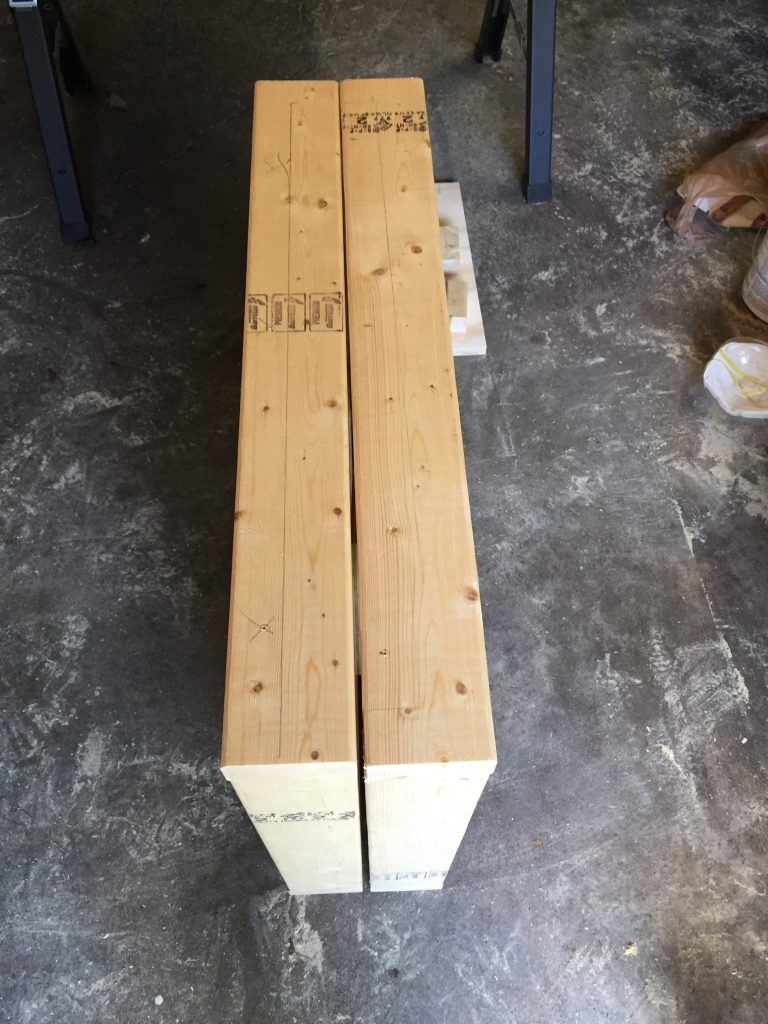 Folds flat.
What to do about the sand?
This is the most miserable part of using the sandbox. How do you load and unload the sand quickly without making a mess? I opted for kitty liter containers since they are free and aren’t too heavy when loaded with sand. I use an oil change funnel, some old cd stack cases, a hand broom, and a dustpan to get the sand out of the box and back into the containers.
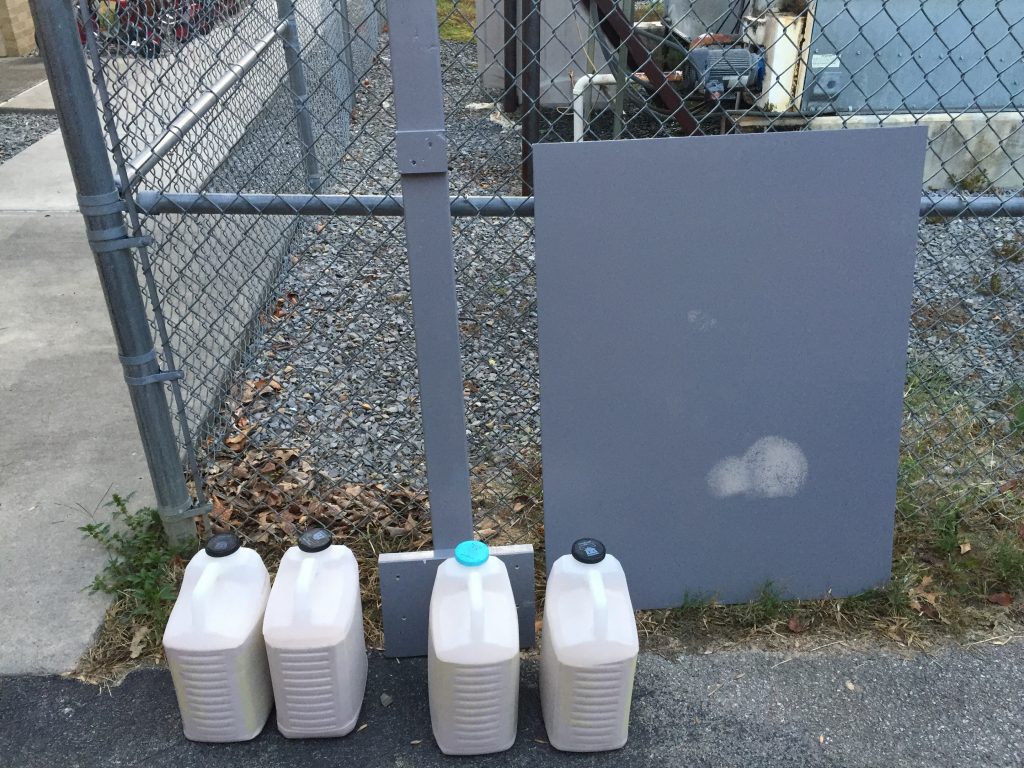
It takes about 6 kitty liter containers to hold the sand.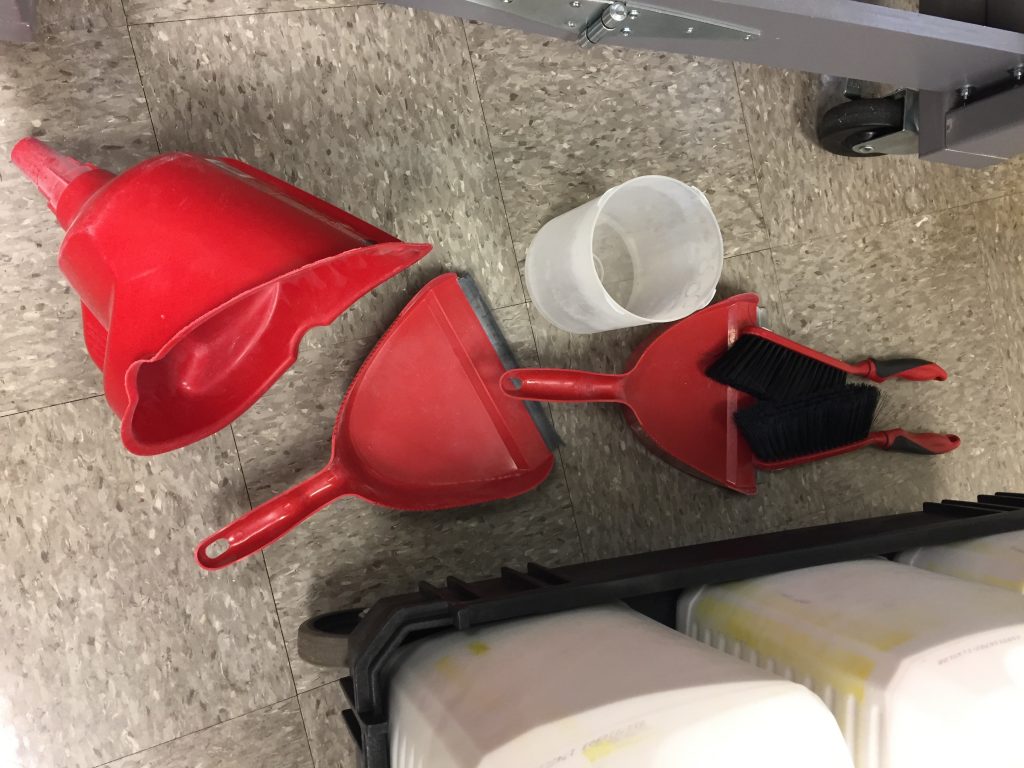
Sand packing instruments.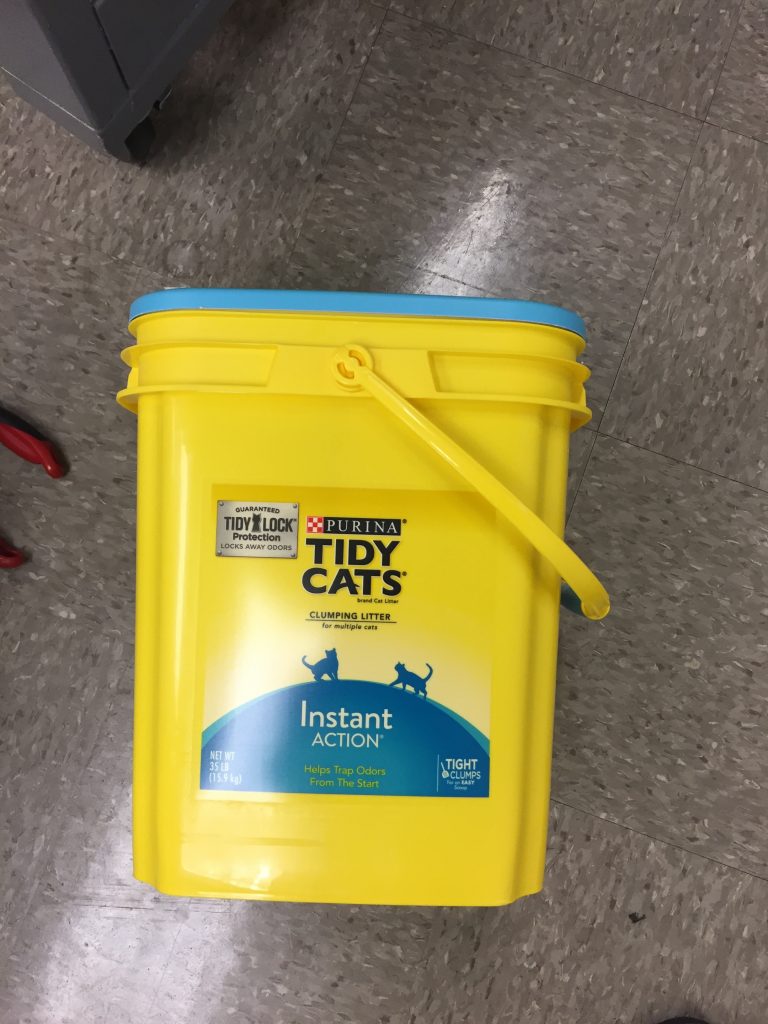
I’ll be testing these other types of kitty liter containers to see how much sand they hold and can I lift it when full. The benefit of these is that they have a large opening so we can skip the funnel.
Numerous people have suggested cutting a hole in the bottom of the sandbox and using a stopper. Simply put the container under the sandbox and pull the stopper. That would work great except for when the sandbox is already on the floor at elementary school events.
Transporting the sandbox
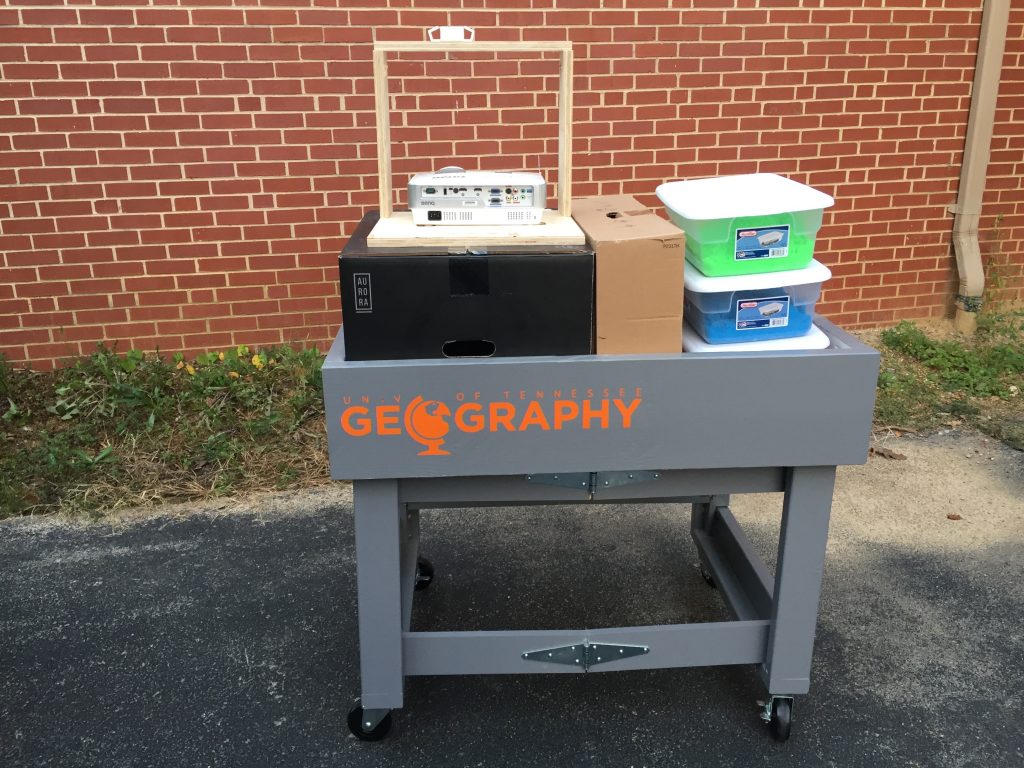
I have two different methods for transporting the sandbox based on what I’m bringing with me and the nature of the event. If we are just setting up for a recruiting event, I can fit everything I need, including the sand, inside the sandbox and transport everything as one unit.
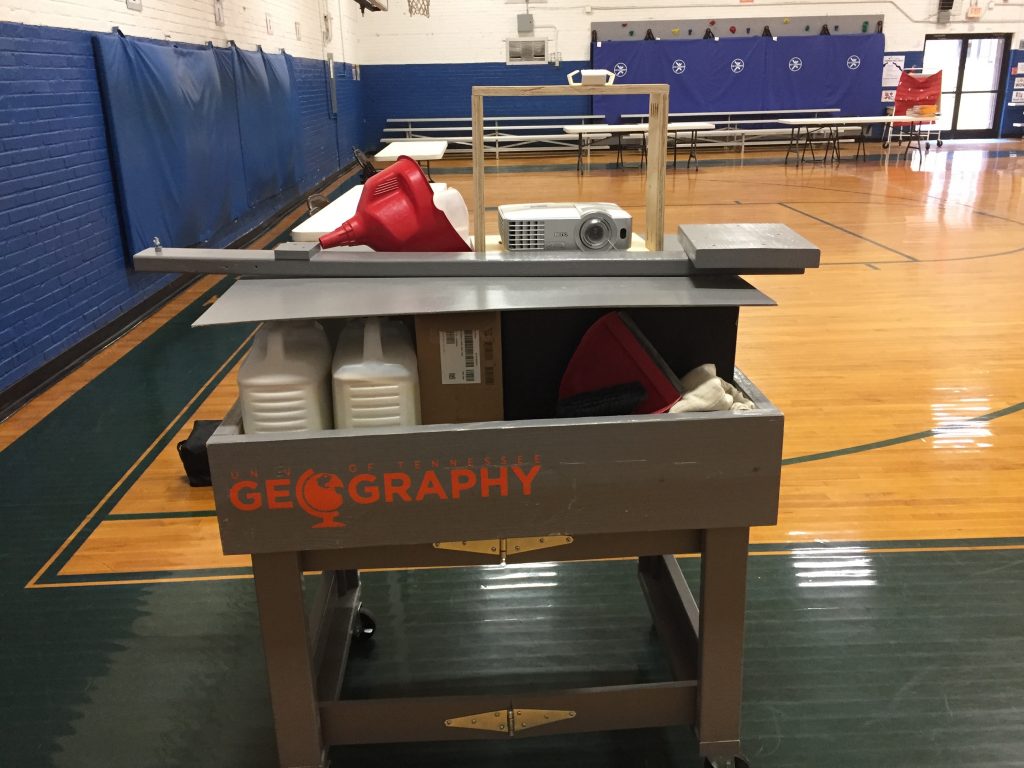
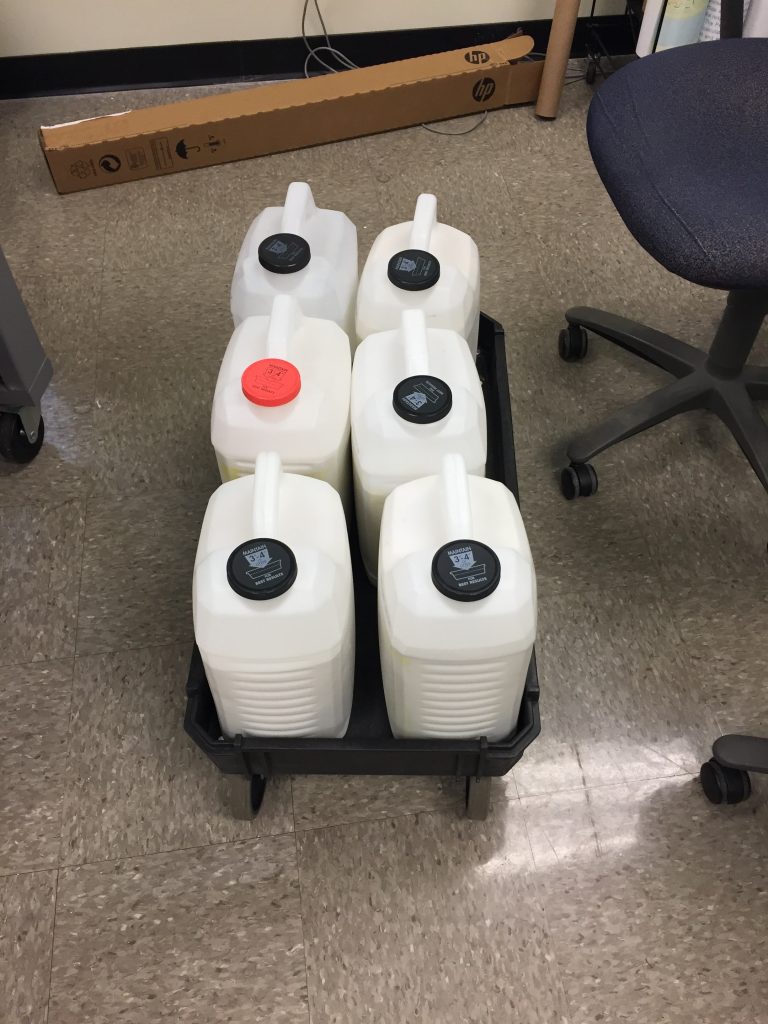
If instead I’m going to a school and also taking our mini-sandboxes of kinetic sand with us, then I have to have a separate cart to haul the sand.
The cart and sandbox filled with computer, projector, cables and accessories, as well as our mini sandboxes filled with kinetic sand.

We haul the sand for the sandbox in a separate cart. We did not intend for all the sand to perfectly fit within the cart, it just happened that way. It does need a removable handle however.
What else do you need
A few other items we’ve found useful
- 3 prong extension cord
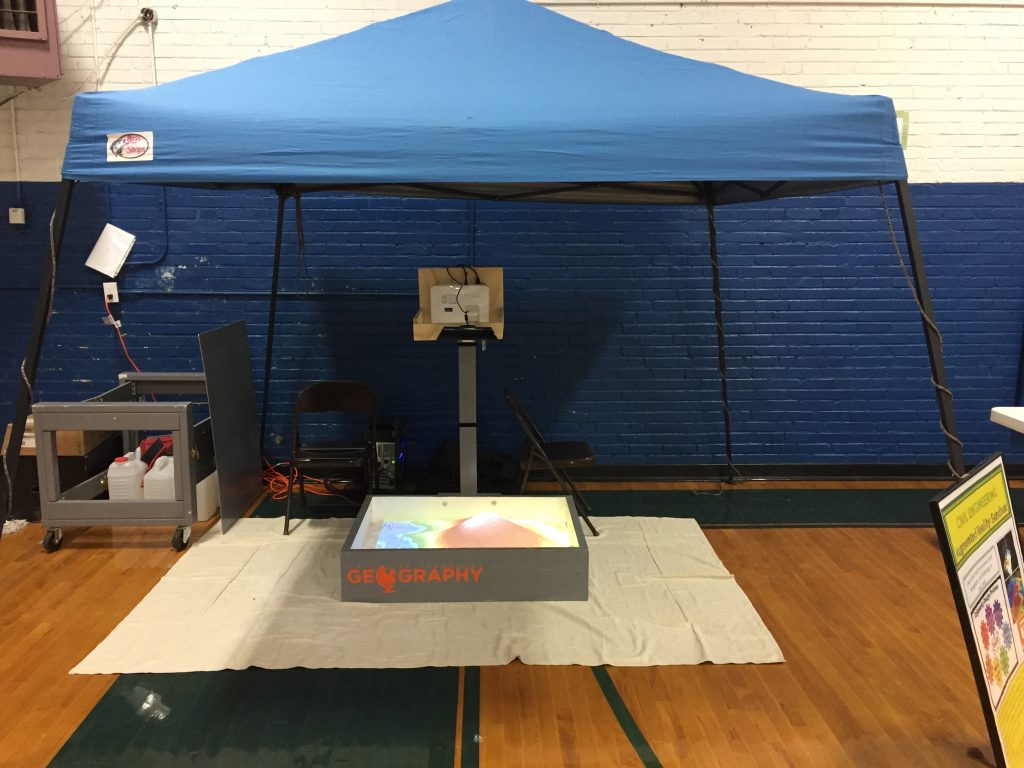
- Portable pop up shelter when set up in a bright room
- A long HDMI cable to keep the computer far away from the sand
- A tarp to set on the ground
- Velcro straps for cord management
- Self adhesive velcro for the back of the sandbox and the surge protector
Necessary upgrades along the way
The original wood screws we were using for the cart to connect the hinges to the plywood kept working their way loose. Most of them have been replaced with machine screws, washers, and lock nuts.
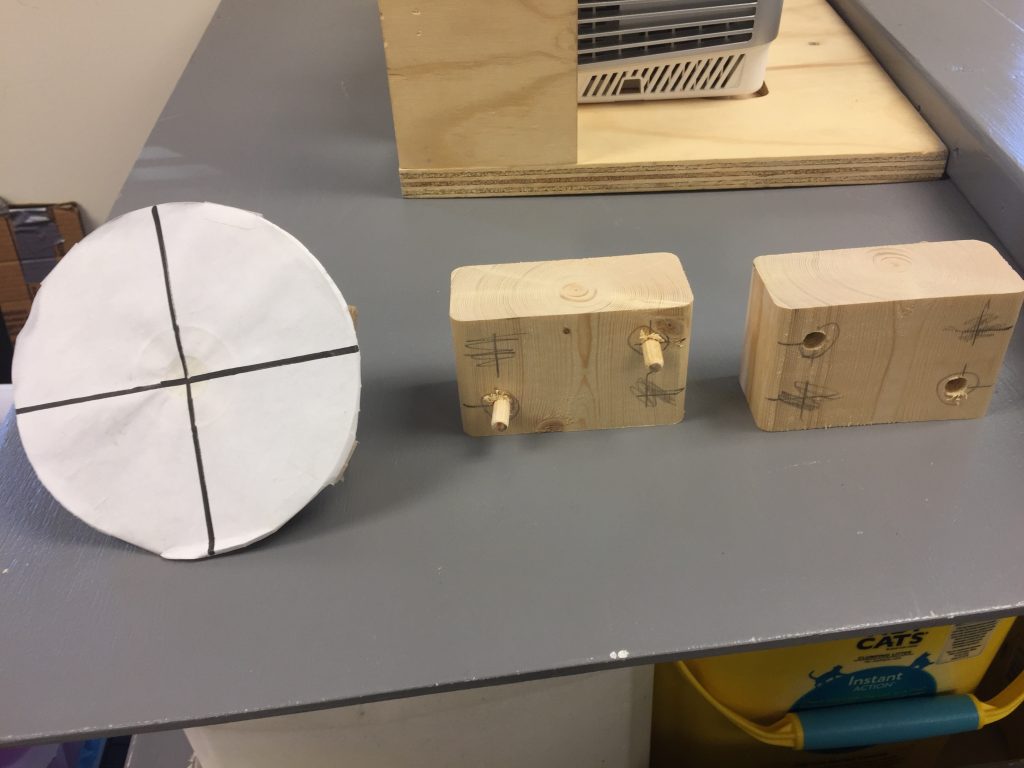
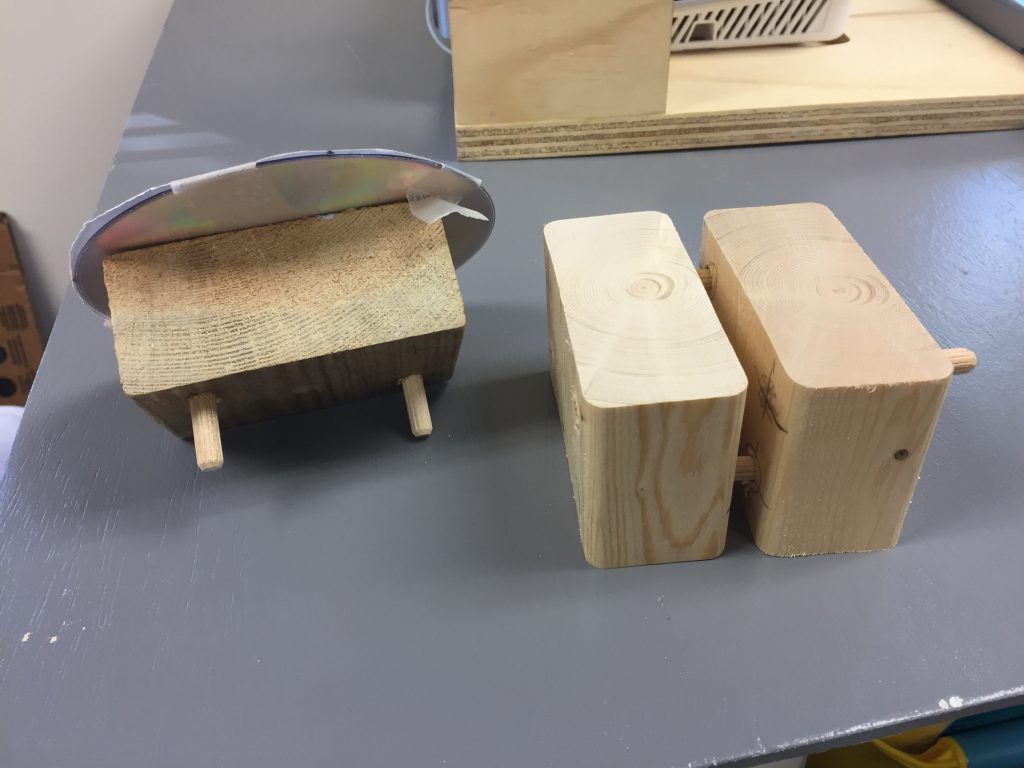
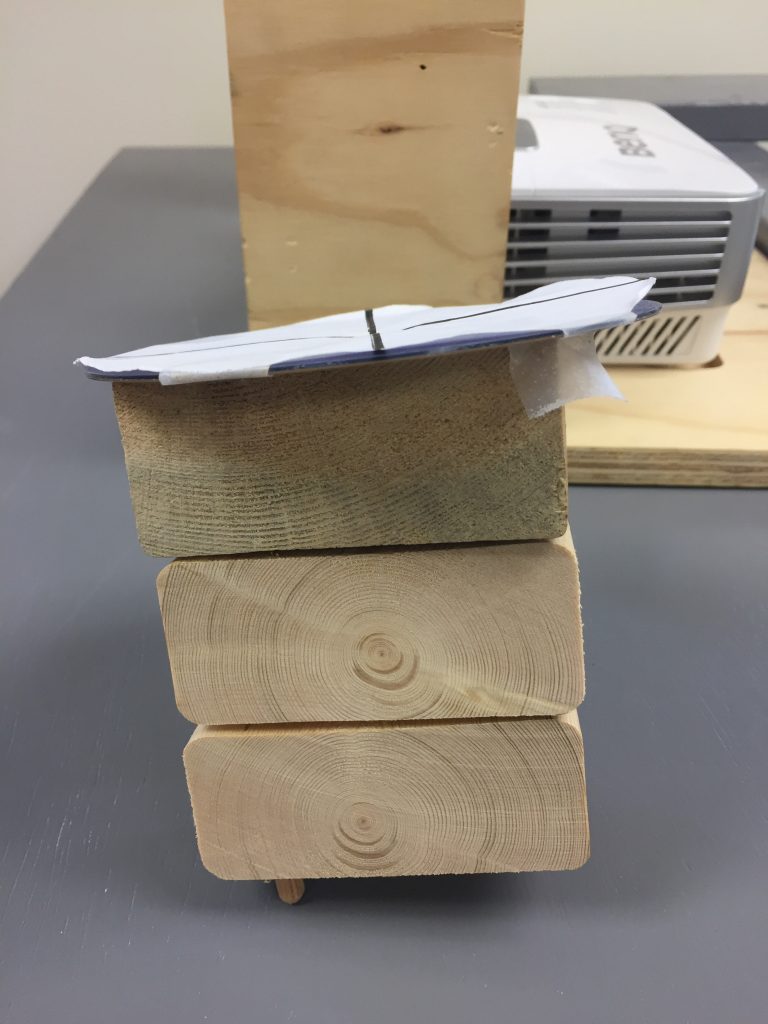
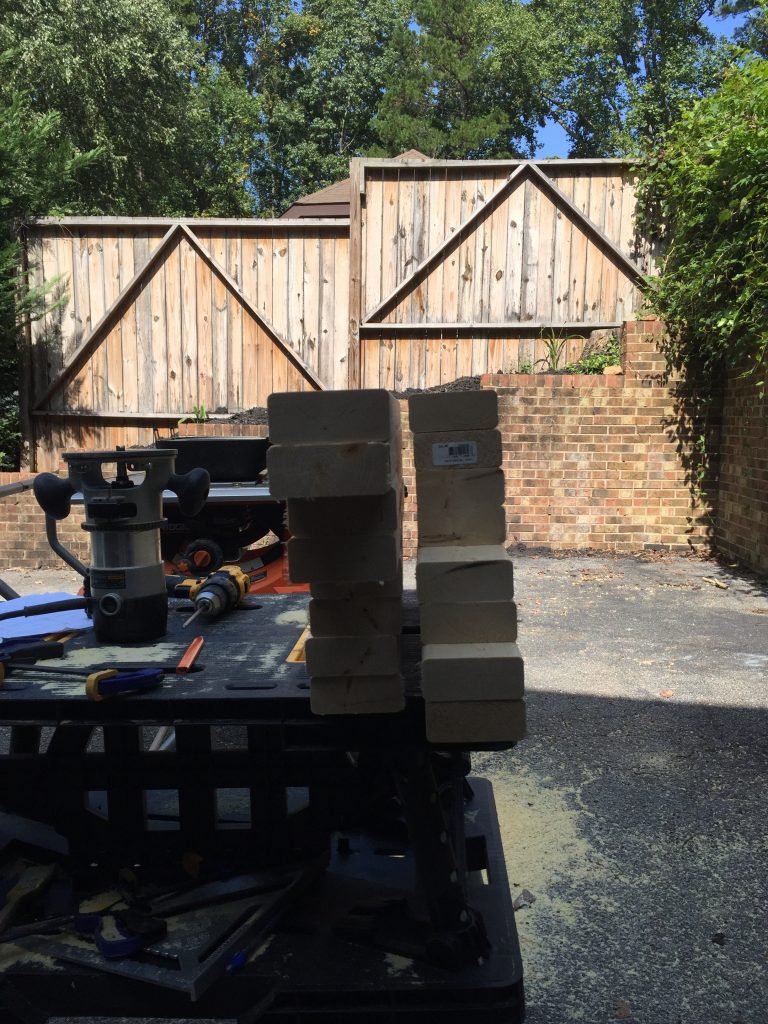
We’ve also updated the calibration disk. We were originally using a CD with a cross hair on it and suspending it above the sand with a folded up coat hanger. This was eventually replaced with a CD attached to a small piece of 2×4. Based on what we learned from System 76, we decided we needed to calibrate at multiple heights. We cut two additional pieces of 2×4 to fit underneath the CD, marked and drilled matching holes in the tops and bottoms of each block, and inserted wooden dowels into the holes. The dowels keep the blocks from sliding off of each other during calibration and keep the blocks from moving in the sand.