We were asked this fall if we could help a teacher prepare an activity to represent weathering and erosion in a way similar to the AR Sandbox for map reading and landforms. We did some internet sleuthing and found this website with plans for a DIY Stream Table.
We used the plans and some materials from a local hardware store and built our own stream table. We also found a variety of lesson plans already created here. The website hasn’t been updated in some time so we tried to find all of the old lesson plans on the Internet Archive Wayback Machine and placed them in a shared Google Drive.
Ultimately we will try and purchase some EM River Modeling Media for use in the stream table so that we have assorted particle sizes, rather than uniform sand size. In the meantime, we added assorted gravel and rocks to our kit to show how the water moves around different features and how those features impact erosion along the channel. We also added some 3D printed structures to the stream table so students could have reference points for different erosion processes. We also laminated some index cards with the words “erosion”, “deposition”, and “transport” on them so students could indicate where they thought these processes would take place.
Building the Stream Table
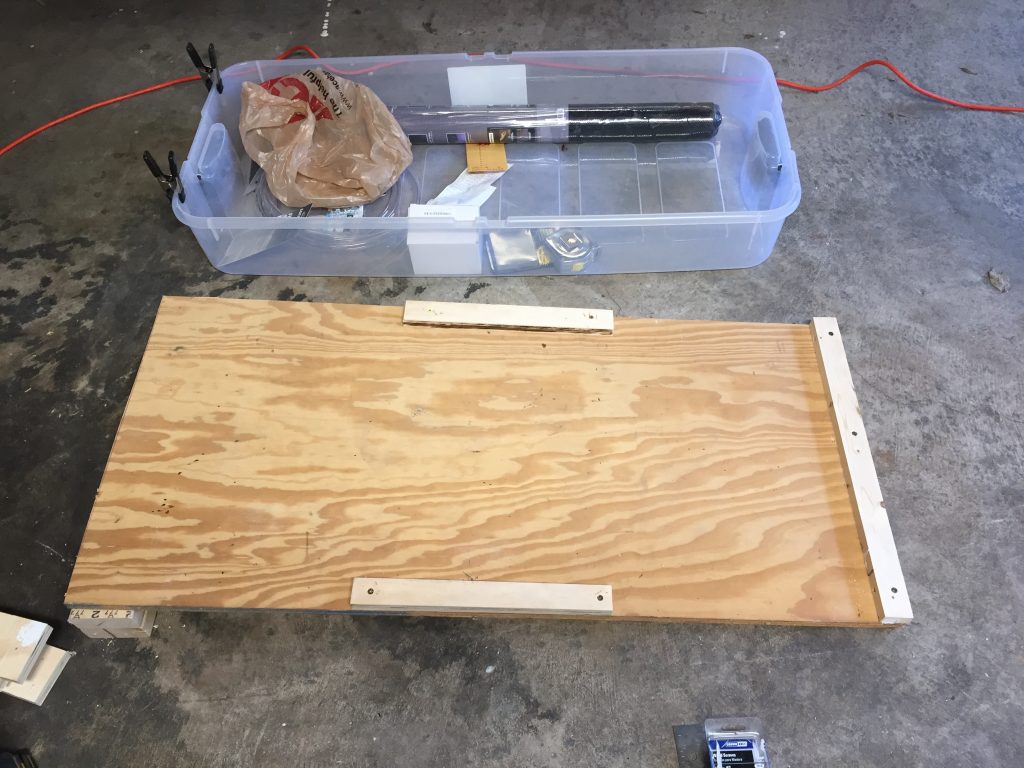
A plywood base to support the plastic under-the-bed-box with rails to keep the bin from sliding off.
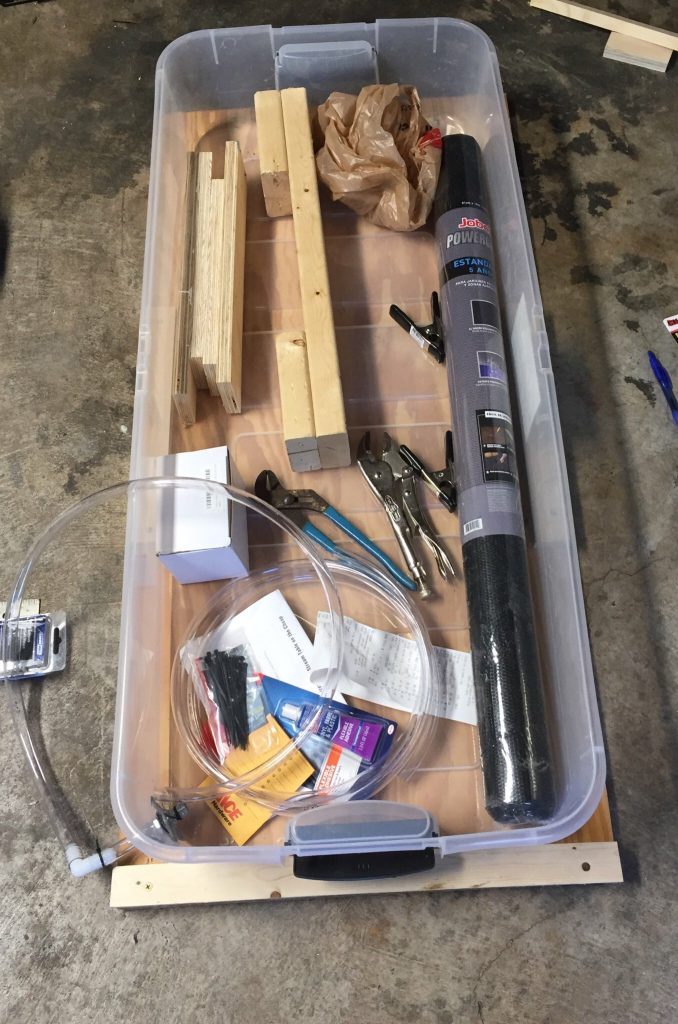
Assorted materials and tools used to build the stream table.
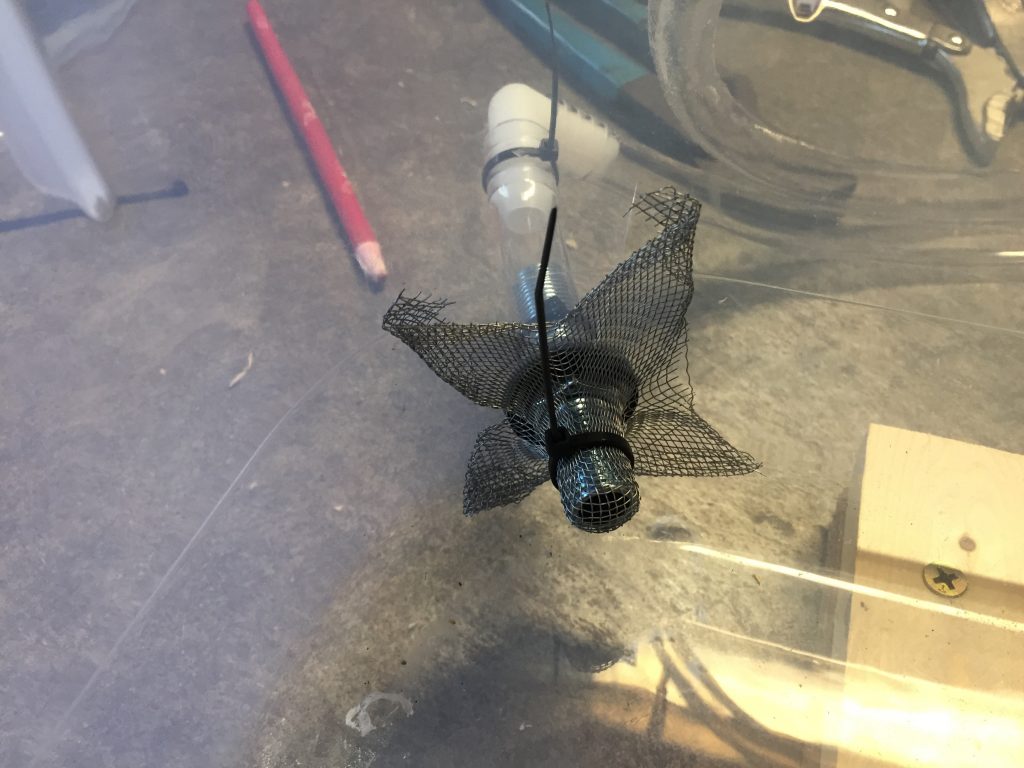
Aluminum screen repair patch to keep crud out of the tubing.
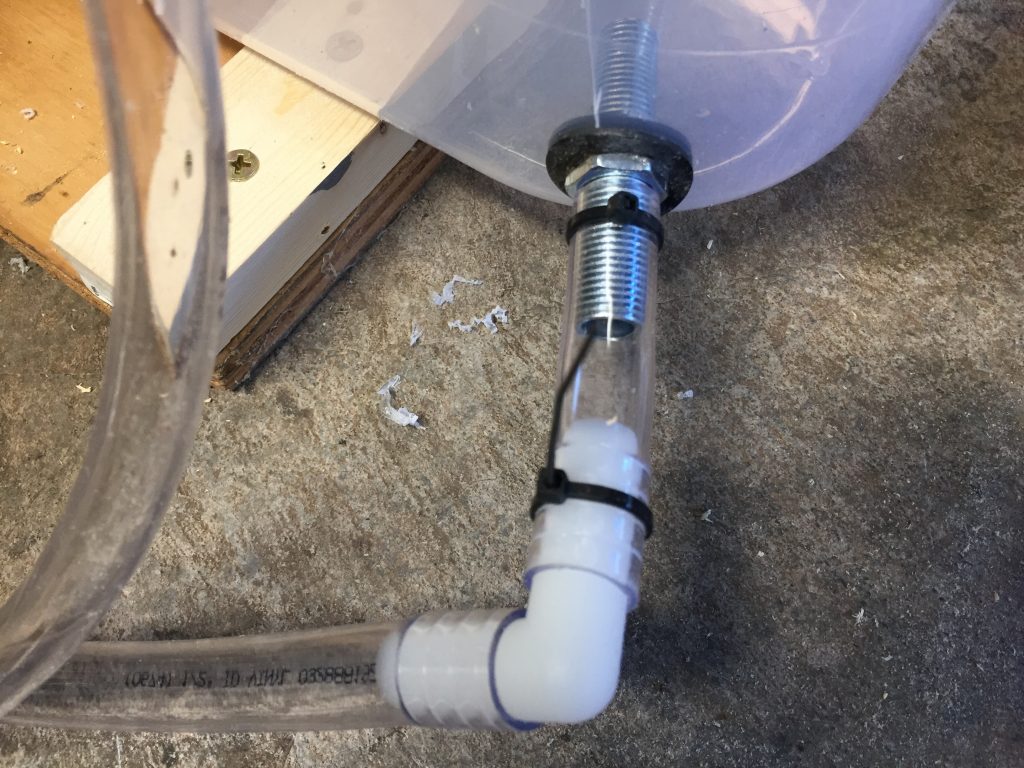
Plastic tubing, elbows, washers, zip-ties, lamp nipple, and nuts for the outflow.
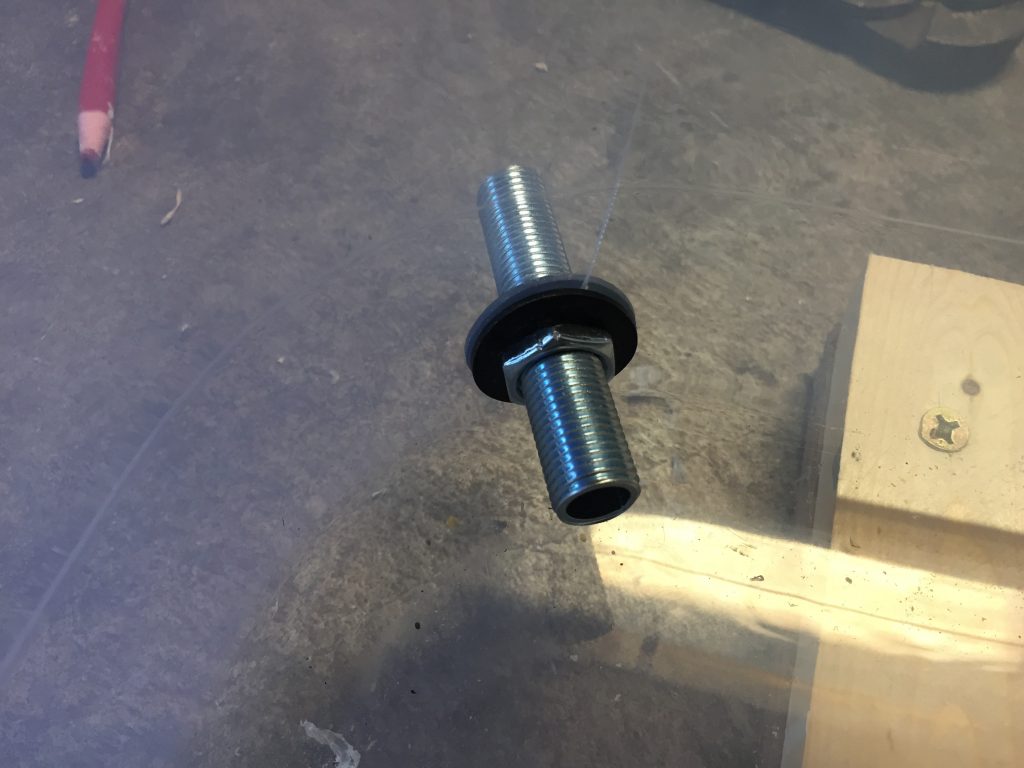
Lamp nipple and nuts (bought together in the same section of the hardware store). I couldn’t find standard nuts with the same thread pitch.
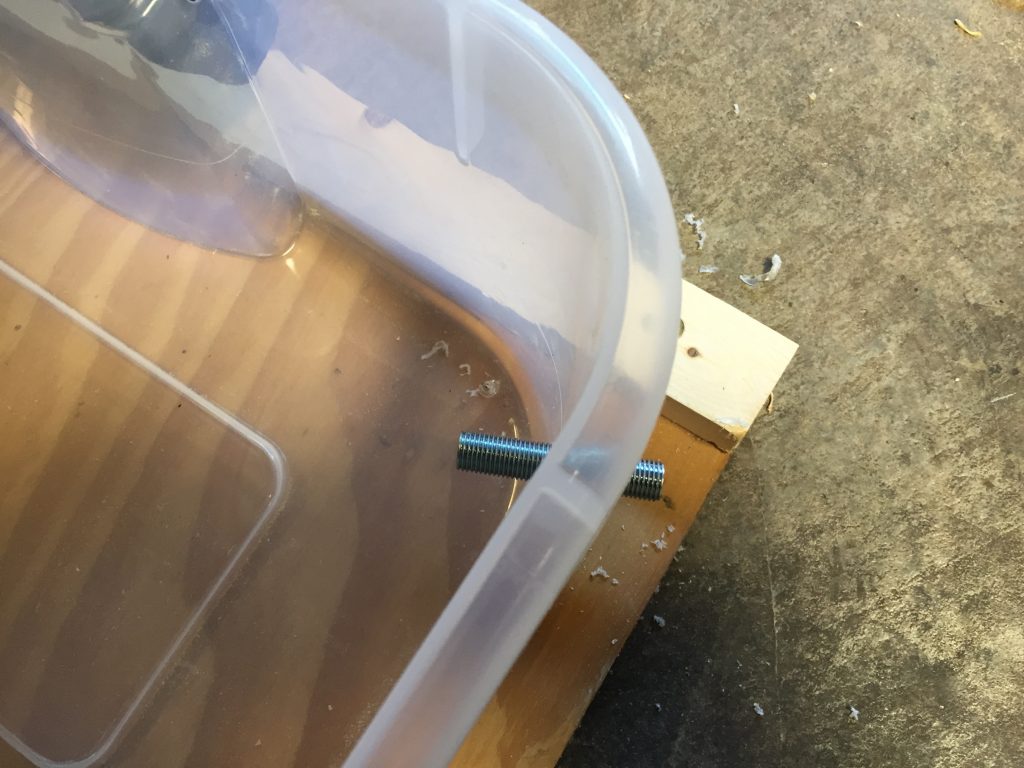
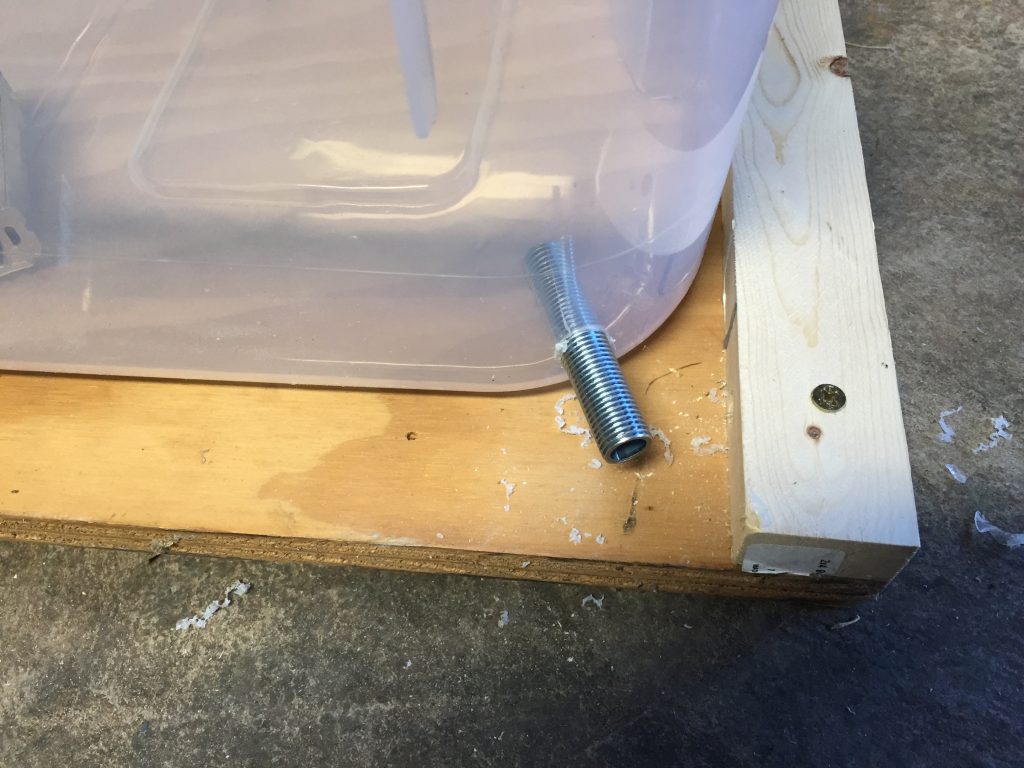
Threaded lamp nipple inserted into under-the-bed-box.
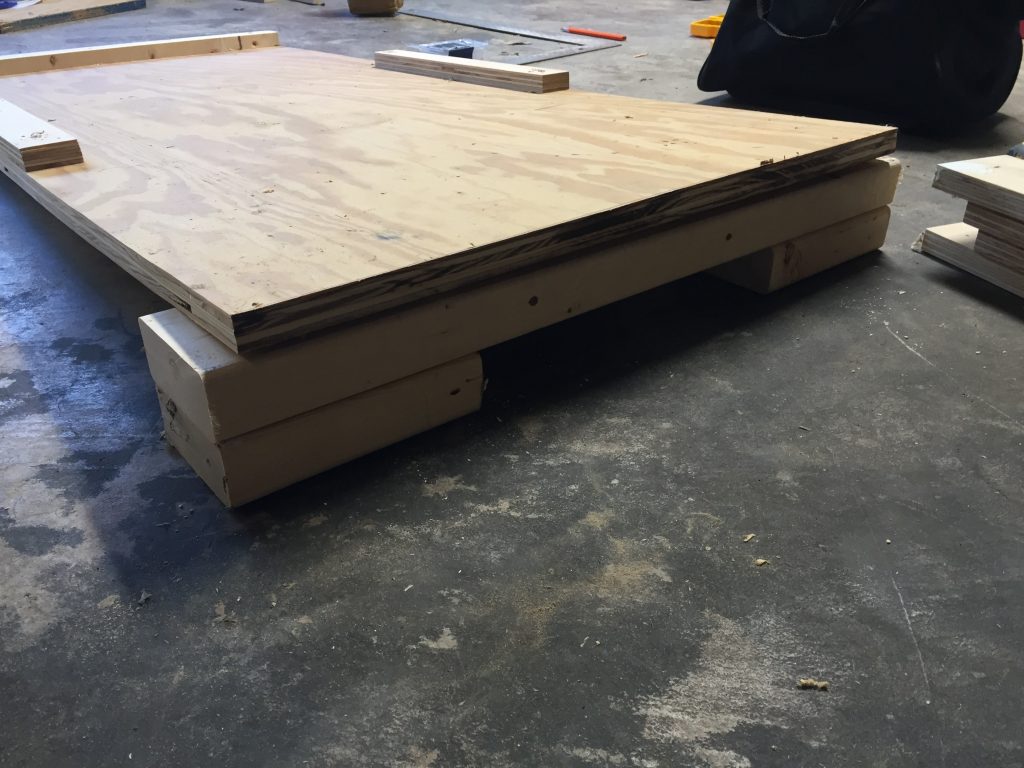
Various blocks of wood to achieve different stream table slopes.
Setting Up the Stream Table
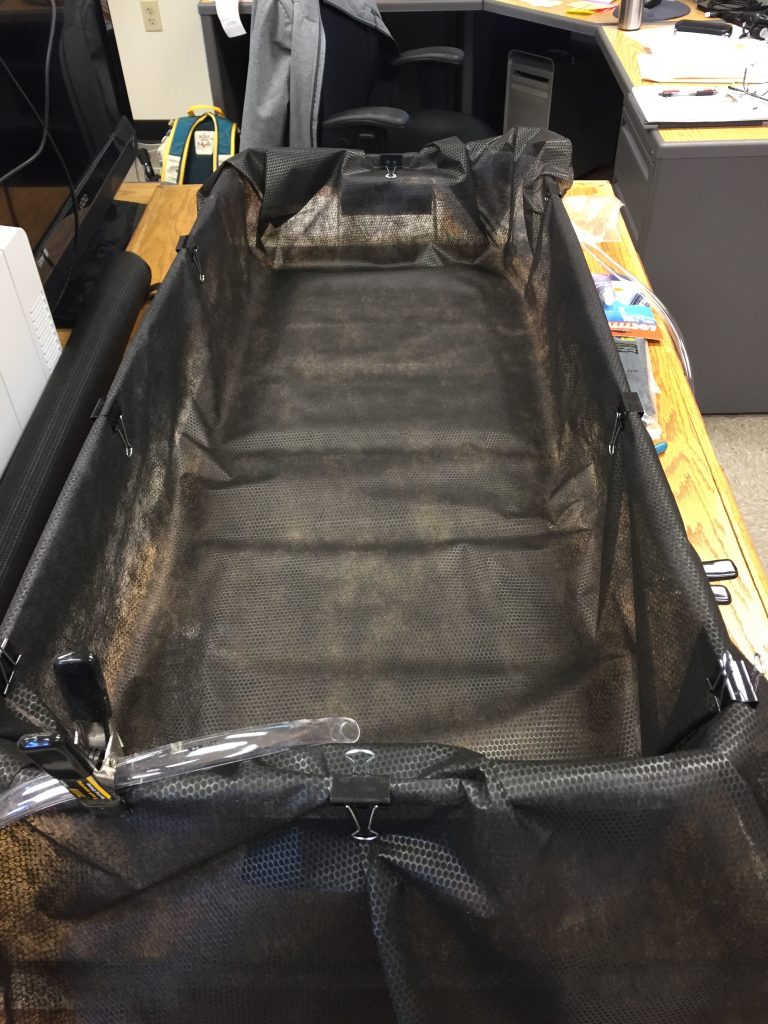
Per the instructions online, we added this landscaping fabric to have friction between the wet sand and the plastic so the sand wouldn’t just slide to the bottom of the bin.
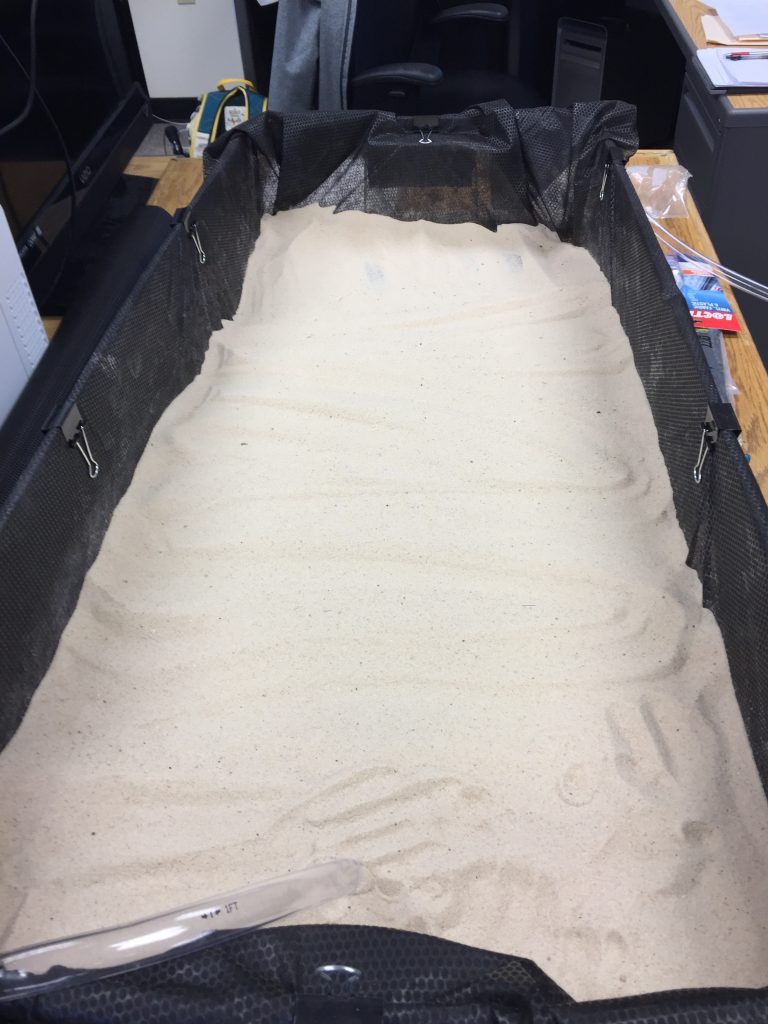
Added leftover/old sand from the AR Sandbox prototype.
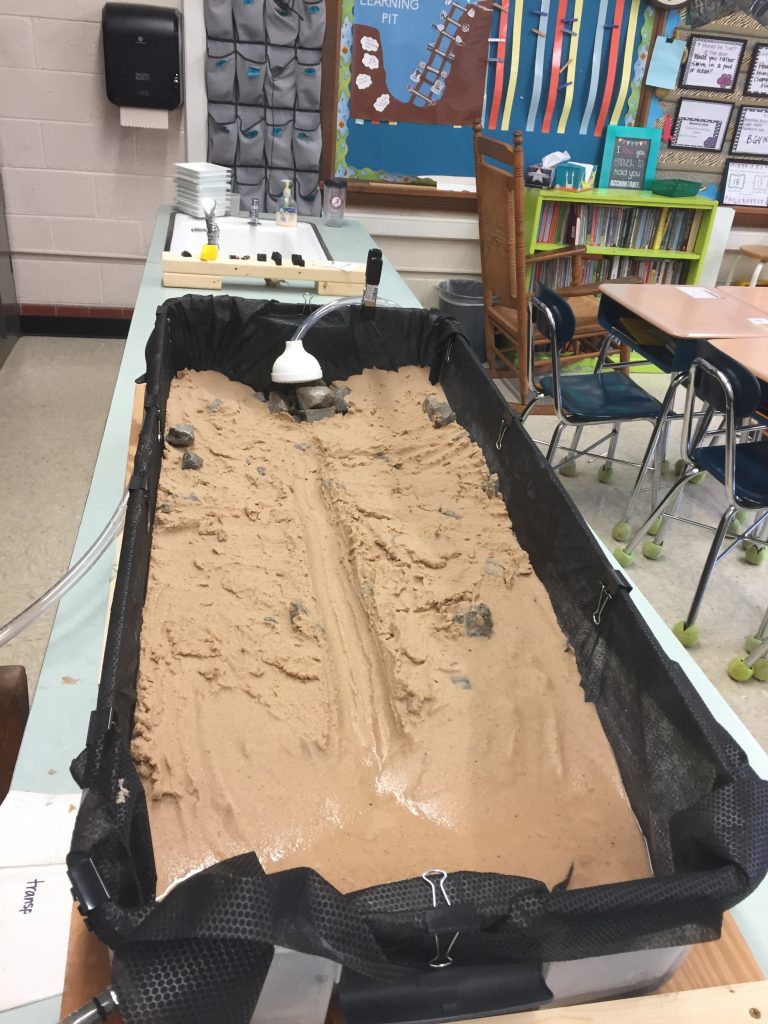
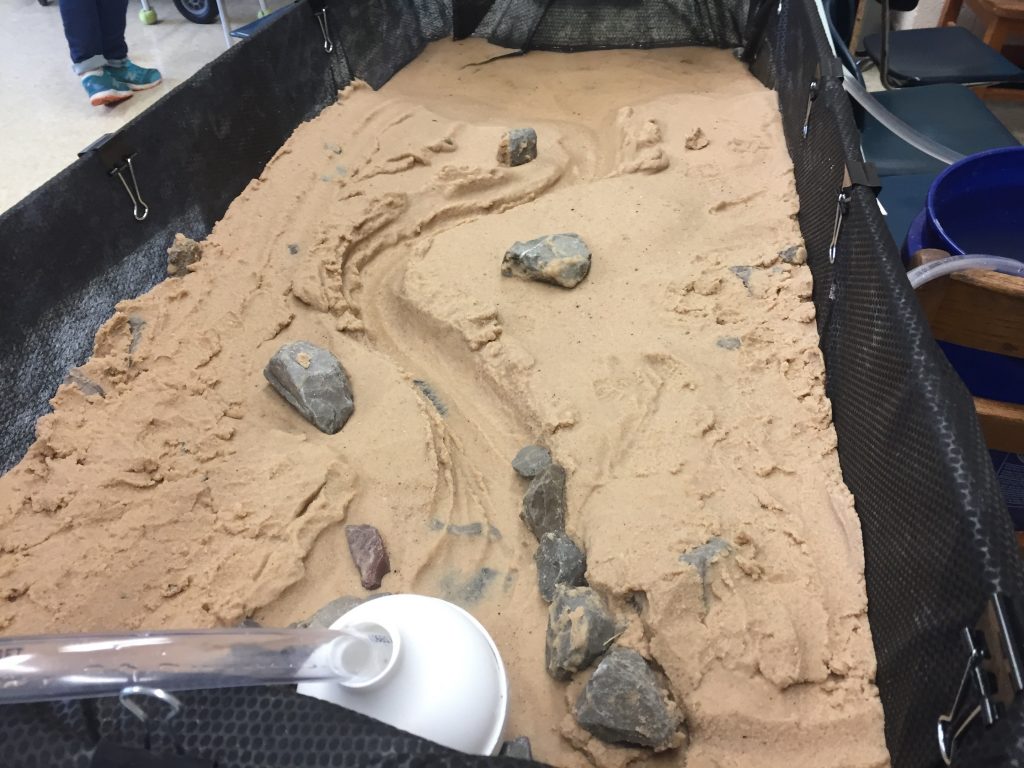
We added assorted gravel and rocks to the sand. Some was visible from the start and others were only visible after the sand started to erode. The students really liked how rocks would just appear seemingly from nowhere. Because the sand is of uniform size, we would also pre-form different channels before starting the water. Sometimes the channels were straight and other times meandering.

We can also use the blocks of wood to change the slope of the stream table. We used various 3D printed objects from Thingiverse so that students could put houses, farms, dams, etc into the model and see how erosion would impact/be impacted by those structures.
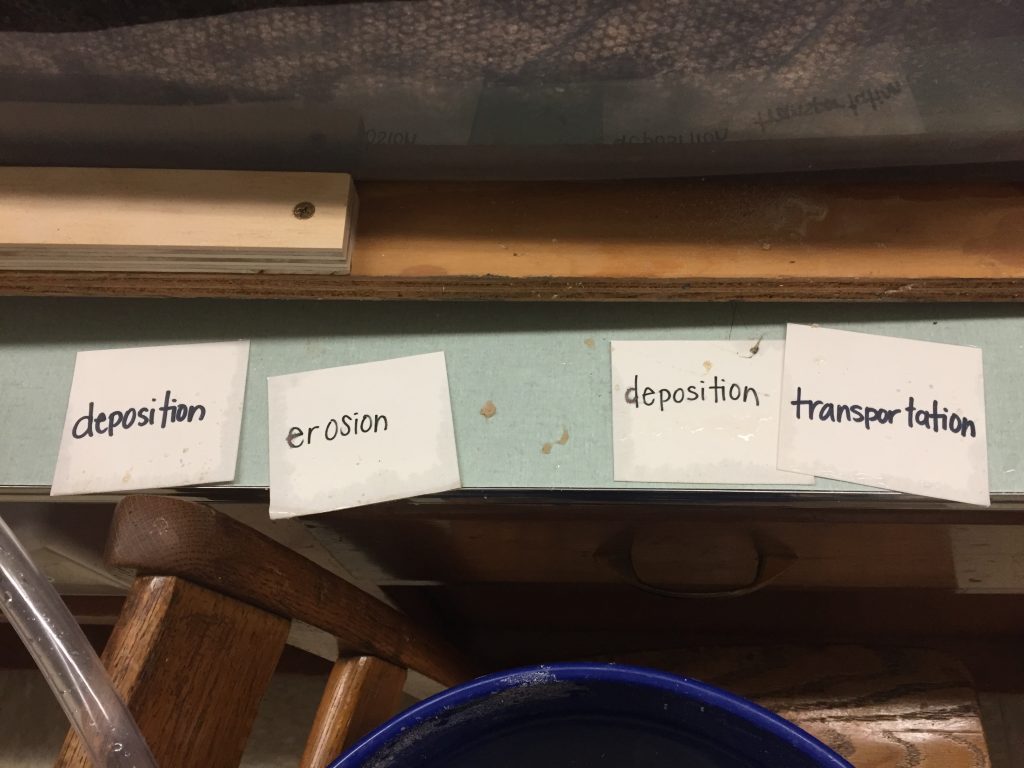
If you laminate the cards, be sure to leave some laminate around the edge of the paper or the cards won’t be waterproof.
Meandering stream pre-built with the head of a gardening can on the end of the hose to reduce the force of the water. We also built a rock pile immediately below the hose to diffuse the energy of the water out of the pump.
As an FYI, the sand behaves differently when it starts out dry versus damp versus sopping wet so be prepared for differences the longer you use the stream table.