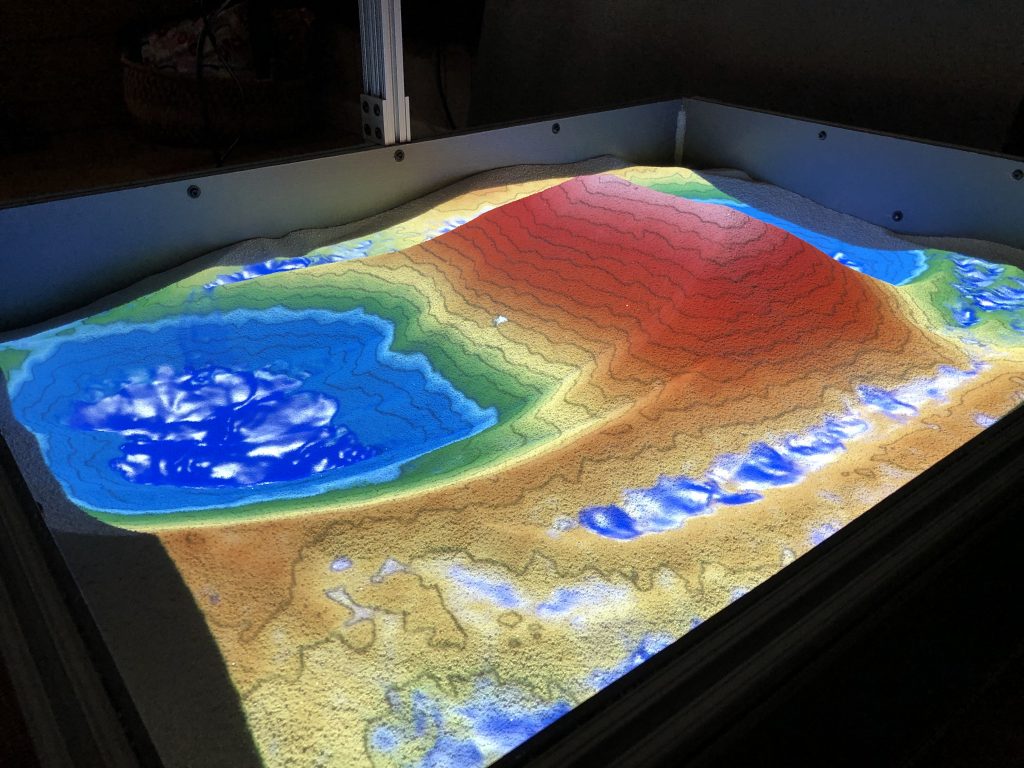
Proving yet again that no good deed goes unpunished, our augmented reality (AR) sandbox has been wildly popular, and as a result, has taken dozens of trips across Tennessee. And while the heavy duty (and heavy) sandbox has survived the wear and tear of all this travel admirably, my back hasn’t. It would be nice to have a new version of the AR sandbox that is lighter weight.
In addition, the AR sandbox and all its accompanying parts are very bulky and require a large SUV to transport. Anything we can do to reduce the bulk and make transportation easier would be greatly appreciated.
And learning from our earlier mistakes, it would be nice to have a finished product that can be transported through ADA compliant doors without disassembly.
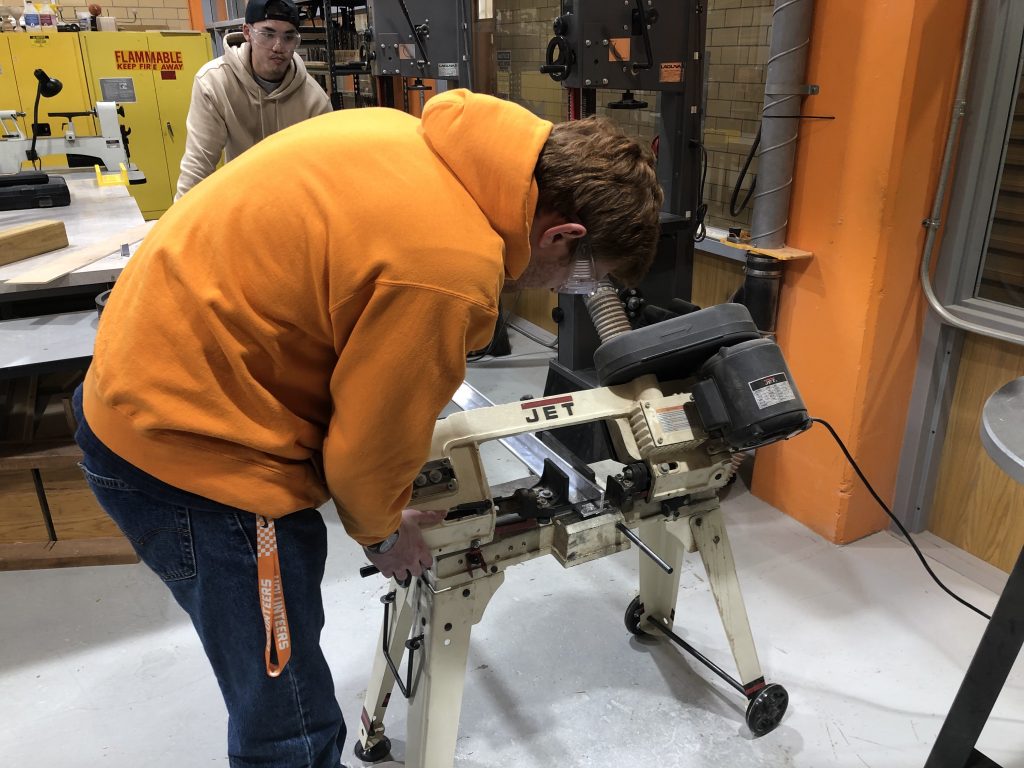
With these ideas in mind, we reached out to the UTK Mechanical Engineering program to partner with their Spring 2019 senior design class to help design a better sandbox. We were lucky to be partnered with a great group of undergraduate students and advisor who helped achieve all of our goals.
The rest of this page describes the design and build process with plenty of thorough documentation and photos. We also provide a few modifications we’ve made since the original guide was written. And no guide would be complete without some lessons learned. Finally, we provide some links to 3D printer files from Thingiverse you can use for various scenarios in your AR sandbox.
Build Guide and Albums
The engineering students were tasked with designing and building two separate components for our updated AR sandbox:
- A new box and post for the actual sandbox
- A new cart
While the box and post exceeded our expectations, we do NOT recommend using the cart with height adjustments due to the serious risk from pinch points and potential tipping hazard. For that reason, you will see photos of the cart in various places throughout this guide but we do NOT provide instructions for its assembly.
The engineering students wrote a very detailed and thorough guide to build the sandbox and projector mounting post available to download as a PDF. Please read and review the guide thoroughly before starting this project. You’ll notice that most of the sandbox is constructed using something called 8020.
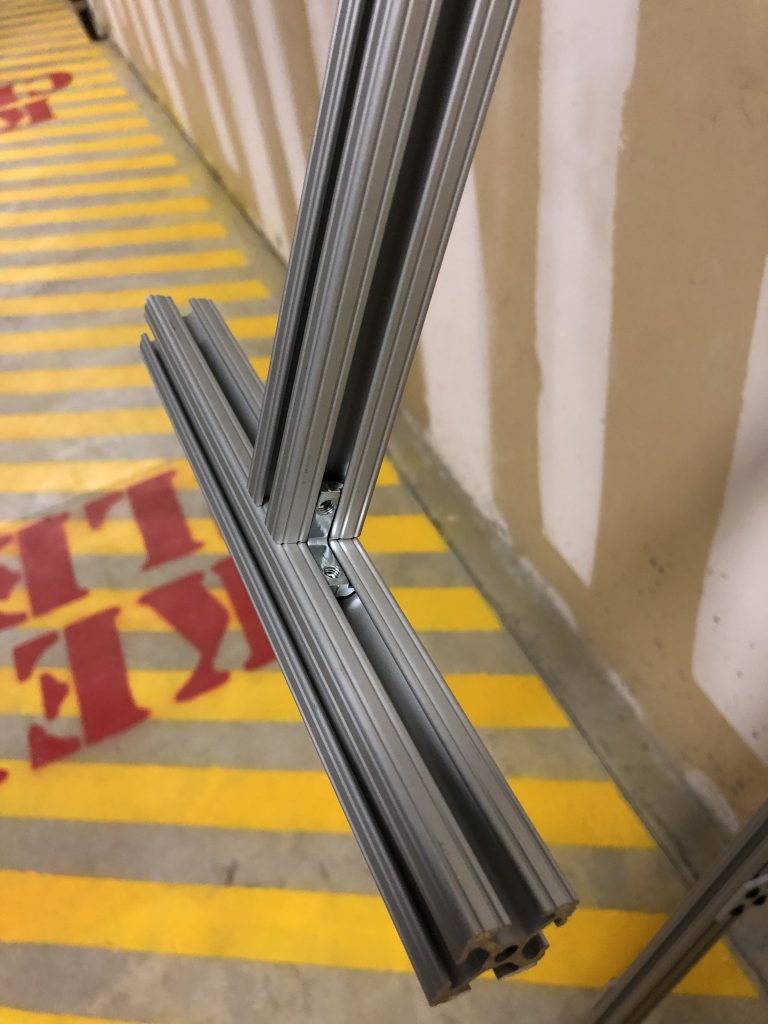
What is 8020?
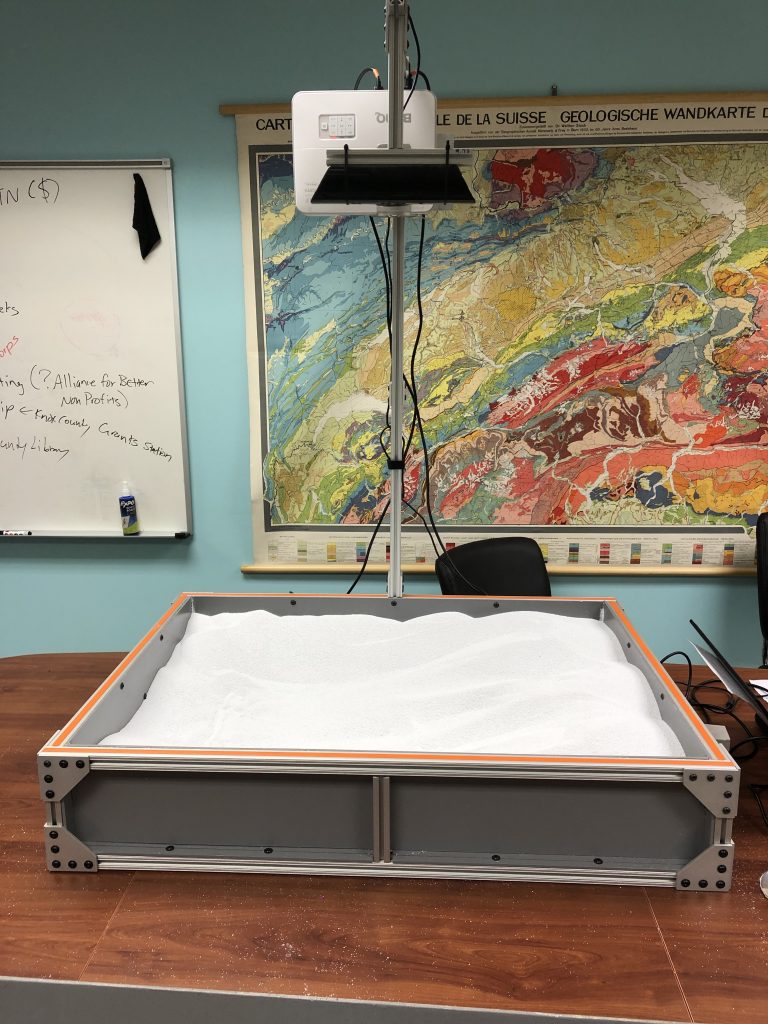
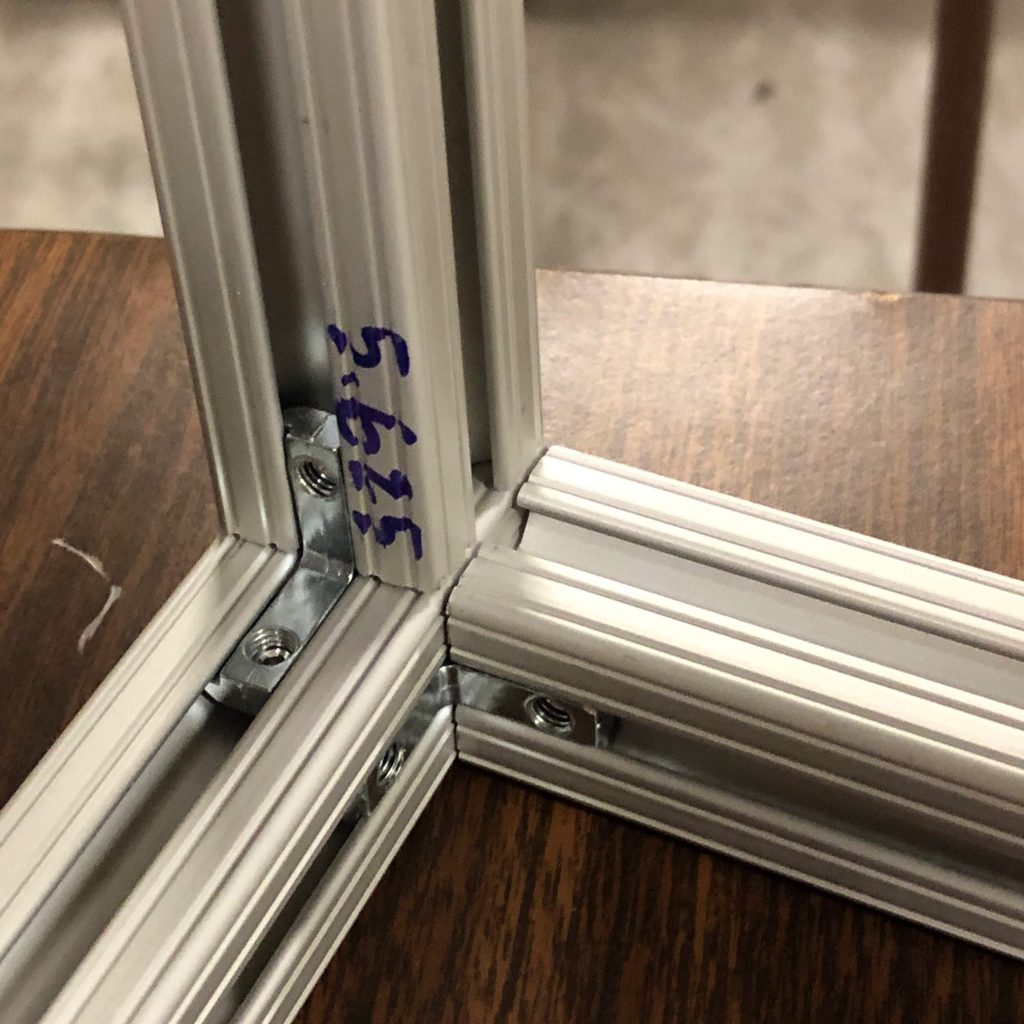
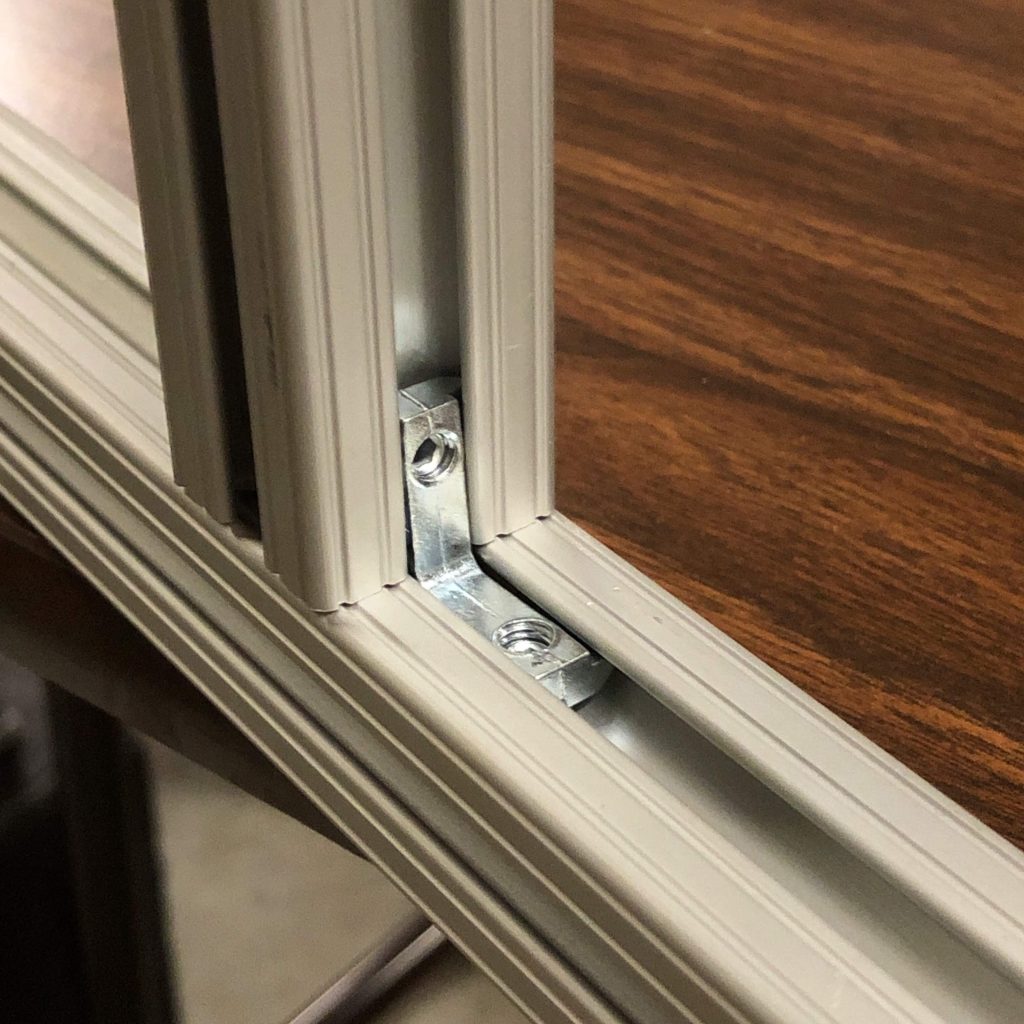
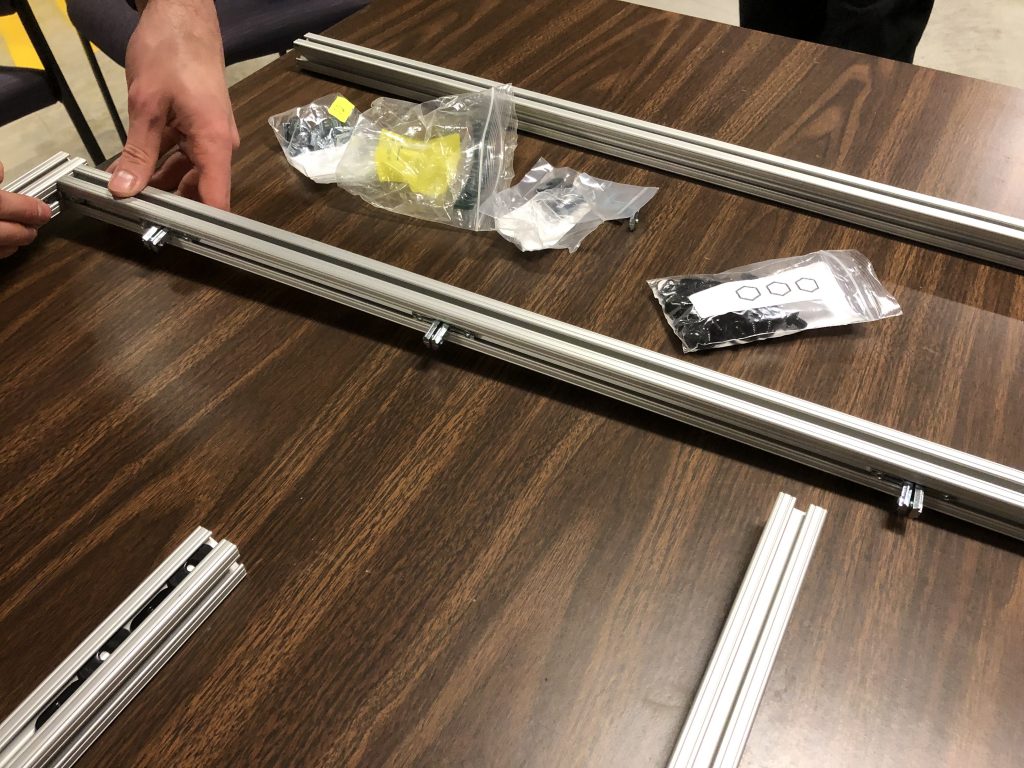
The engineering students decided to use a common building material referred to as 8020 which consists of aluminum bars with channels that make assembly very simple. Because the aluminum is incredibly strong and lightweight, we were able to achieve our goals of creating a much more portable sandbox.
Sandbox Guide
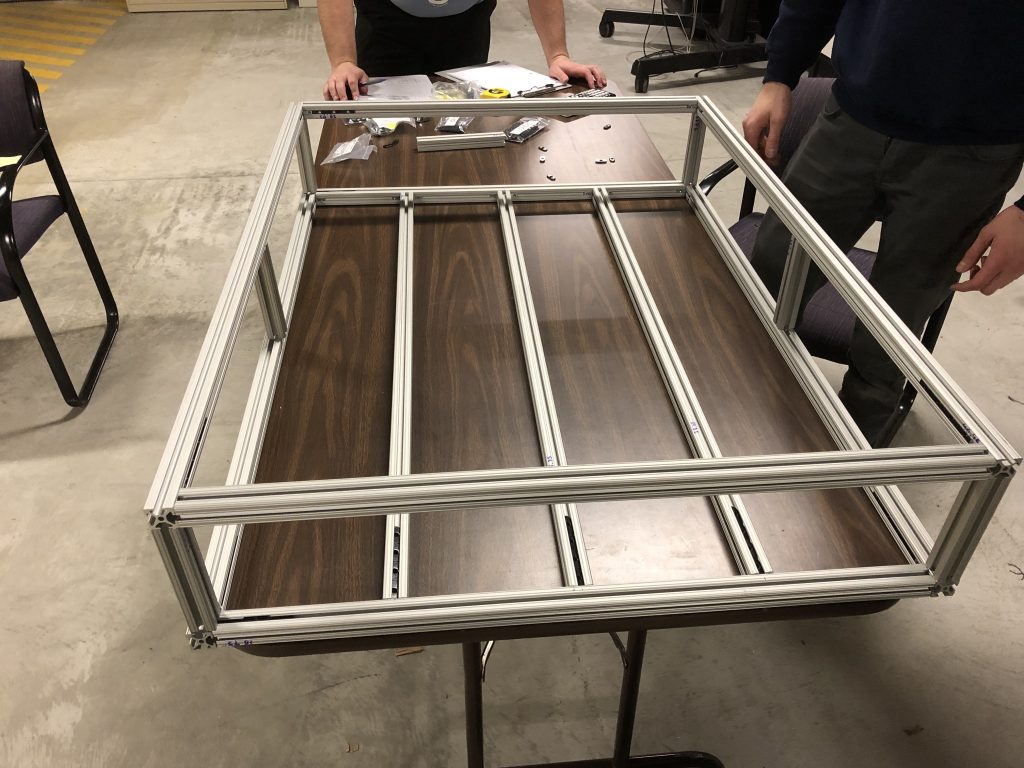
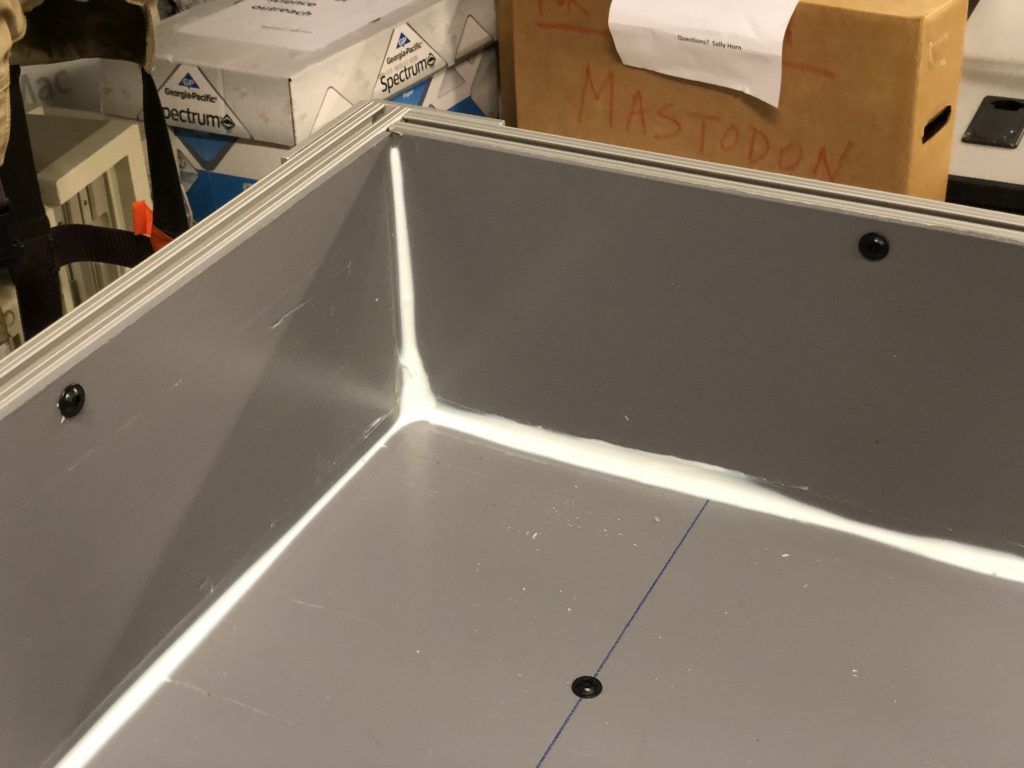
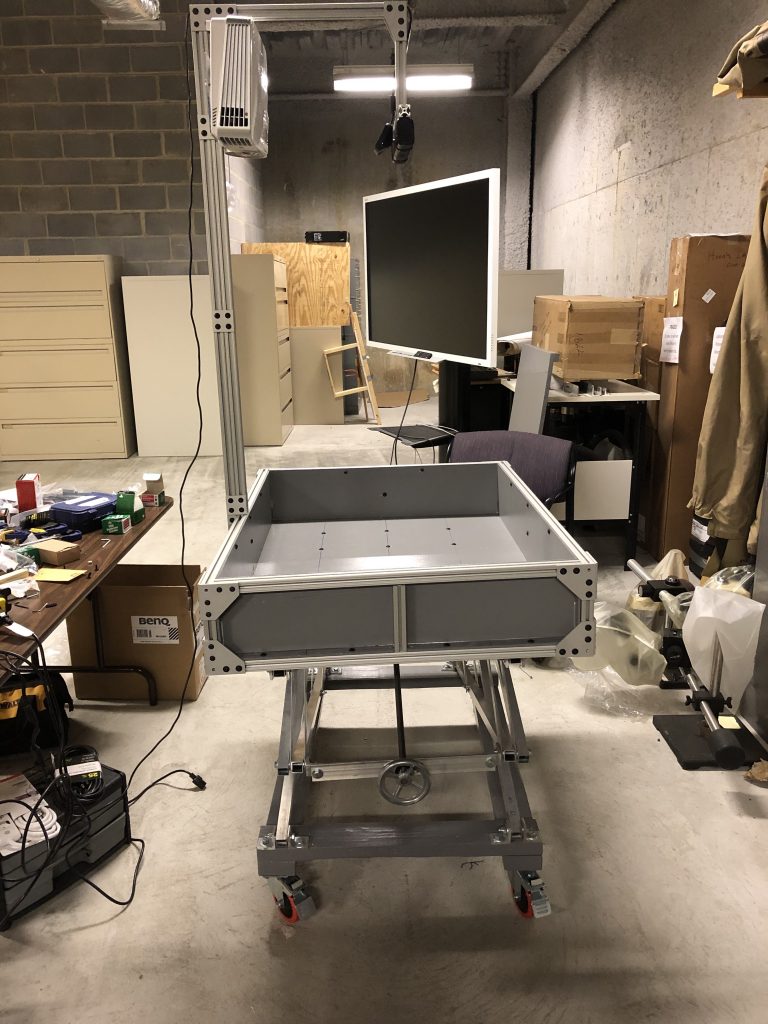
The sandbox consists of an aluminum skeleton with plywood for the box sides and bottom. Pay special attention to the order of assembly in the guide or you’ll spend A LOT of time disassembling and reassembling.
We’ve compiled a Google Photos album with many more pictures of the sandbox build. Check the photo description for details about each picture.

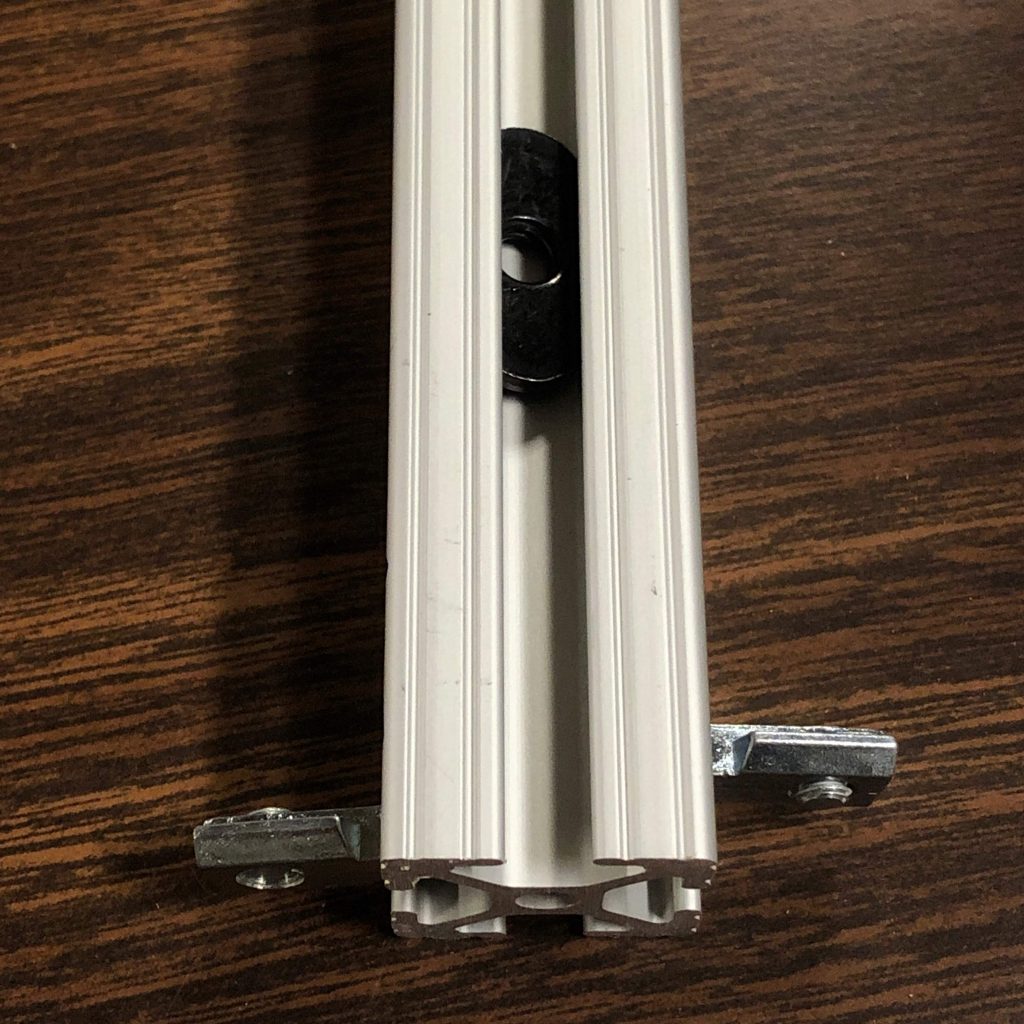
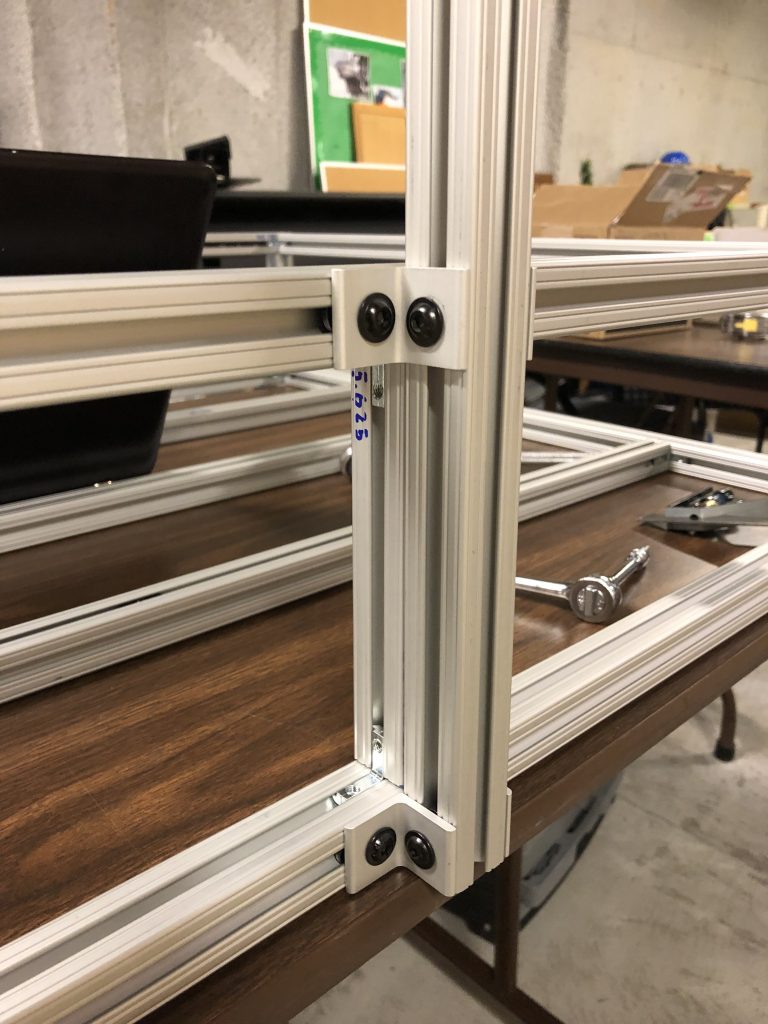
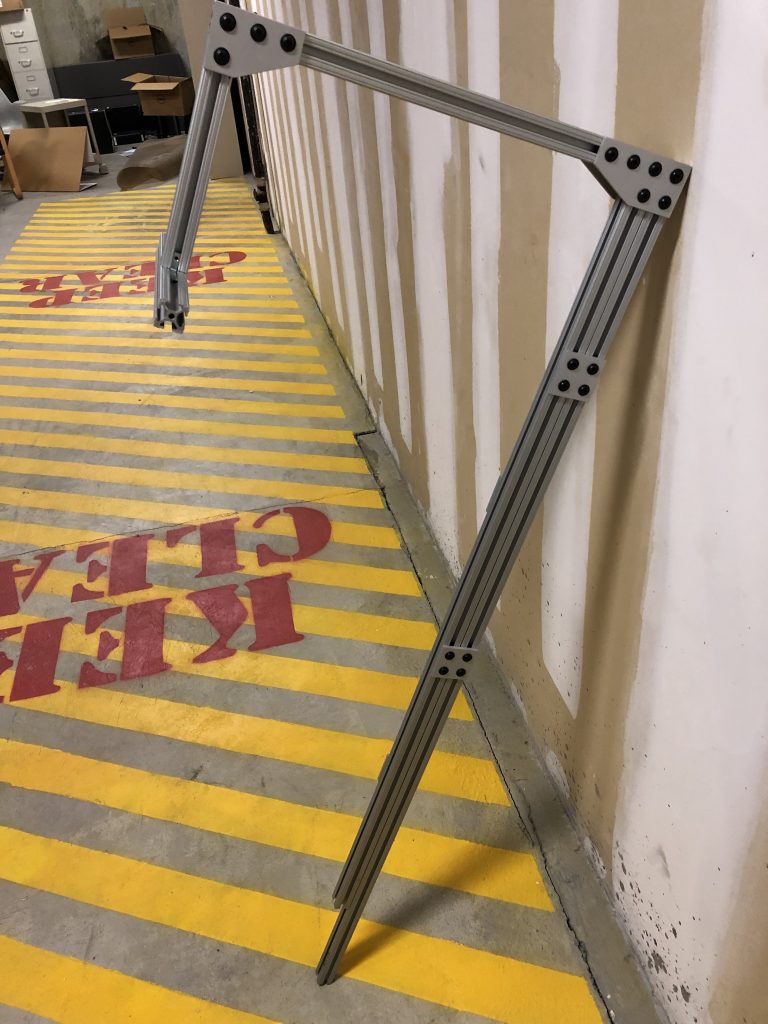
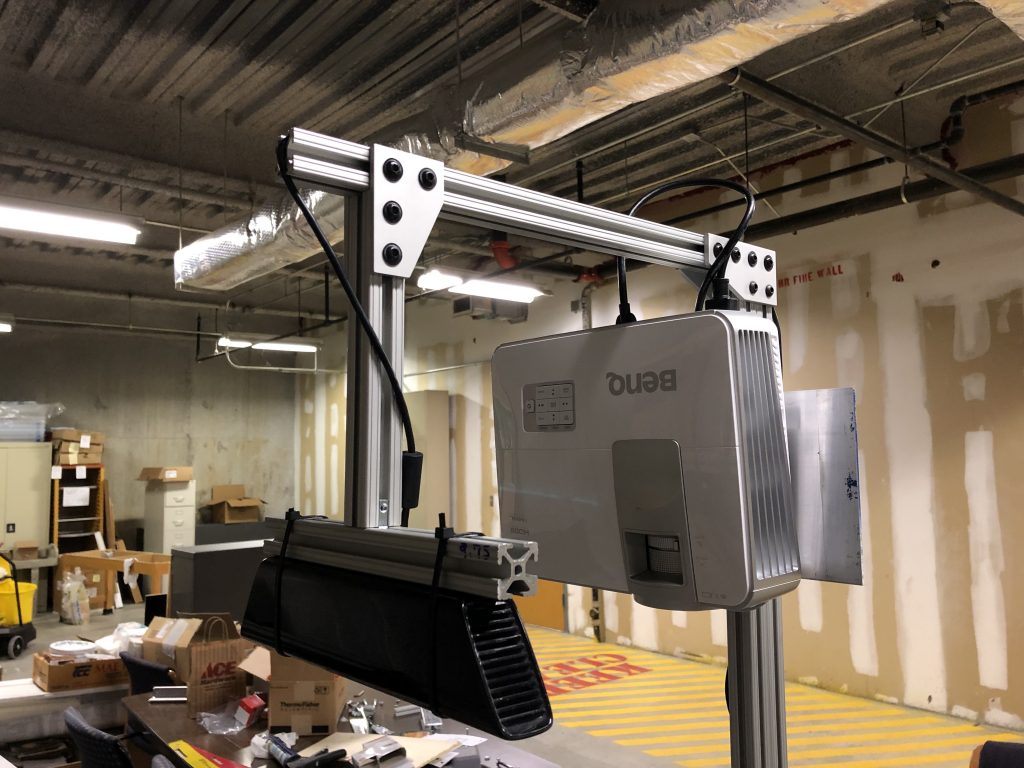
Projector Pole Guide
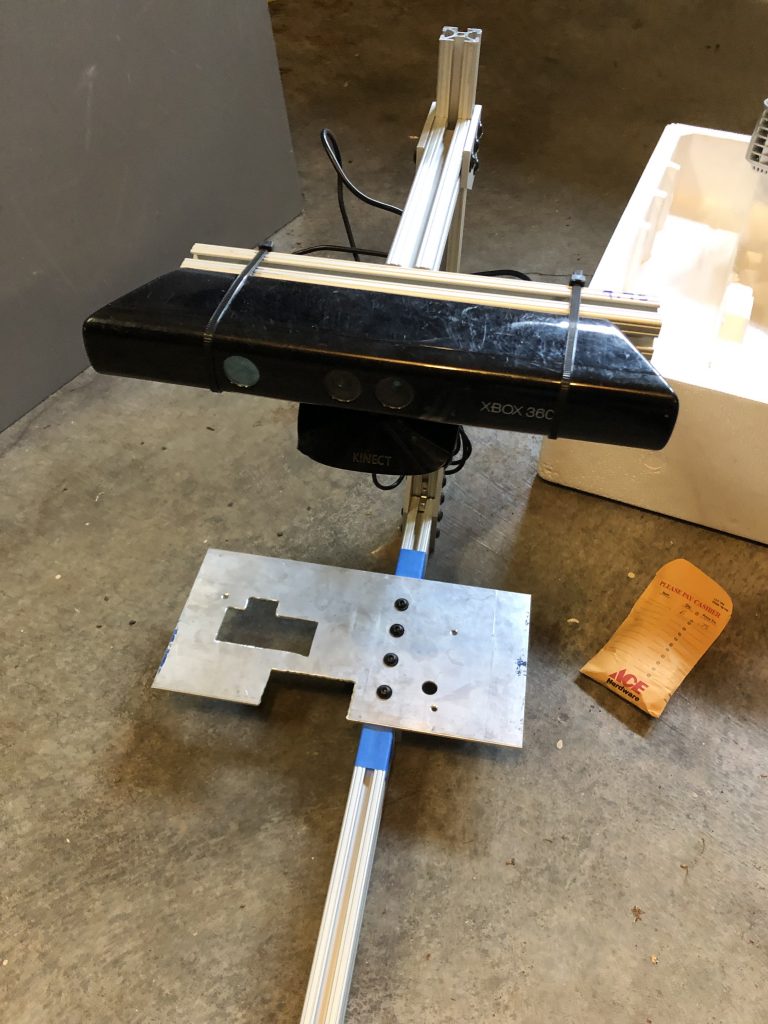
The projector pole and mounting bracket consists of an aluminum skeleton and aluminum mounting bracket. The gallery below is for the original plan in the guide, not the modifications we added later.
We’ve compiled a Google Photos album with many more pictures of the projector pole build. Check the photo description for details about each picture.

Modifications
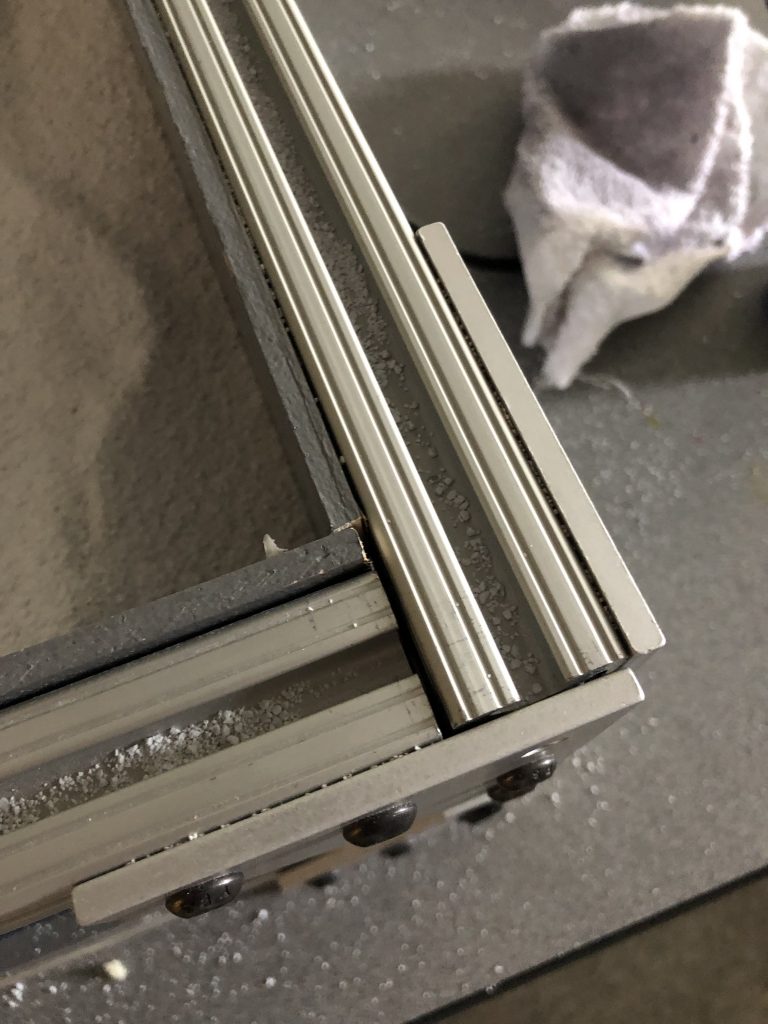
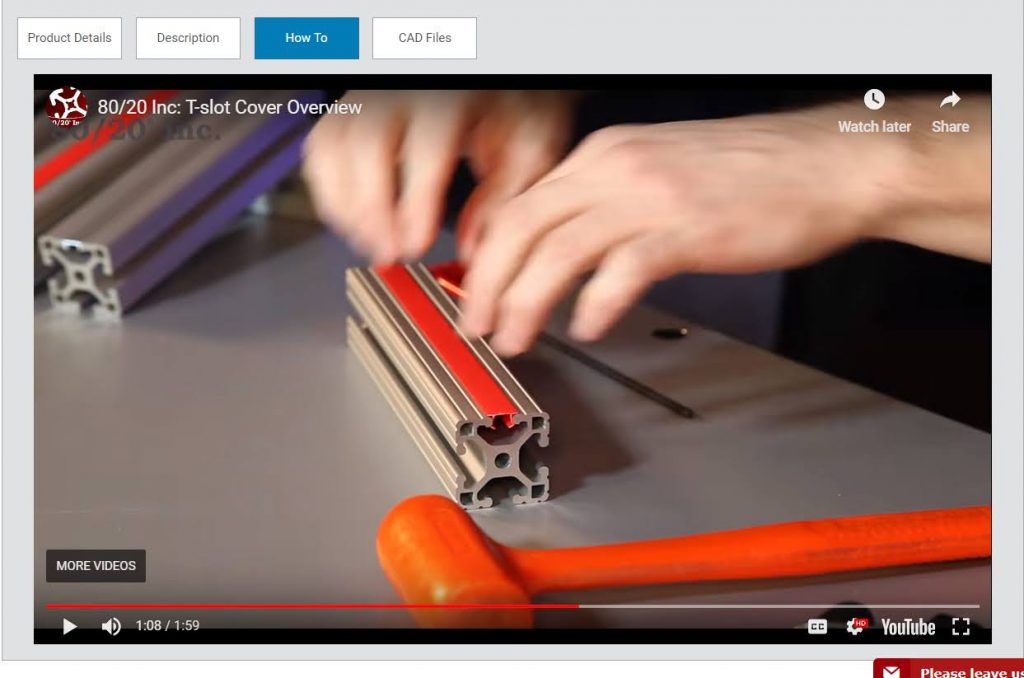
We quickly realized that the channels that make it so easy to assemble 8020 are also great at collecting sand. Conveniently you can buy a channel insert to fill the gap and keep the sand out…and it comes in bright orange.
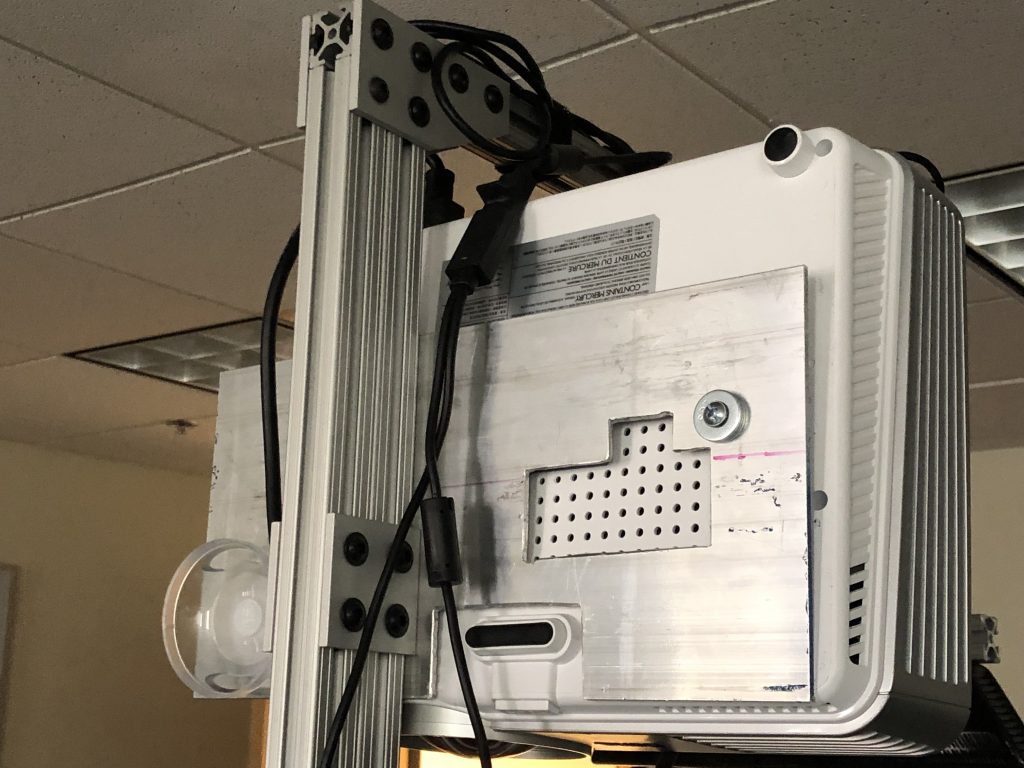
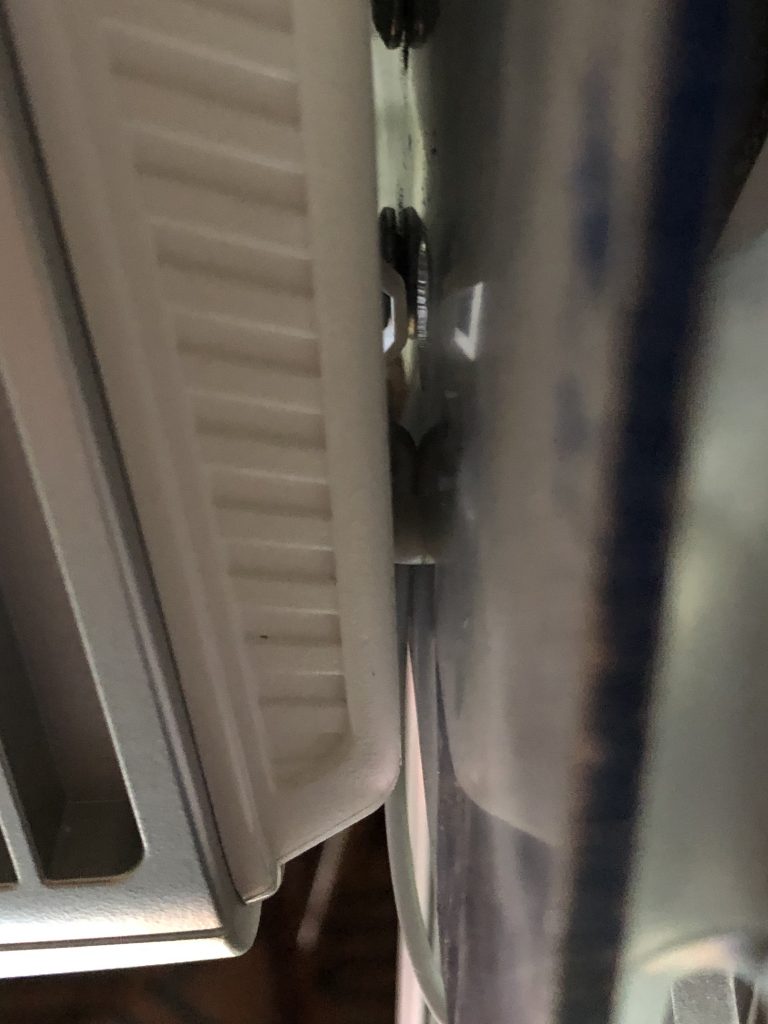
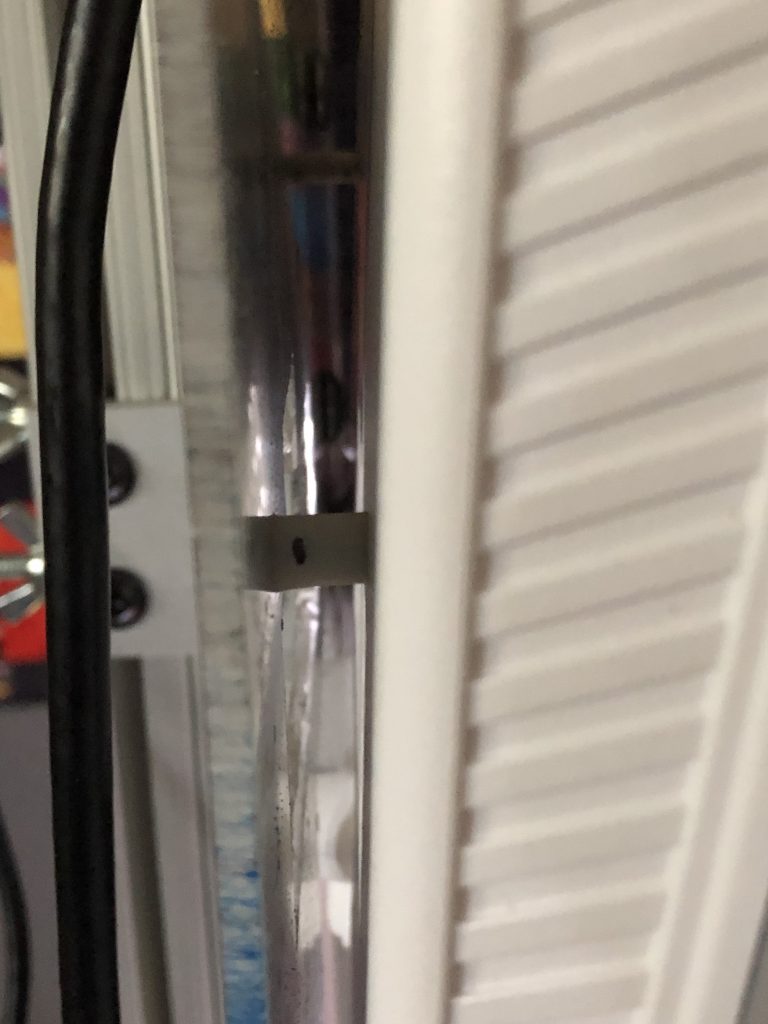
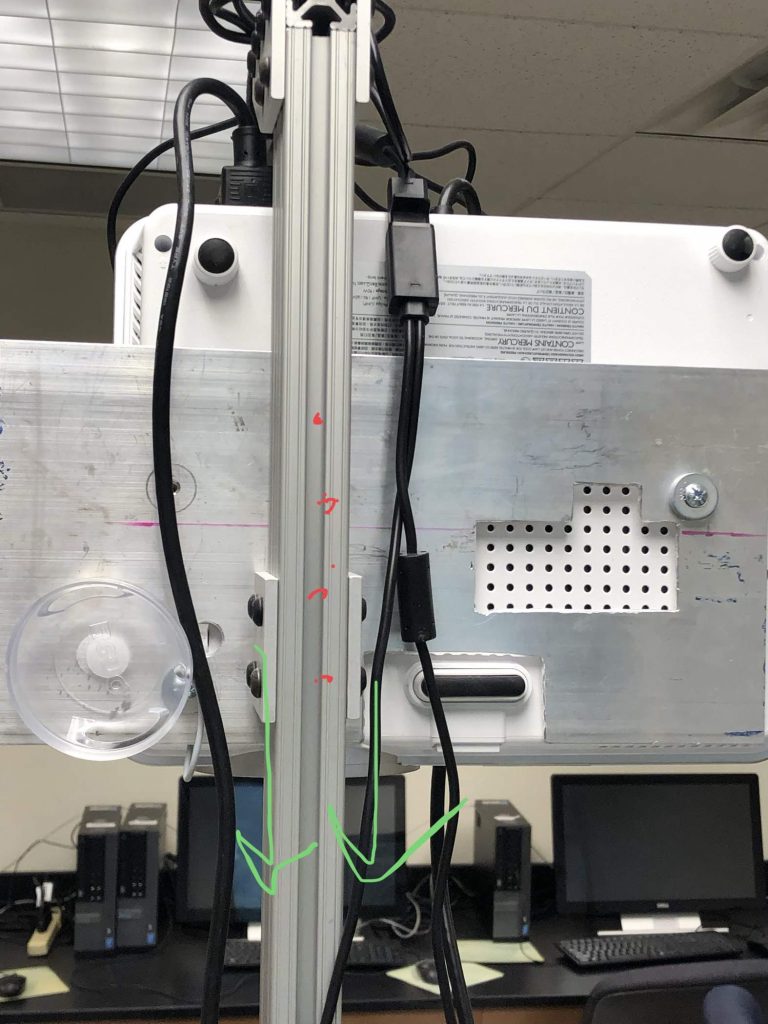
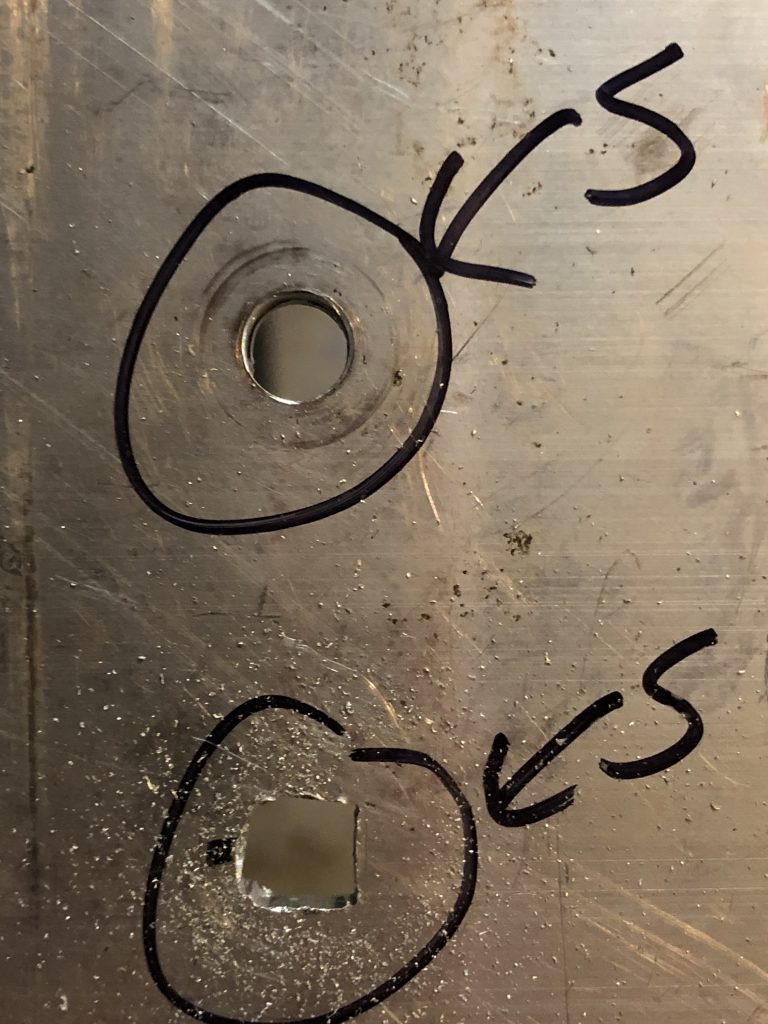
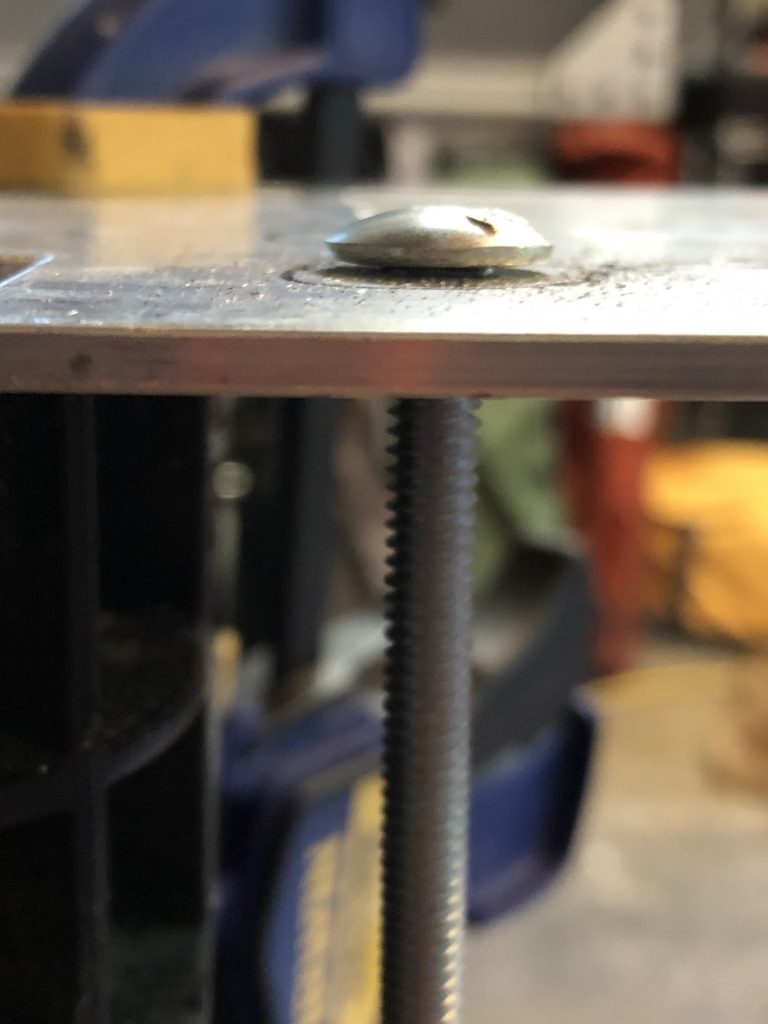
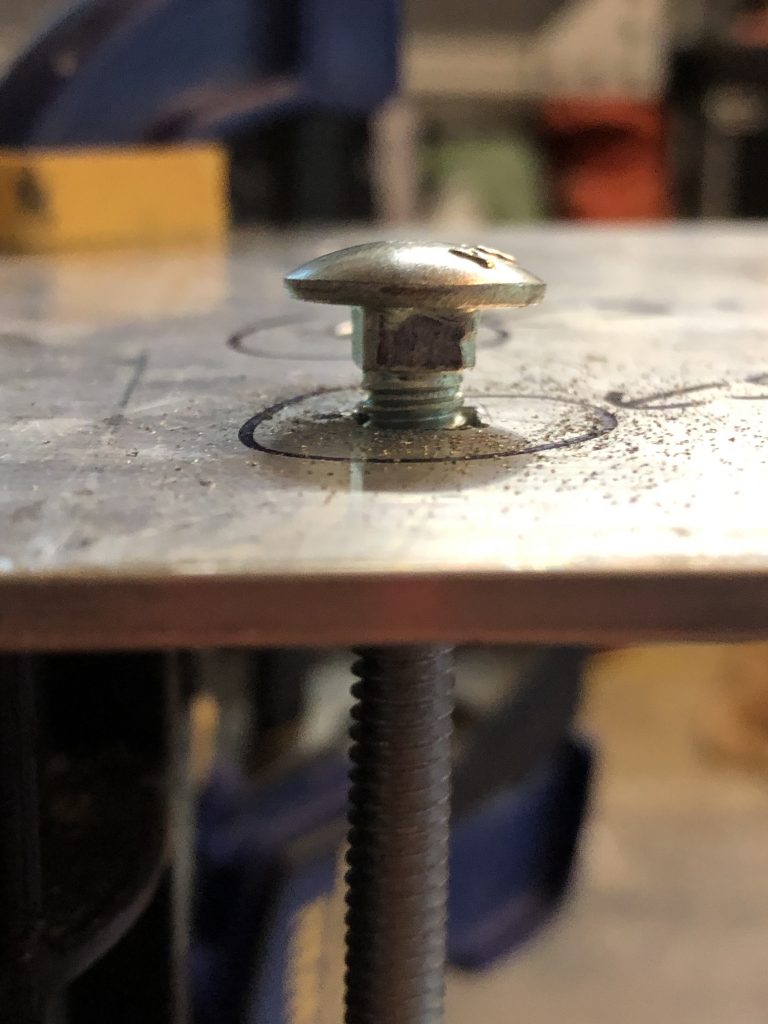
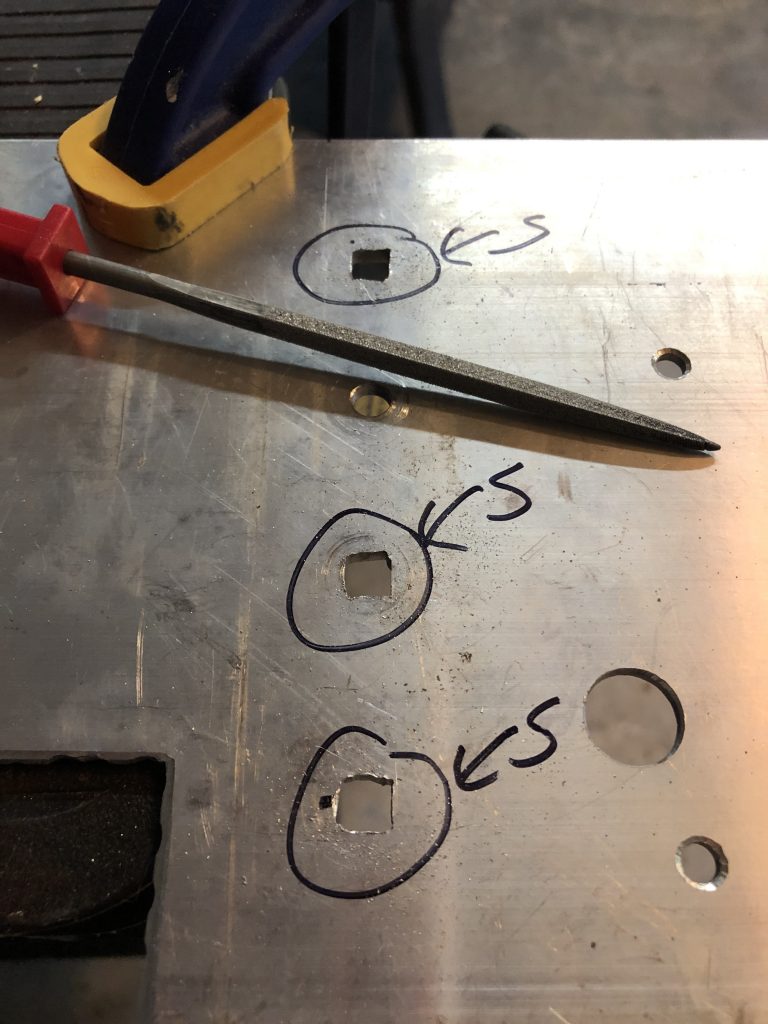
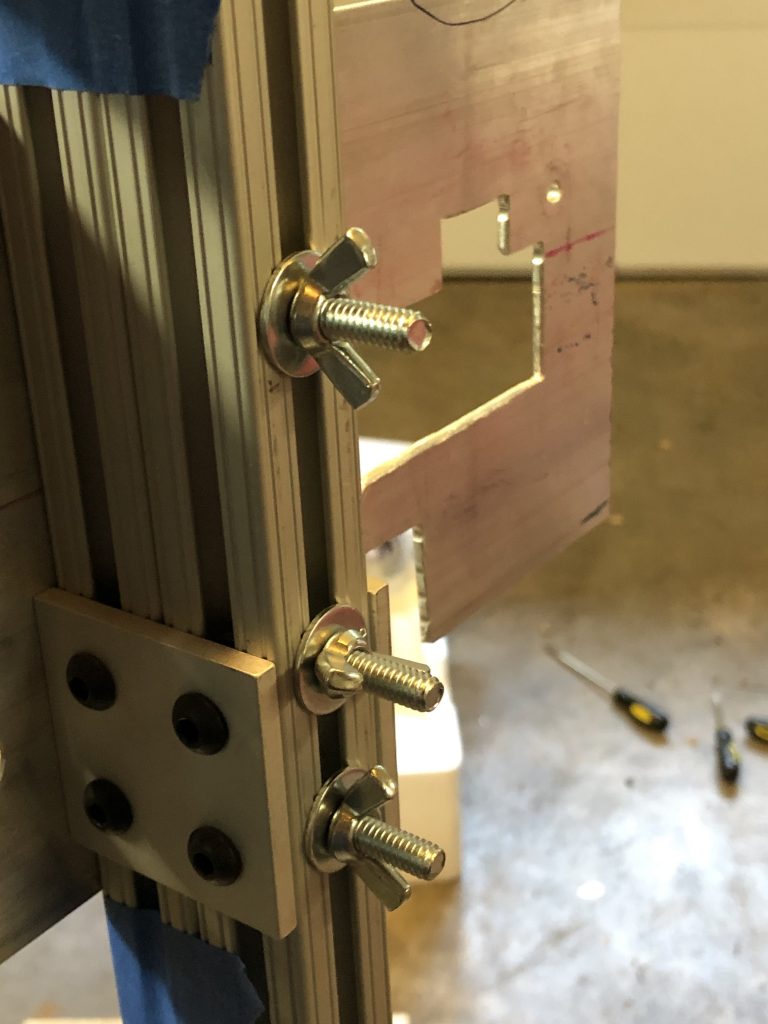
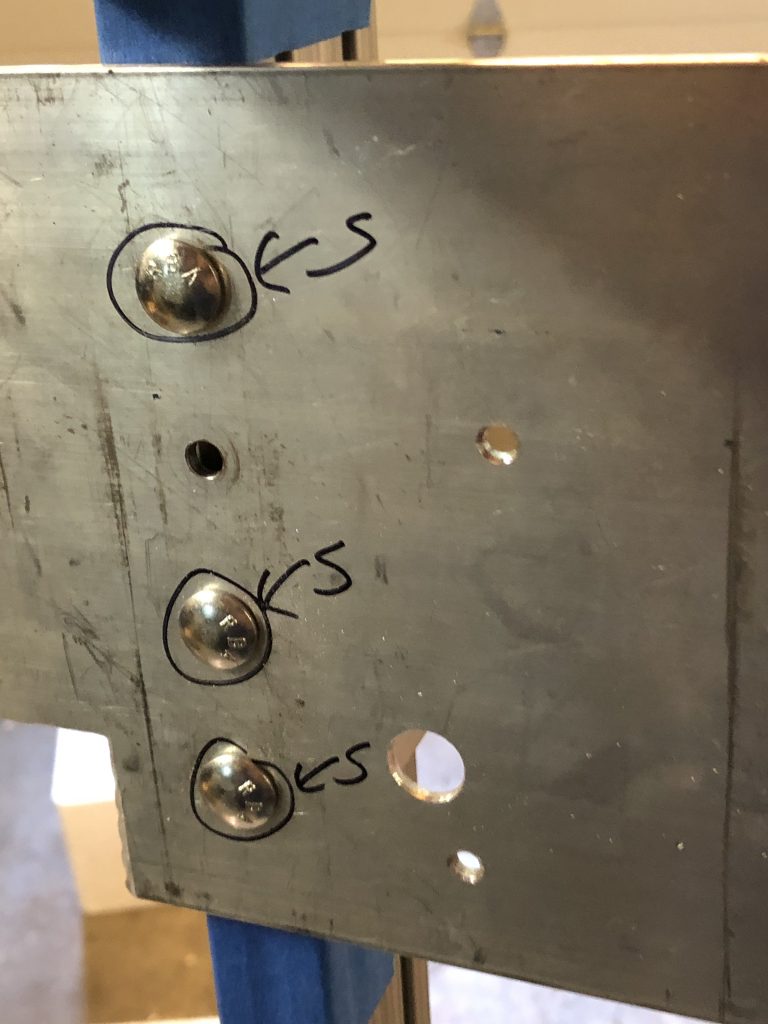
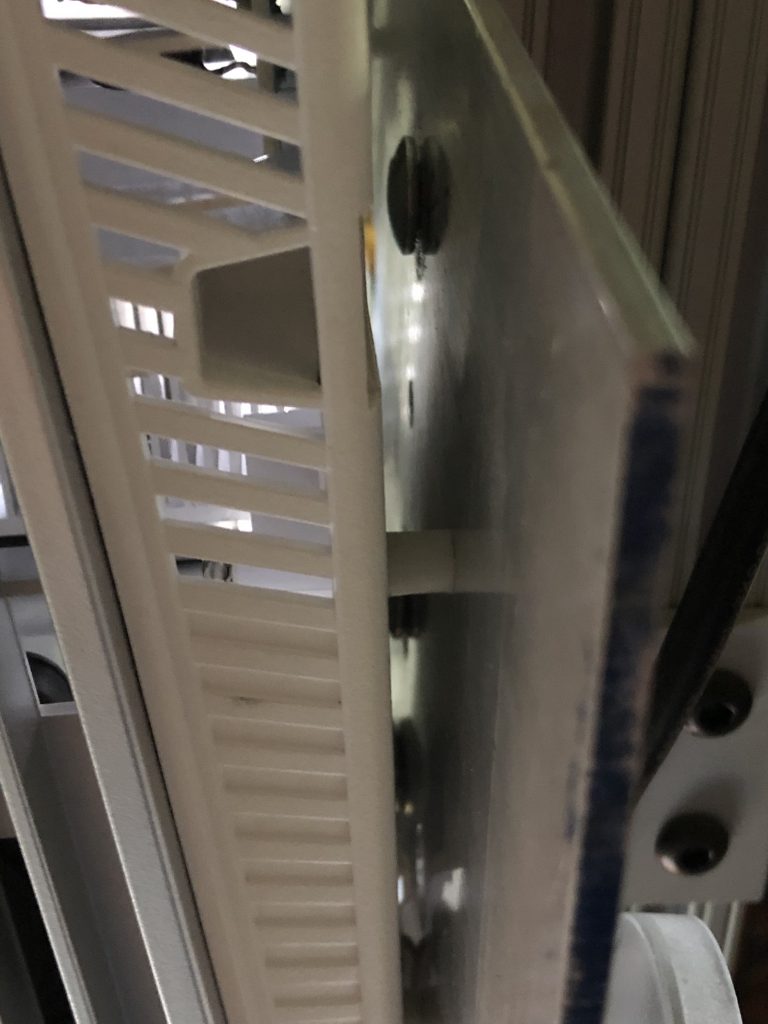
While the original plans called for the projector to be permanently mounted to the pole, I was concerned that it would not hold up well to the wear and tear from transportation. We modified the mounting plate so that it was easy to remove from the pole by using a handful of carriage bolts, washers, and wing nuts.
We’ve compiled a Google Photos album with many more pictures of the modifications. Check the photo description for details about each picture.
Future Improvements
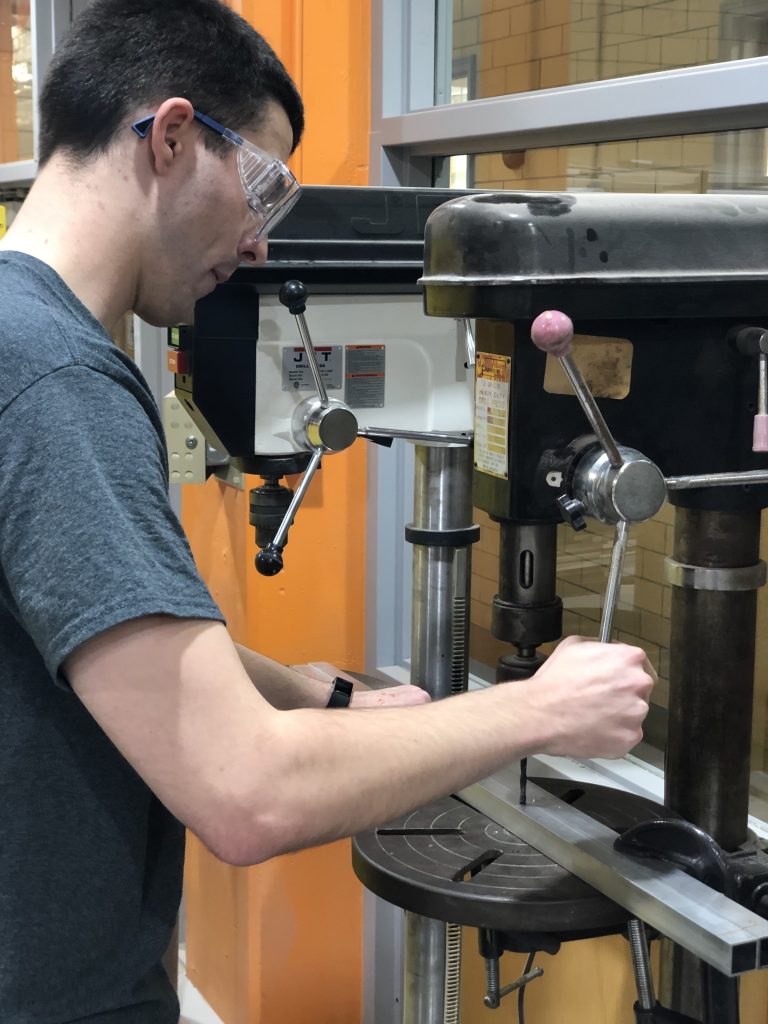
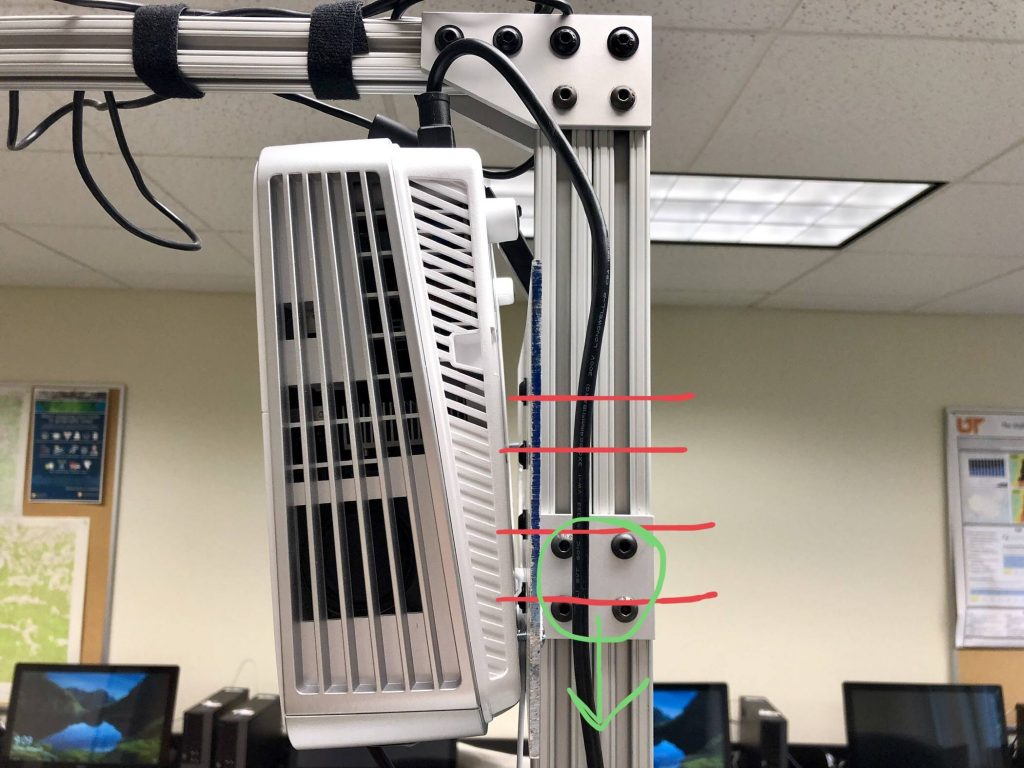
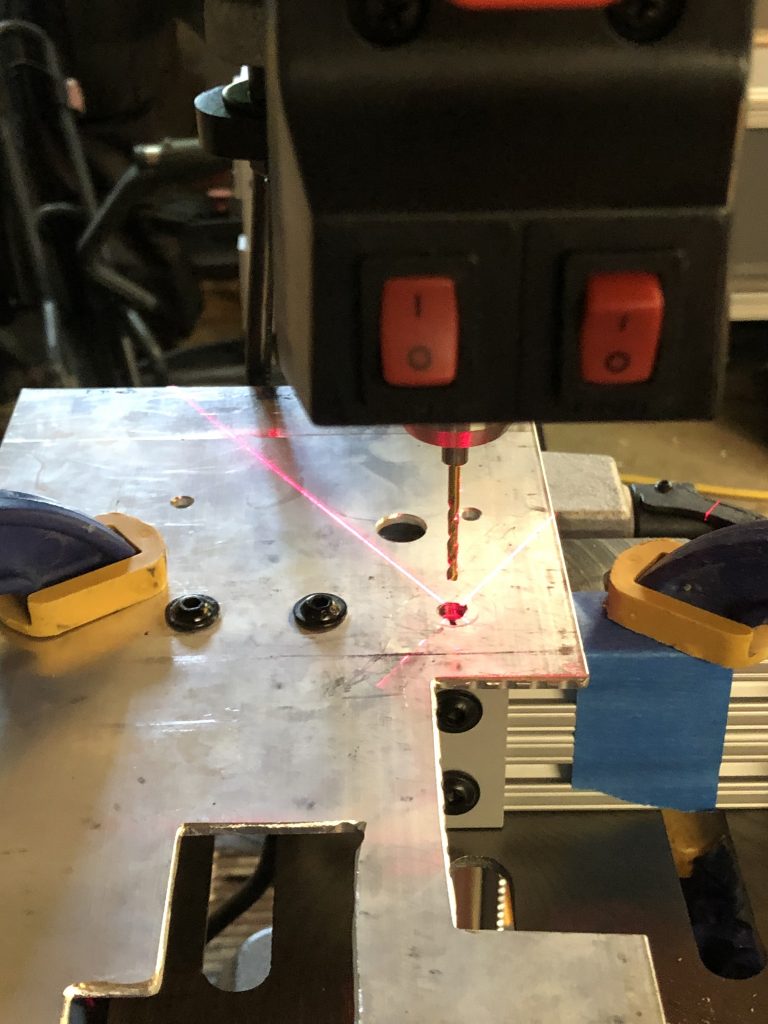
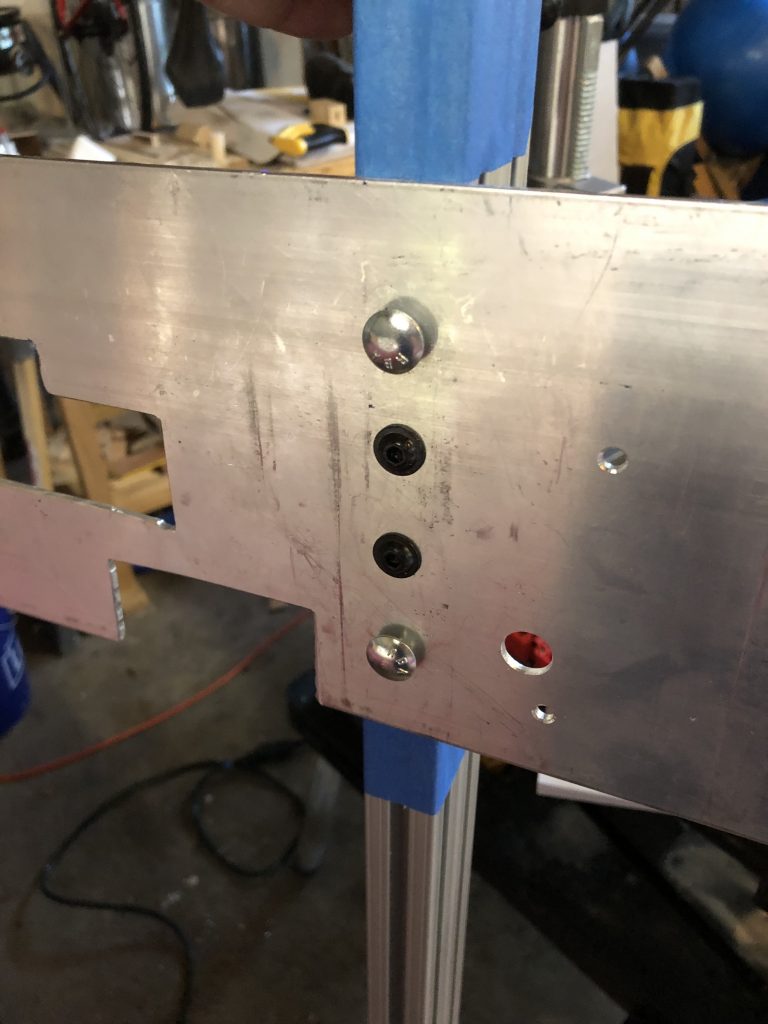
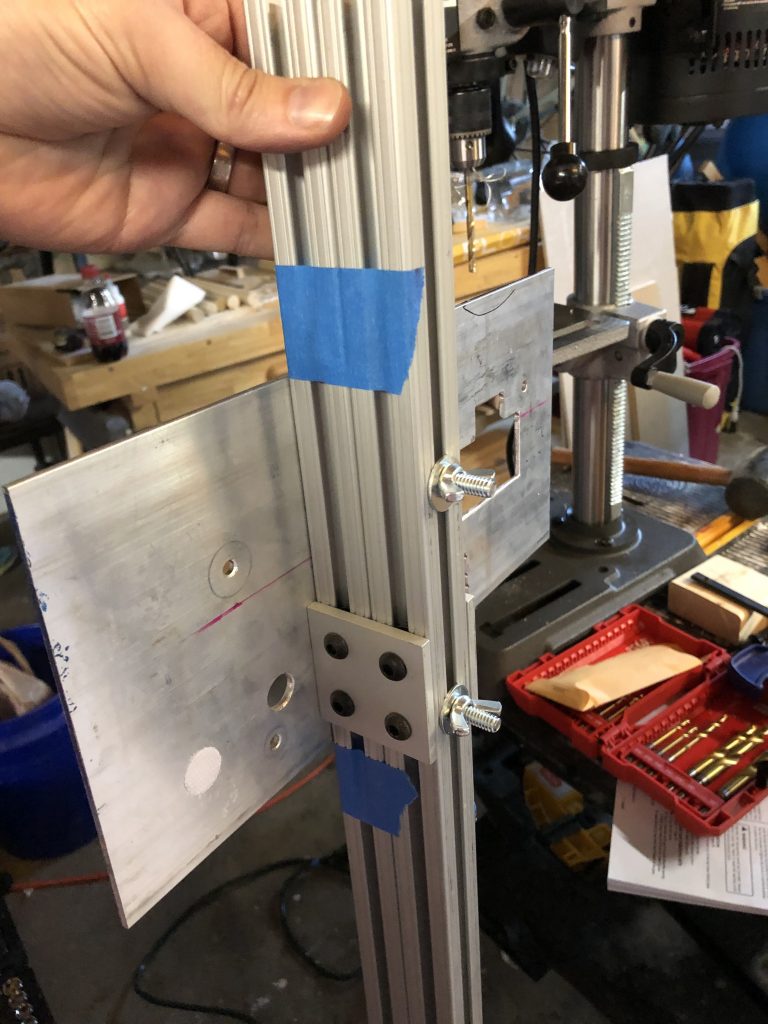
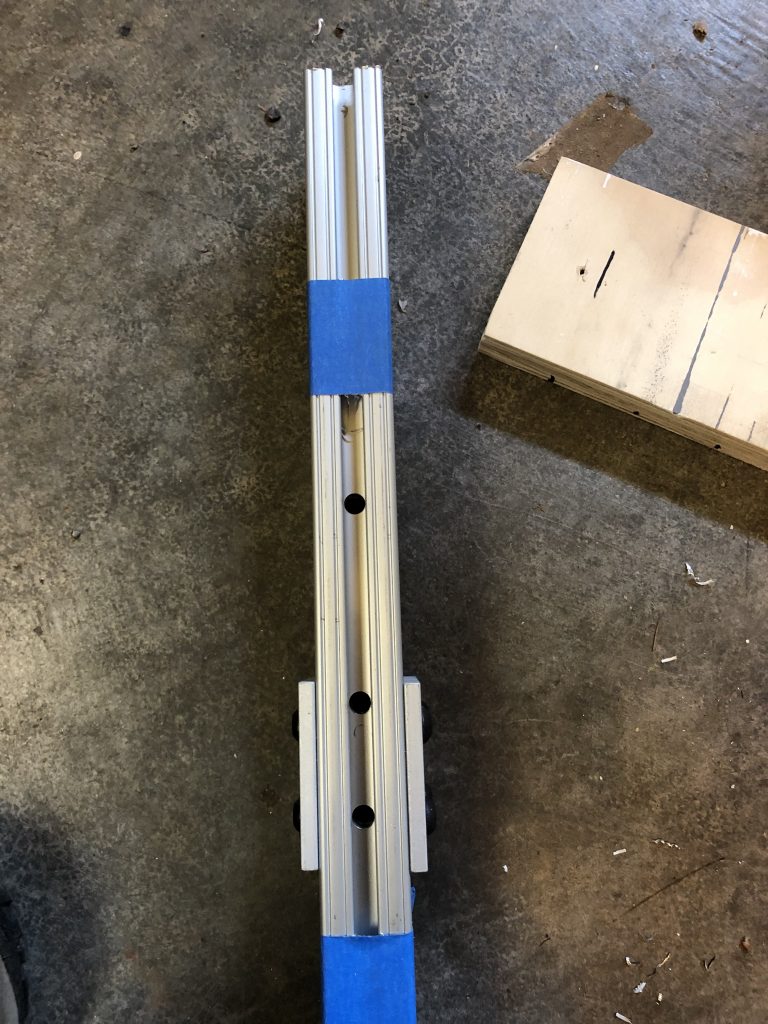
The next improvement will be updating the mounting bracket assembly that connects the projector pole to the sandbox. As it is now, it takes two people and quite a few tries to line up the channel and T-slot screws. The plan will be to use the drill press and drill two holes all the way through the projector pole at the bottom and use a longer machine screw, washer, and wingnut to hold it all together.
Packing and Transportation
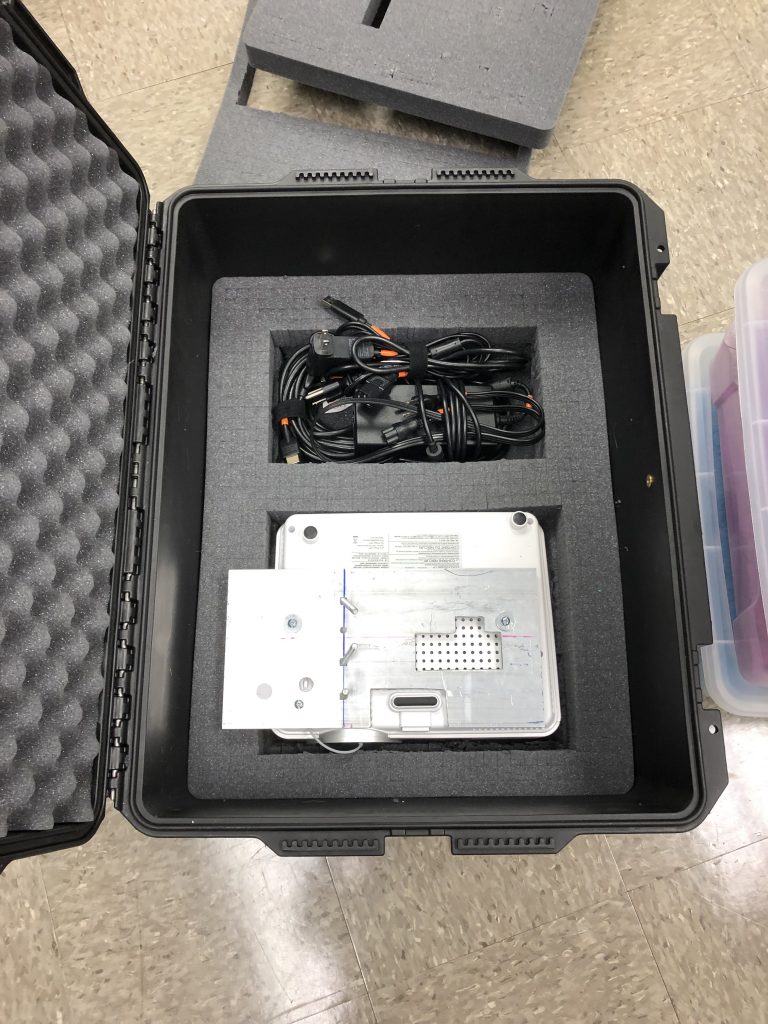
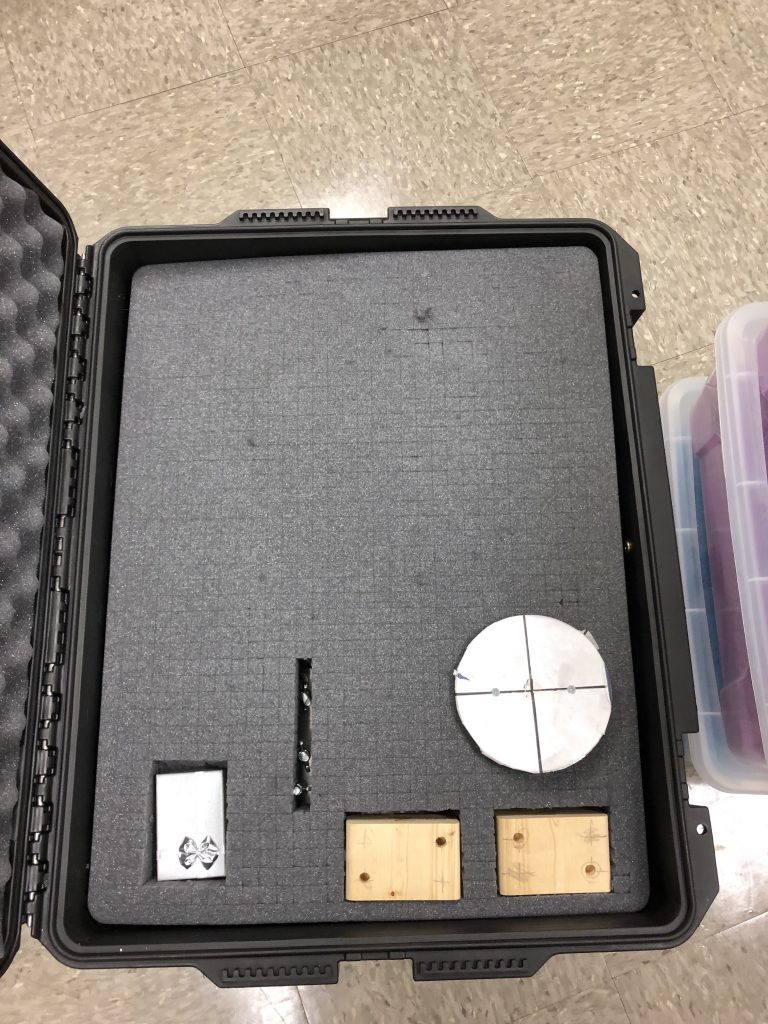
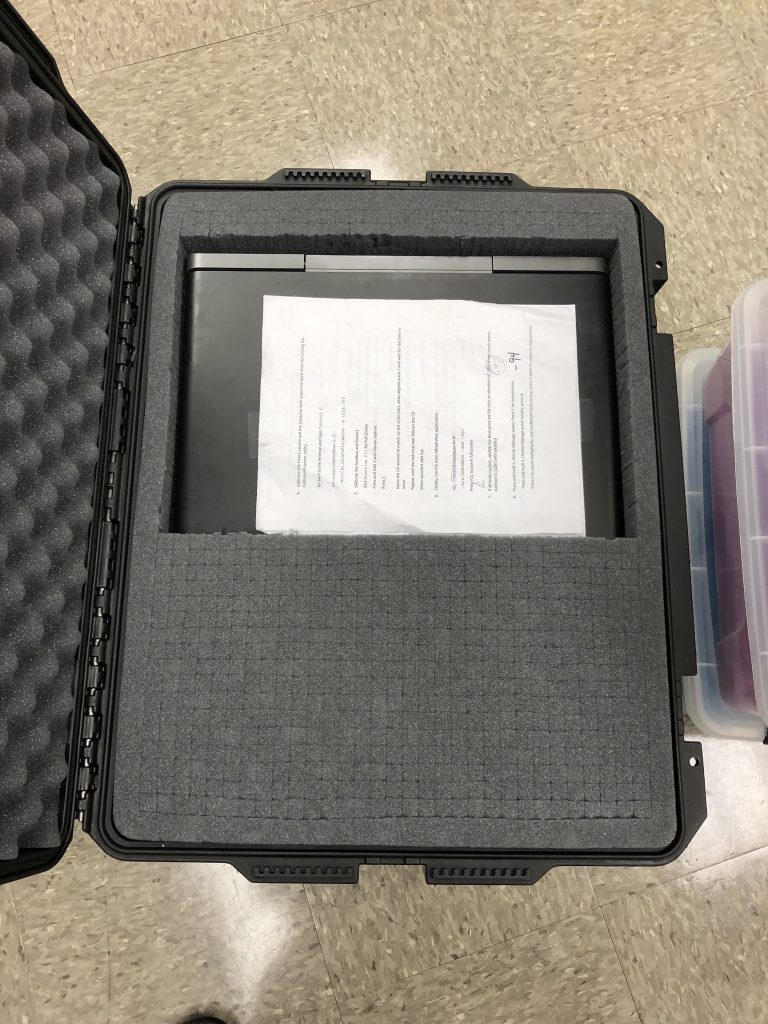
One of our goals was to make the new sandbox less bulky. We accomplished this by using a laptop instead of a desktop and combining almost all the electrical equipment into a hard sided, foam case.
Lessons Learned
Our original plan called for a height adjustable cart to both transport the sandbox and use as a portable stand. Unfortunately, the cart we built proved too much of a risk to use.
- There were too many pinch points throughout the cart
- The cart never felt sturdy enough to stay upright when people are gathered around it and pushing on it from the sides
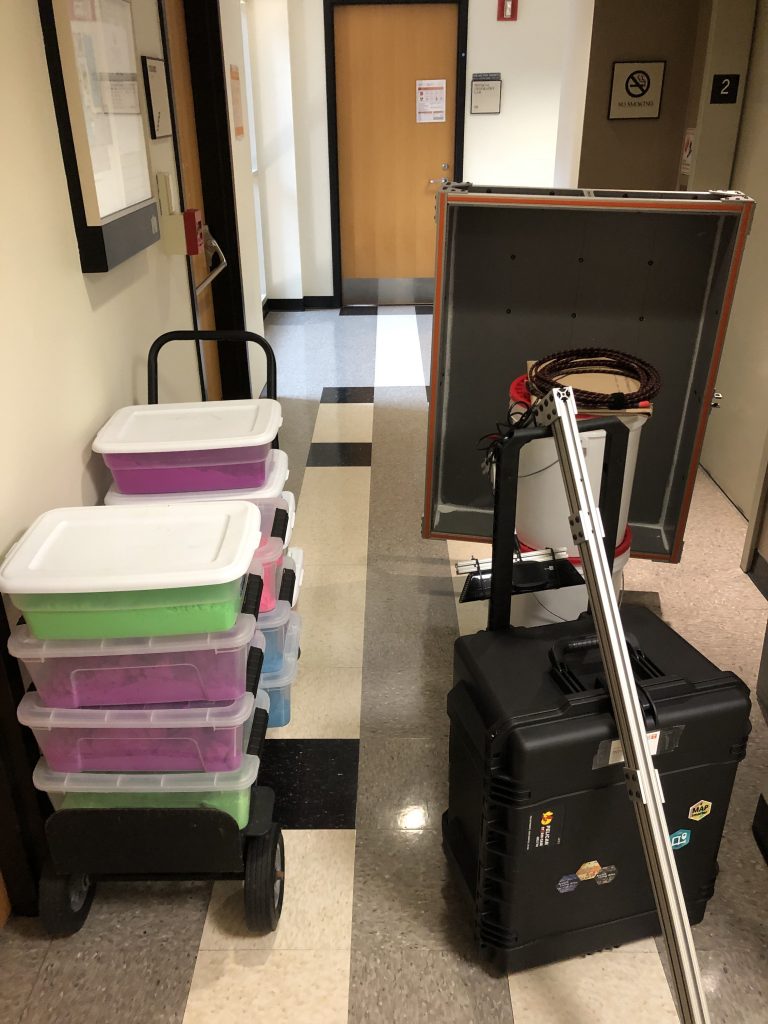
So for now we just use a hand cart to move the components and set the sandbox on the floor or a table at the exhibit location.
3D Printer Files
Many schools now have their own 3D printers. Using readily available 3D printer files enables the creation of physical objects you can use in the sandbox to demonstrate specific concepts.
- For example, use dams to create reservoirs and buildings to represent homes. Remove the dam and watch how the flood waters wash over the buildings downstream.
- Adjust the sea level in the AR sandbox configuration file to focus on bathymetry and fill your sandbox with sea creatures, submarines, and ships.
- Adjust the sea level in the AR sandbox configuration file to use just shades of tans, oranges, and reds and model the surface of mars using rovers
All links below go directly to Thingiverse. Please note we have not tested any of these files and they are listed as examples.
- Industrial Buildings
- Farms
- Buildings
- Houses
- Apartments
- Dams
- Bridges
- Mars/Space Exploration
- Submarine